
- Prerequisites
- Building an Integration
- Setting Up Authentication
- Setting Up Triggers & Actions
- Publishing Integration
- How To Authenticate Your Application Using The API Key Method
- How to Set-Up the Integration Based on Auth Type Bearer Token
- How To Authenticate Your Application Using OAuth 2.0
- How To Authenticate Your Application Using Basic Auth
- How To Authenticate Your Application Using The JWT Bearer Method
Using Email Parser in SureTriggers
Email Parser, in SureTriggers, is a powerful tool that can automatically extract data from incoming emails and route it to other applications, such as your CRM system, project management tool, or email marketing platform. This can help you to automate your workflows, save time, and improve efficiency.

Looks cool, right?
In this article, we’ll understand more about Email Parser and see how you can set it up in your workflows.
What is Email Parser
Basically, Email Parser is a trigger app that can extract data from incoming emails. This data can include the sender, recipient, subject line, body text, and more.
Later, you can forward this data to other apps and automate a variety of tasks, such as:
- Adding new leads to your CRM system from emails.
- Creating new tasks in your project management tool from incoming emails.
- Sending automated email replies when new emails are received.
These are some random examples. You can connect Email Parser with the other apps that you use and create workflows.
How to Set Up Email Parser
Email Parser is available as a trigger app in SureTriggers. To set it up in your workflows, simply follow the steps below:
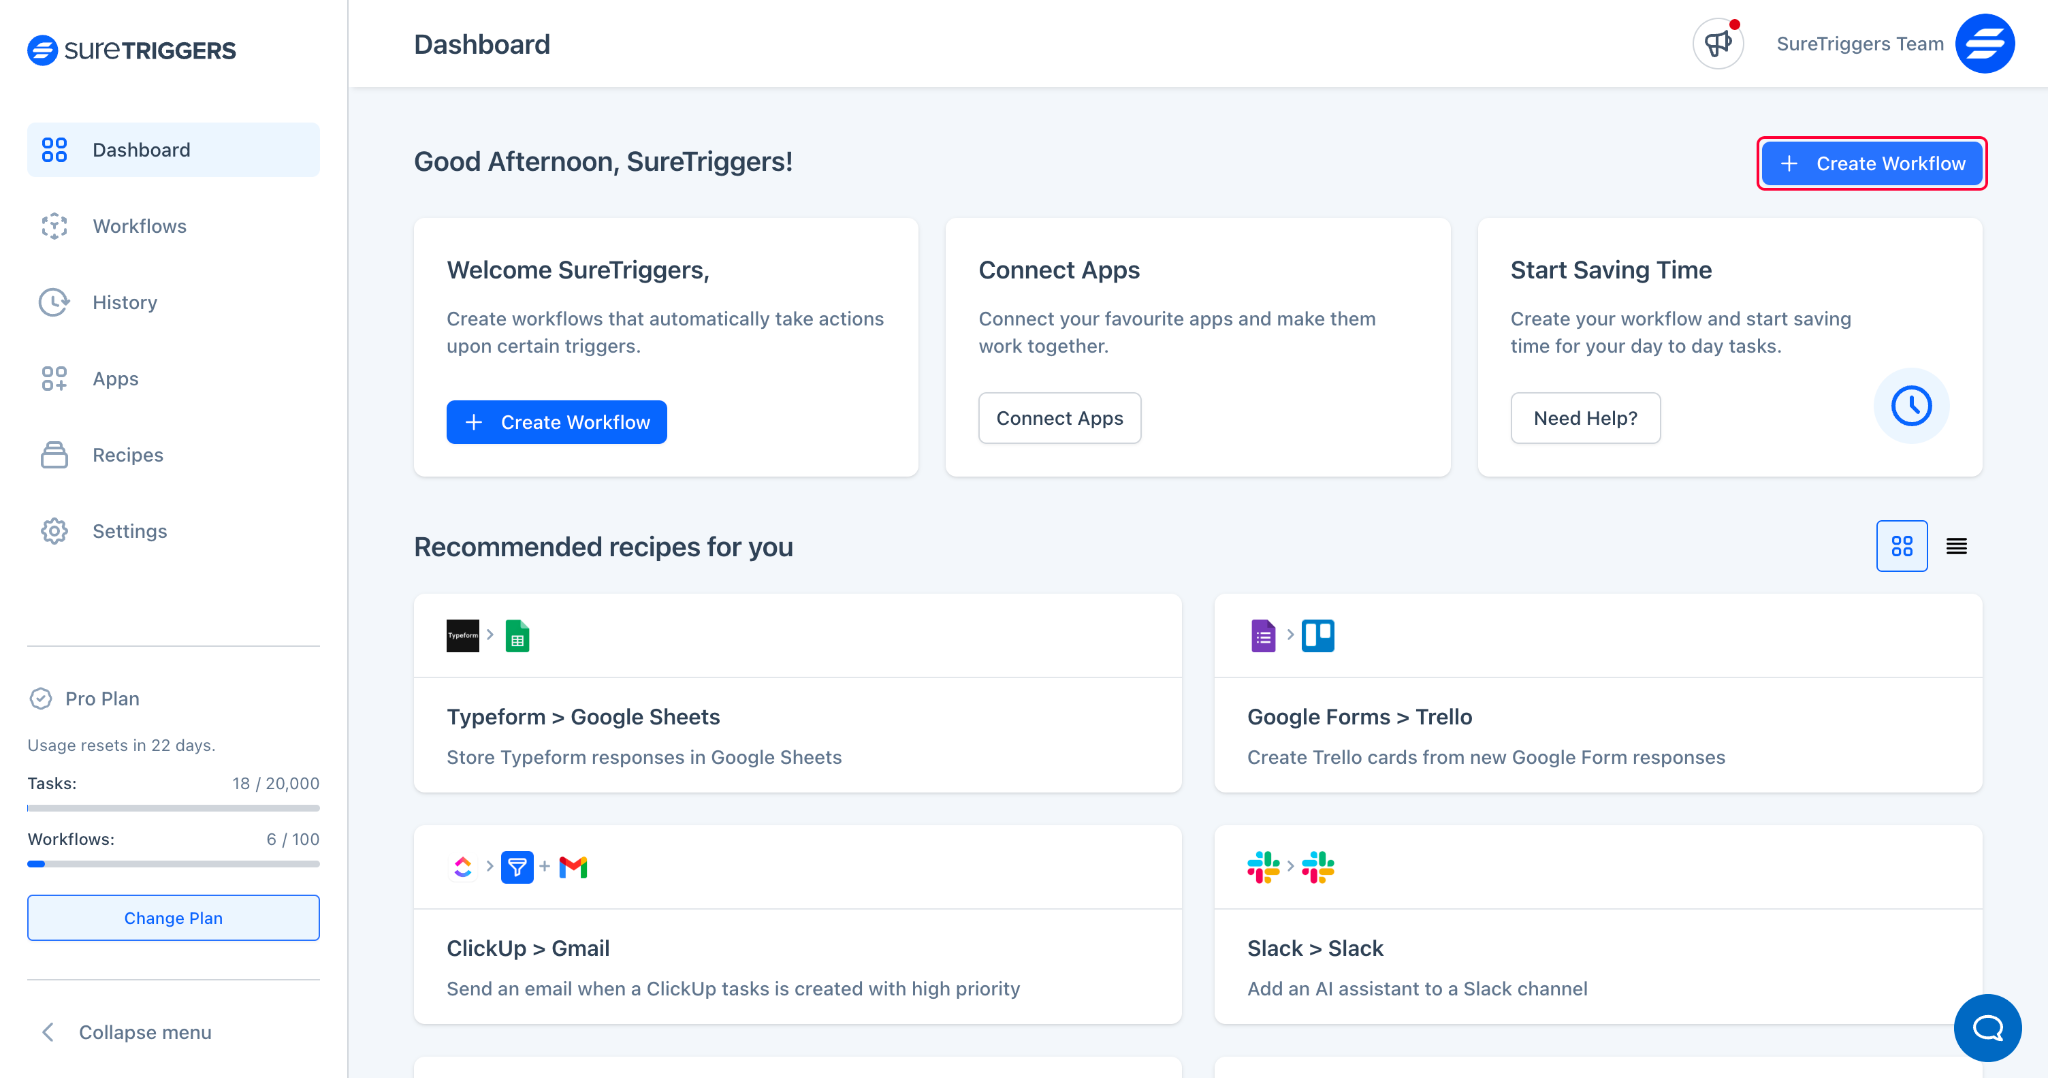
- Login to your SureTriggers account.
- Click on the “Create Workflow” button.
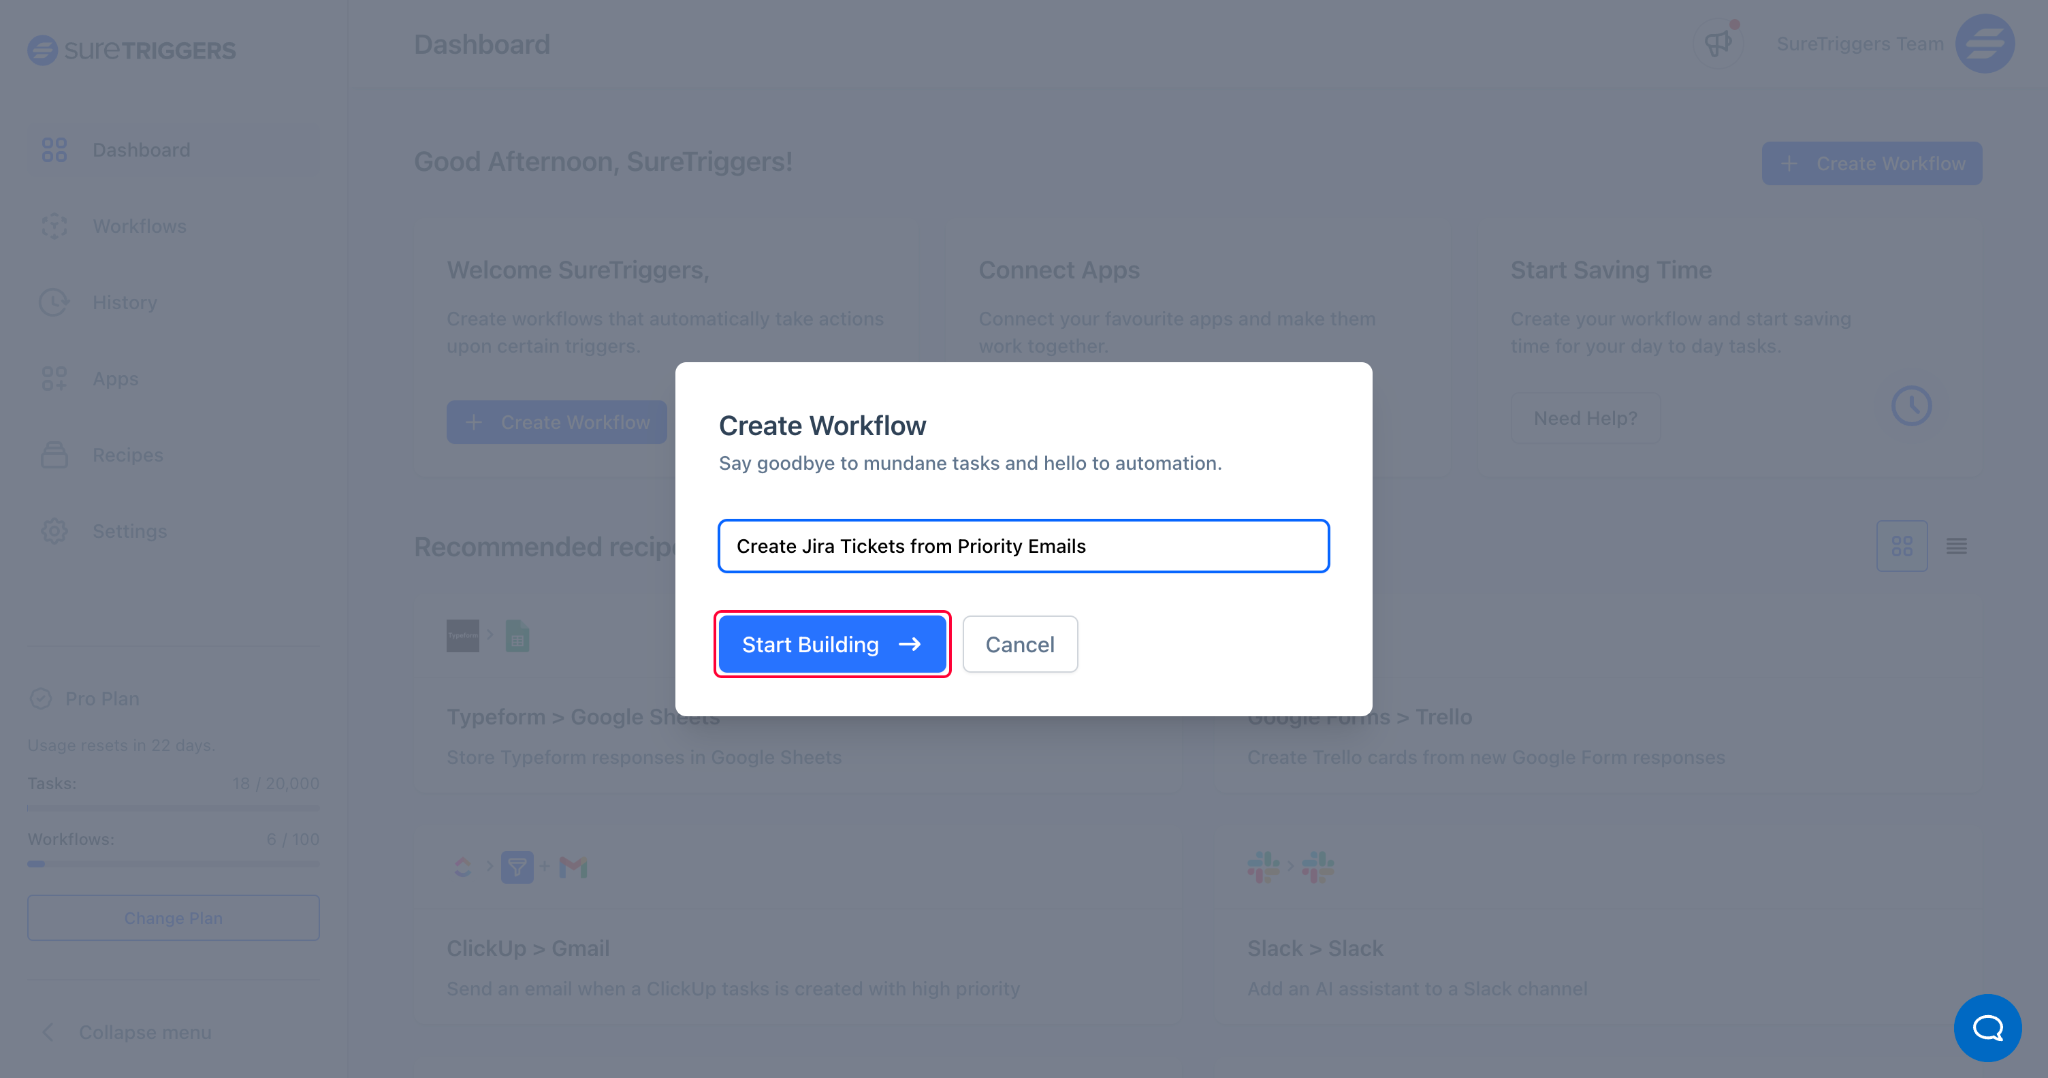
- Give a name to your workflow and click on on “Continue” button.
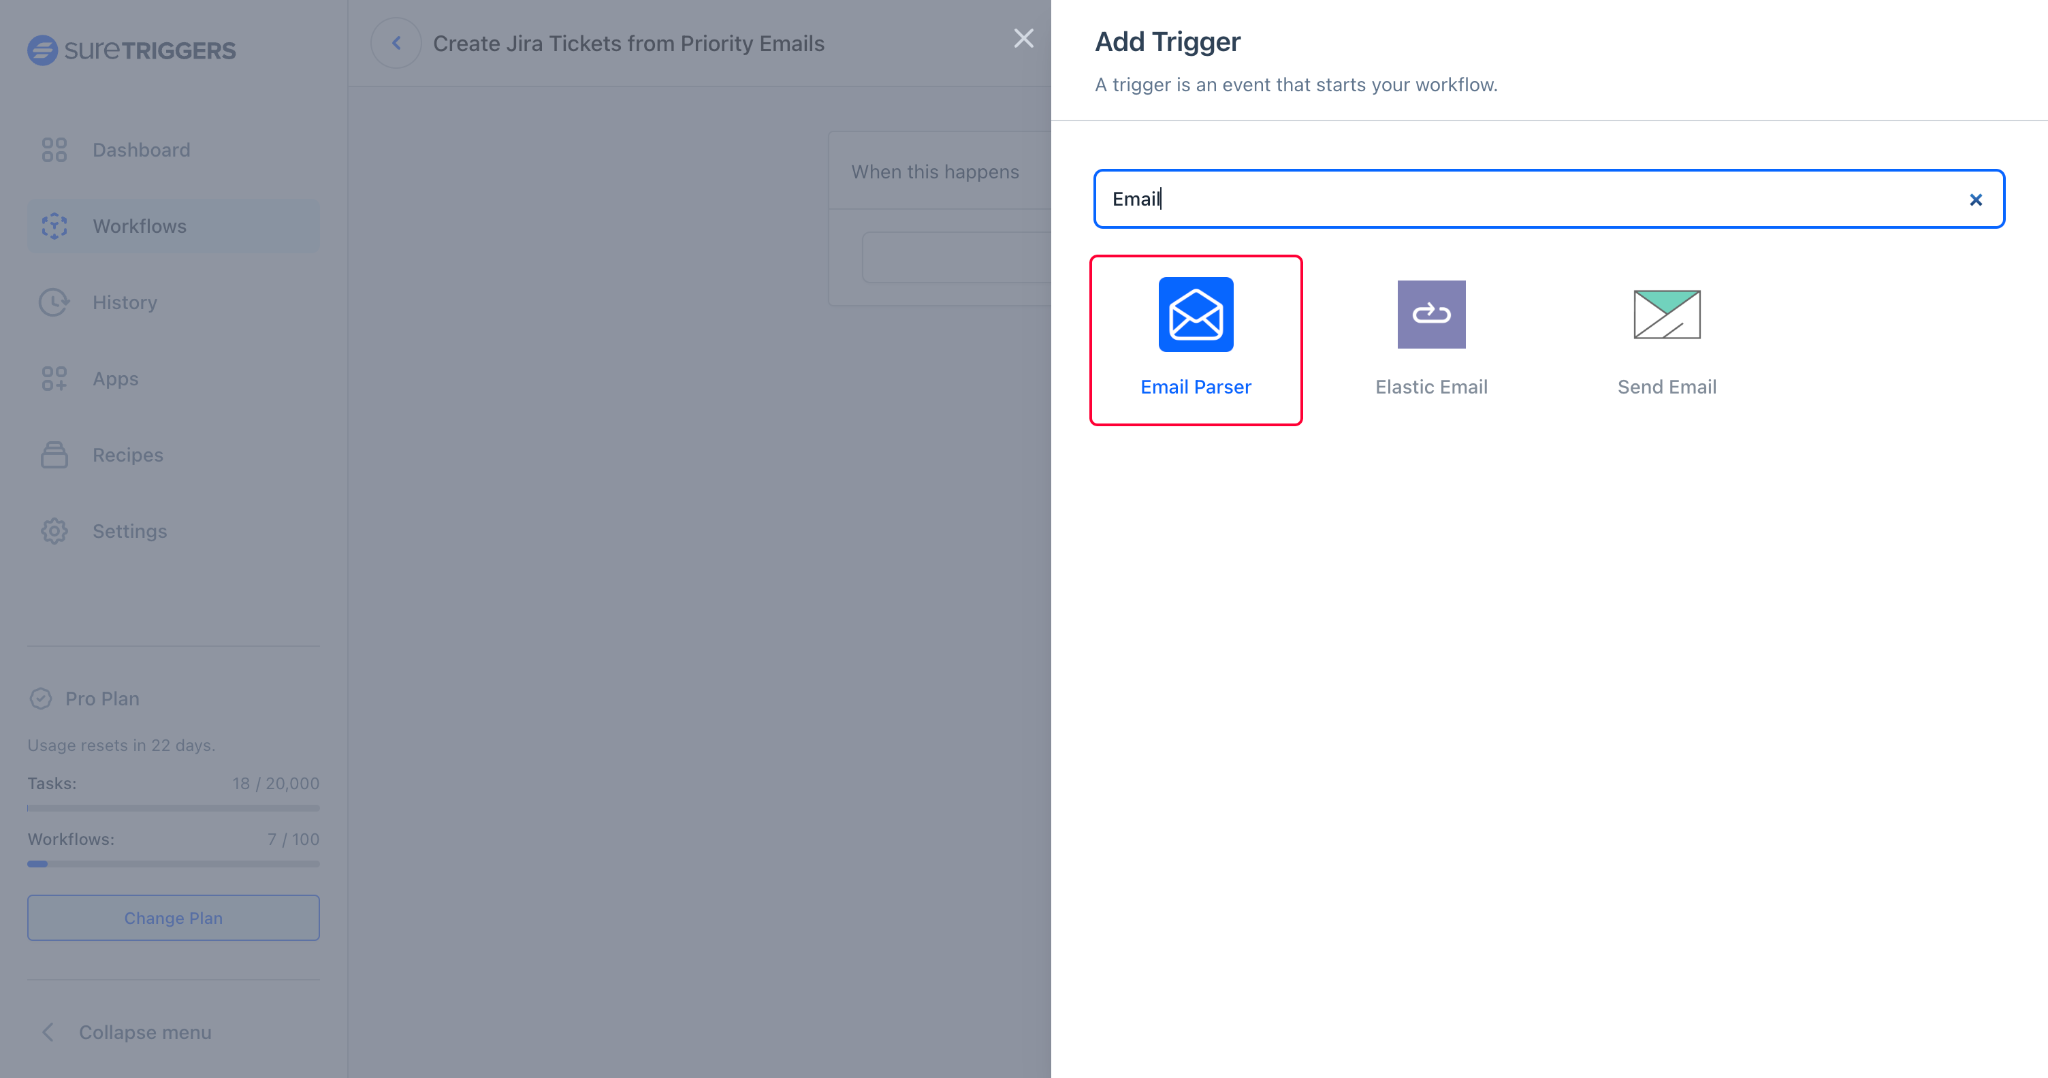
- Click on the “Add Trigger” button.
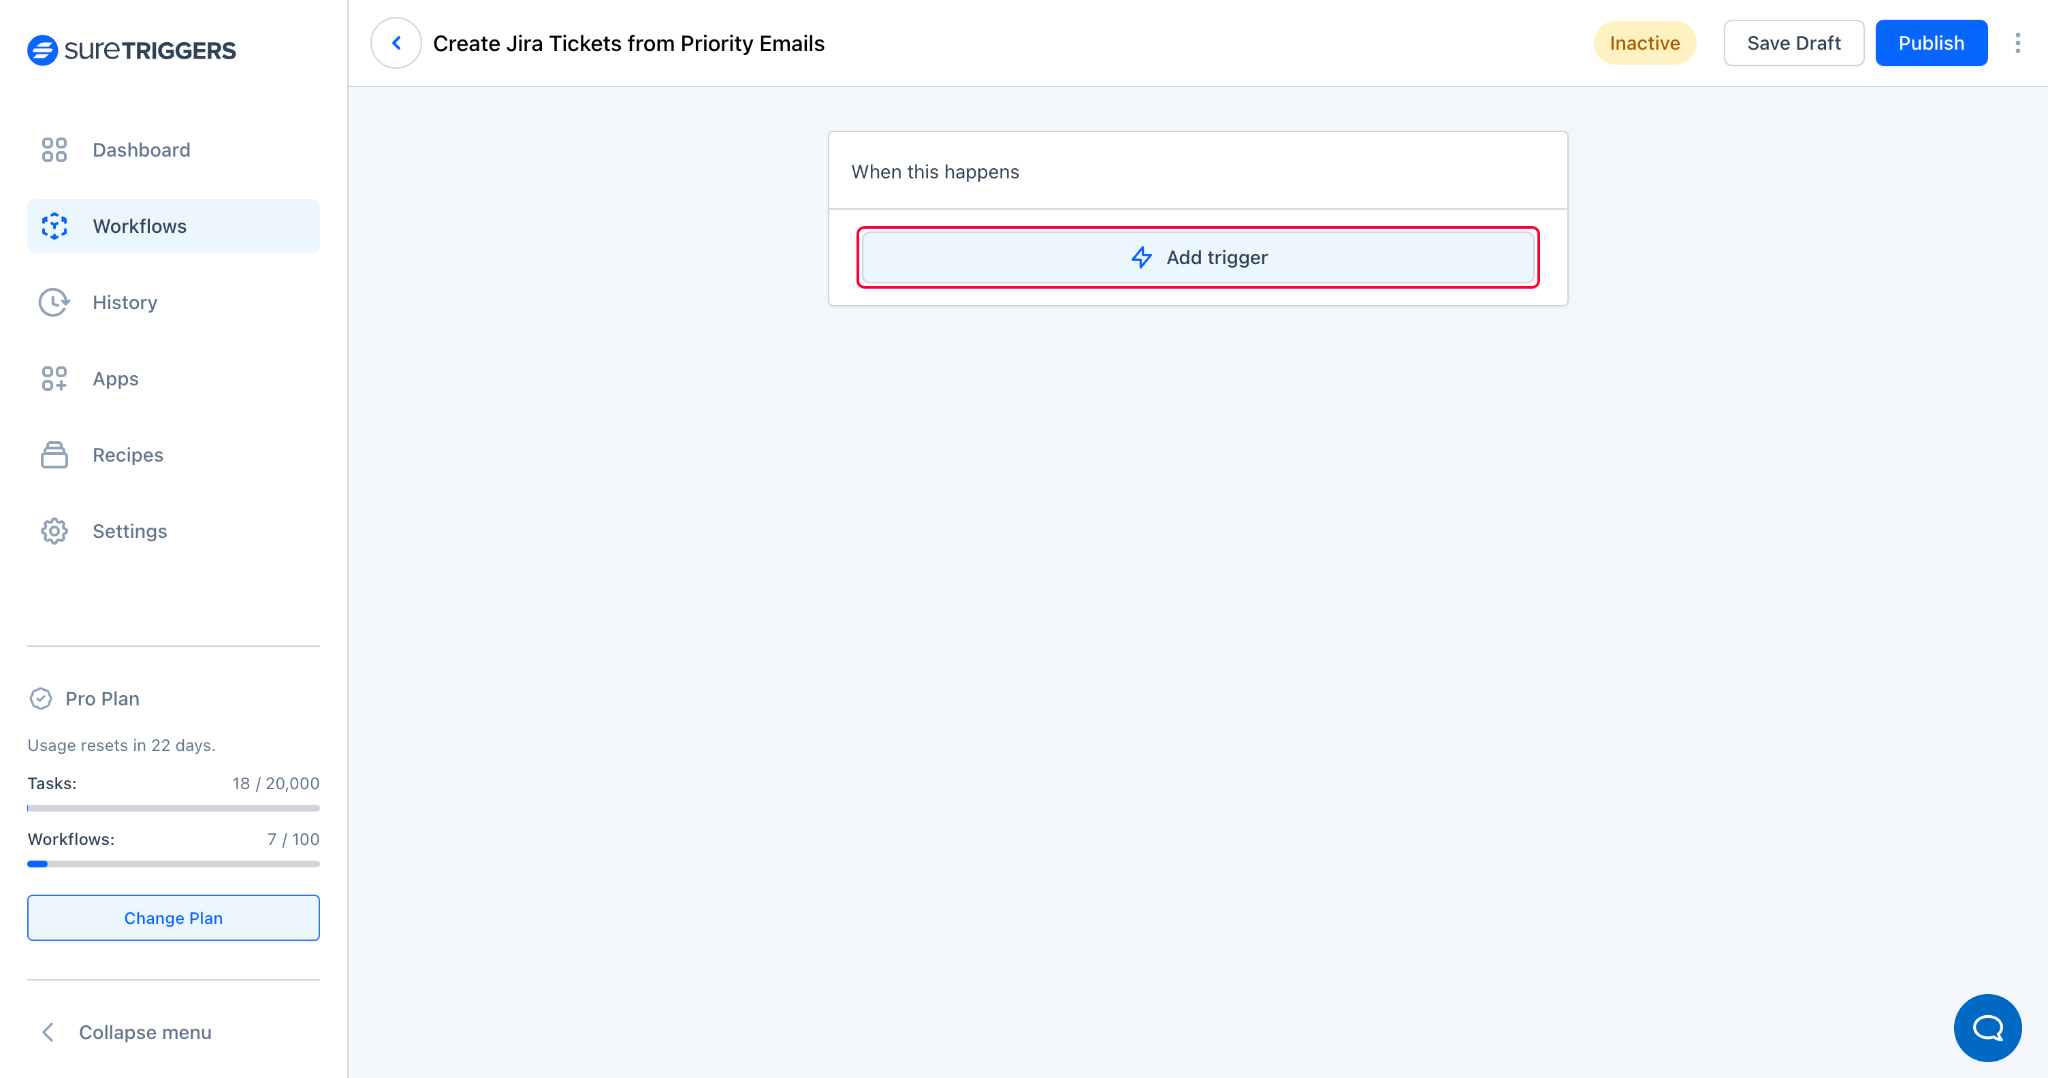
- Search for “Email Parser” and select it from the results.
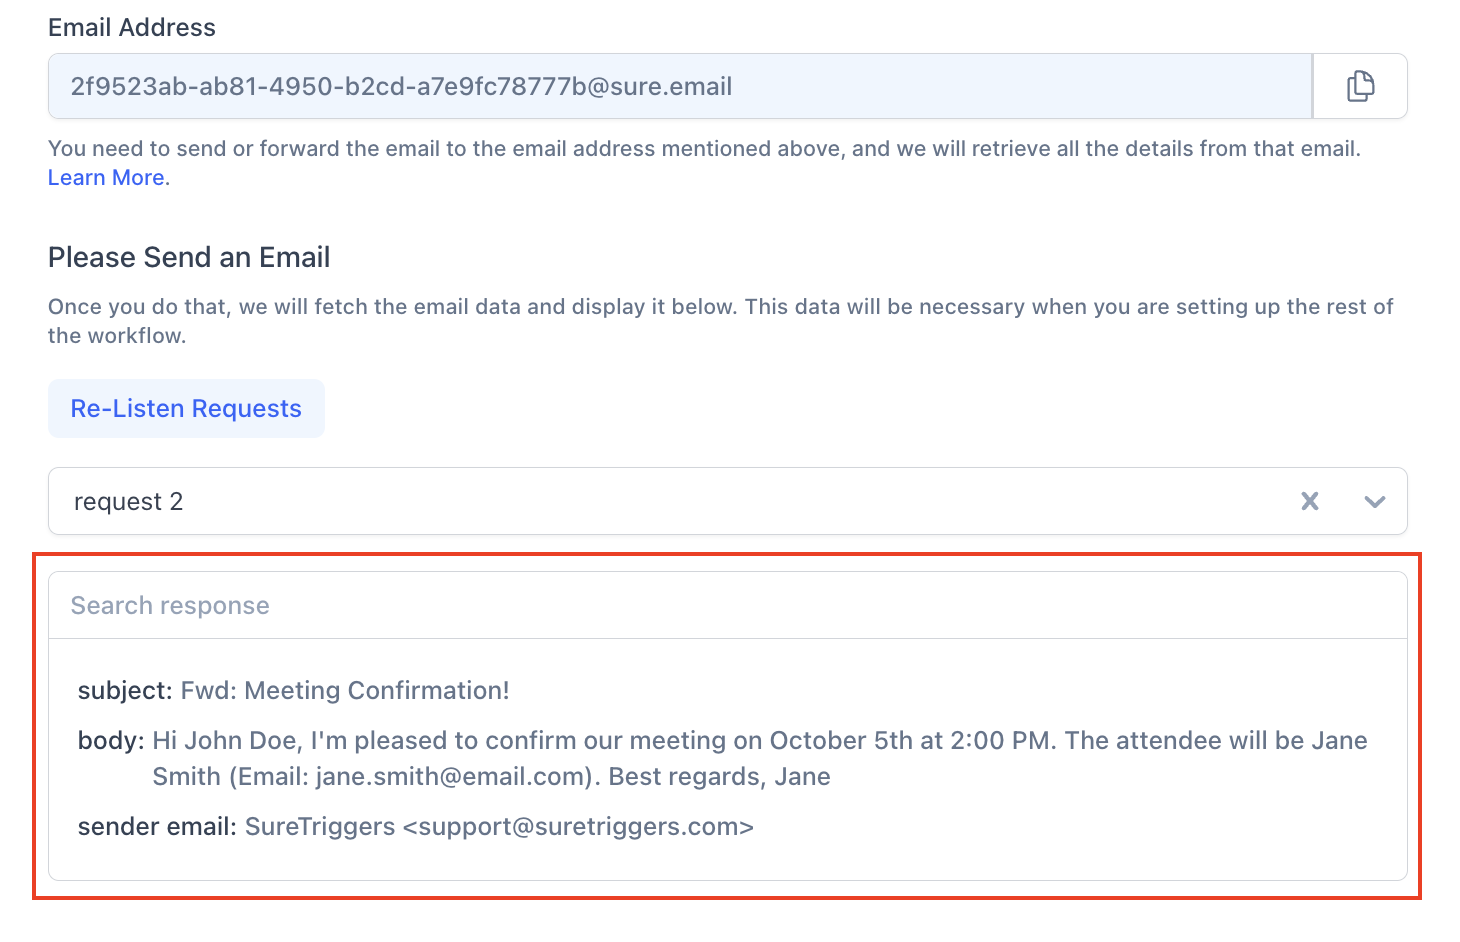
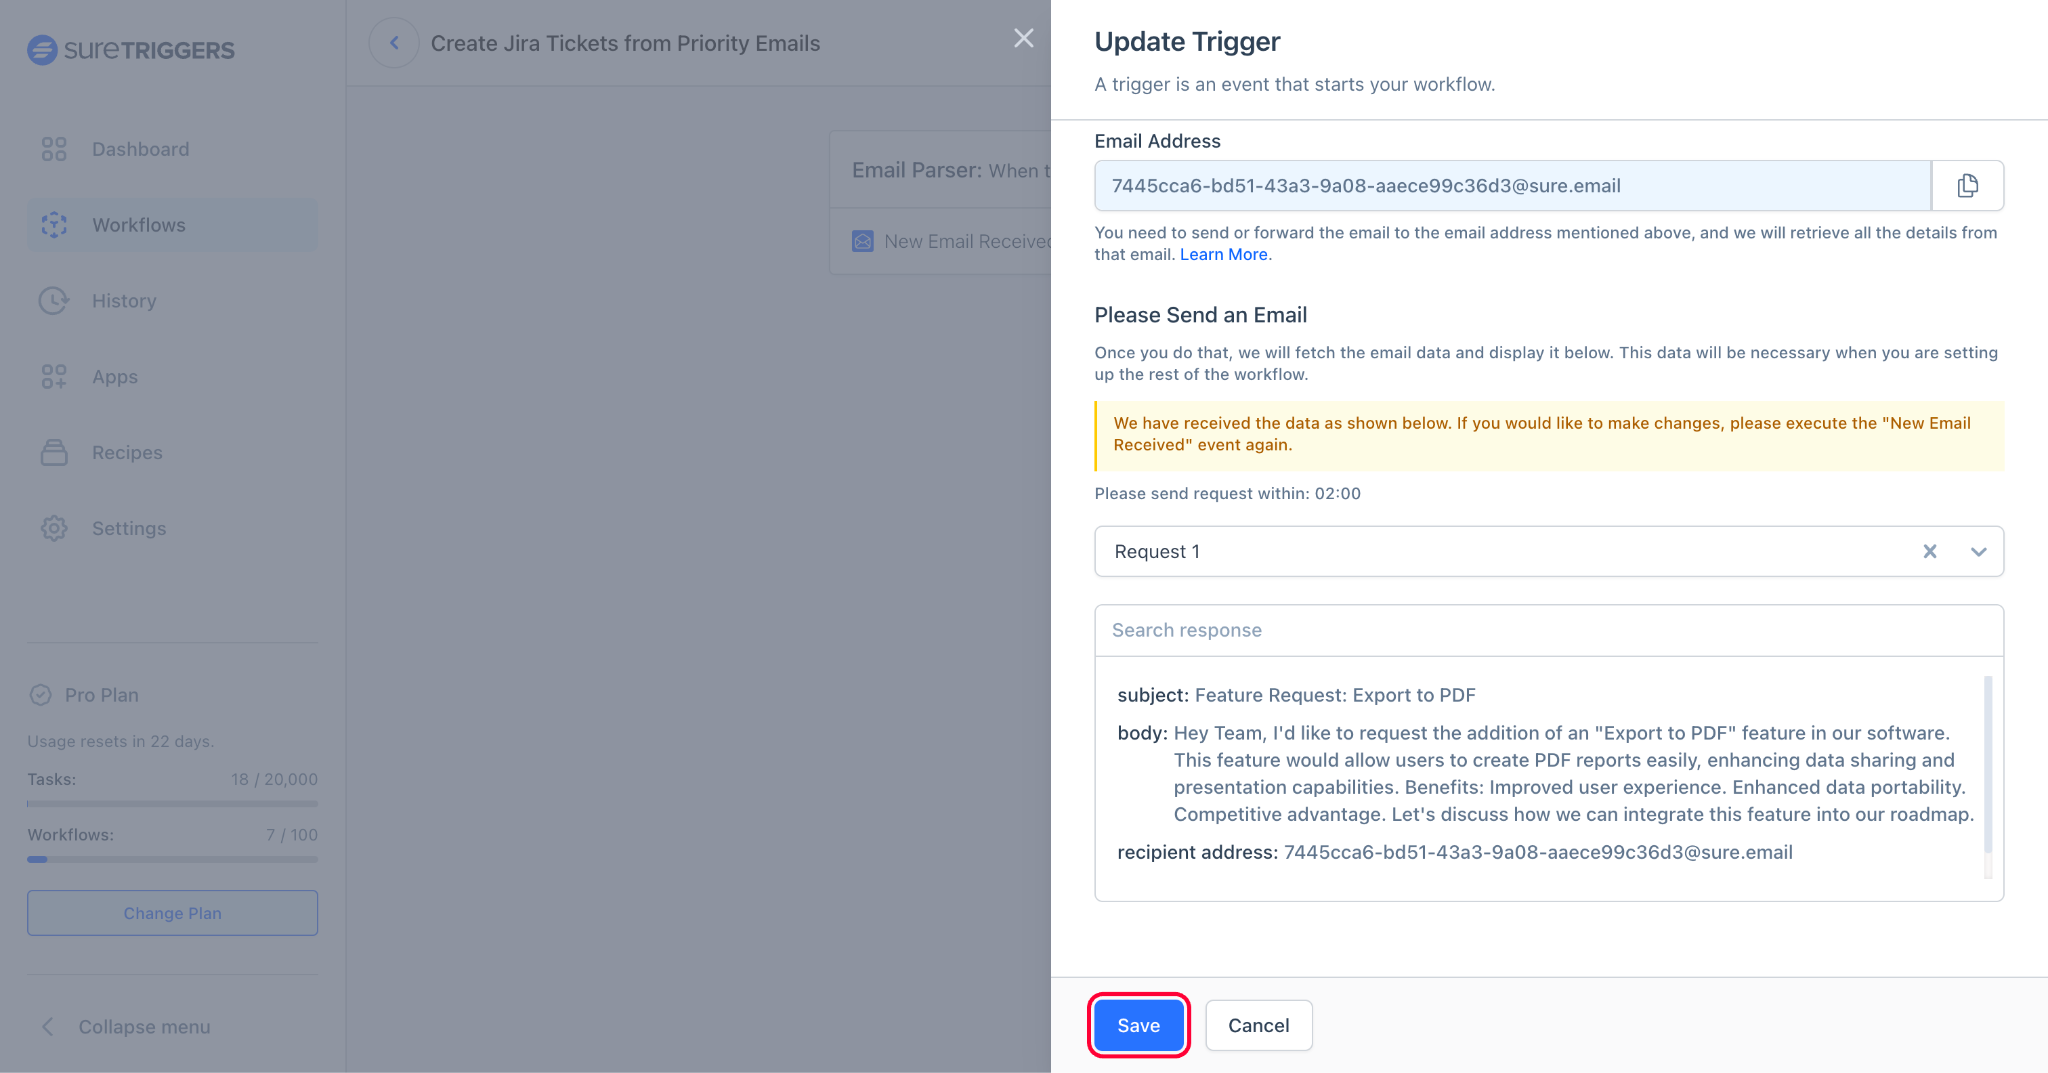
- Copy the email address shown on the screen.
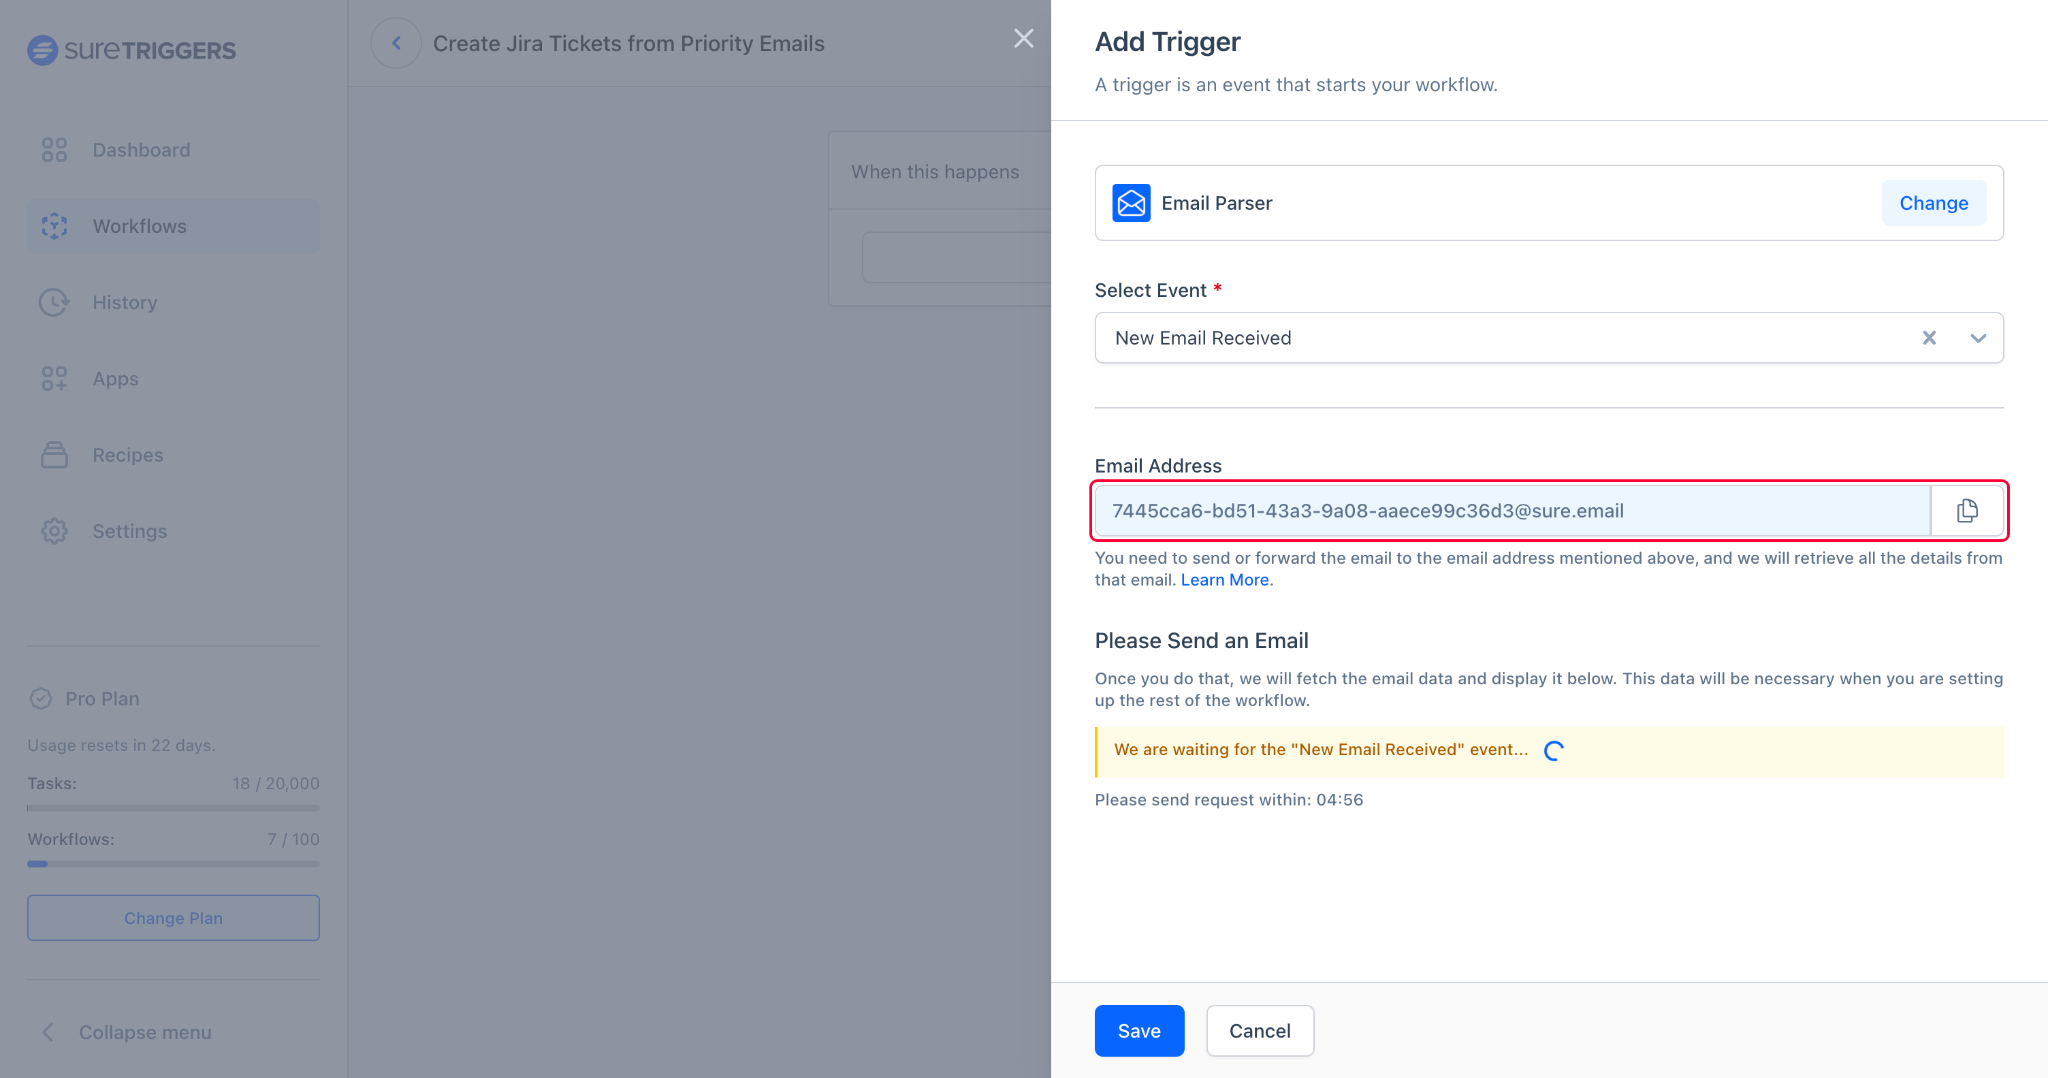
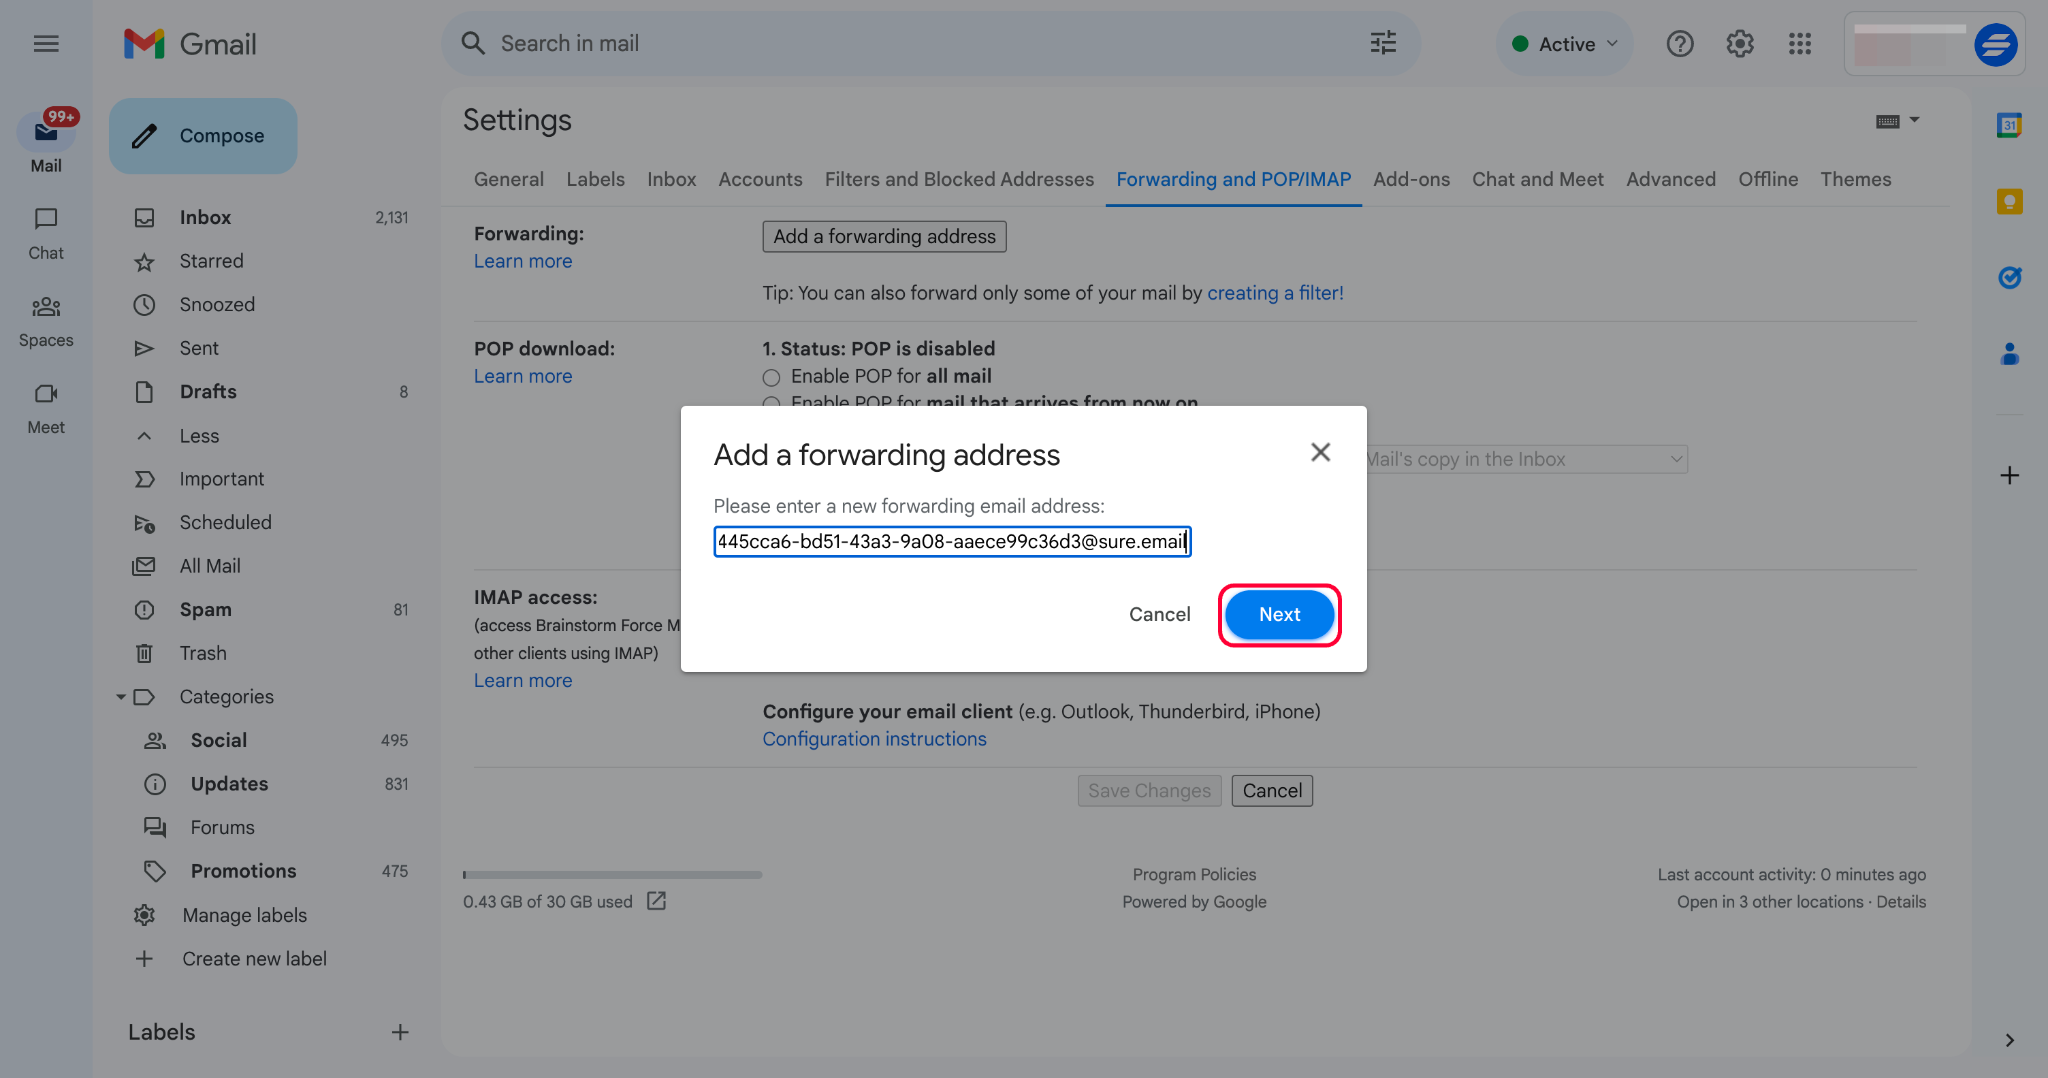
- Add this email address as the recipient in your mailboxes to receive emails here. You can even auto-forward emails to this address.
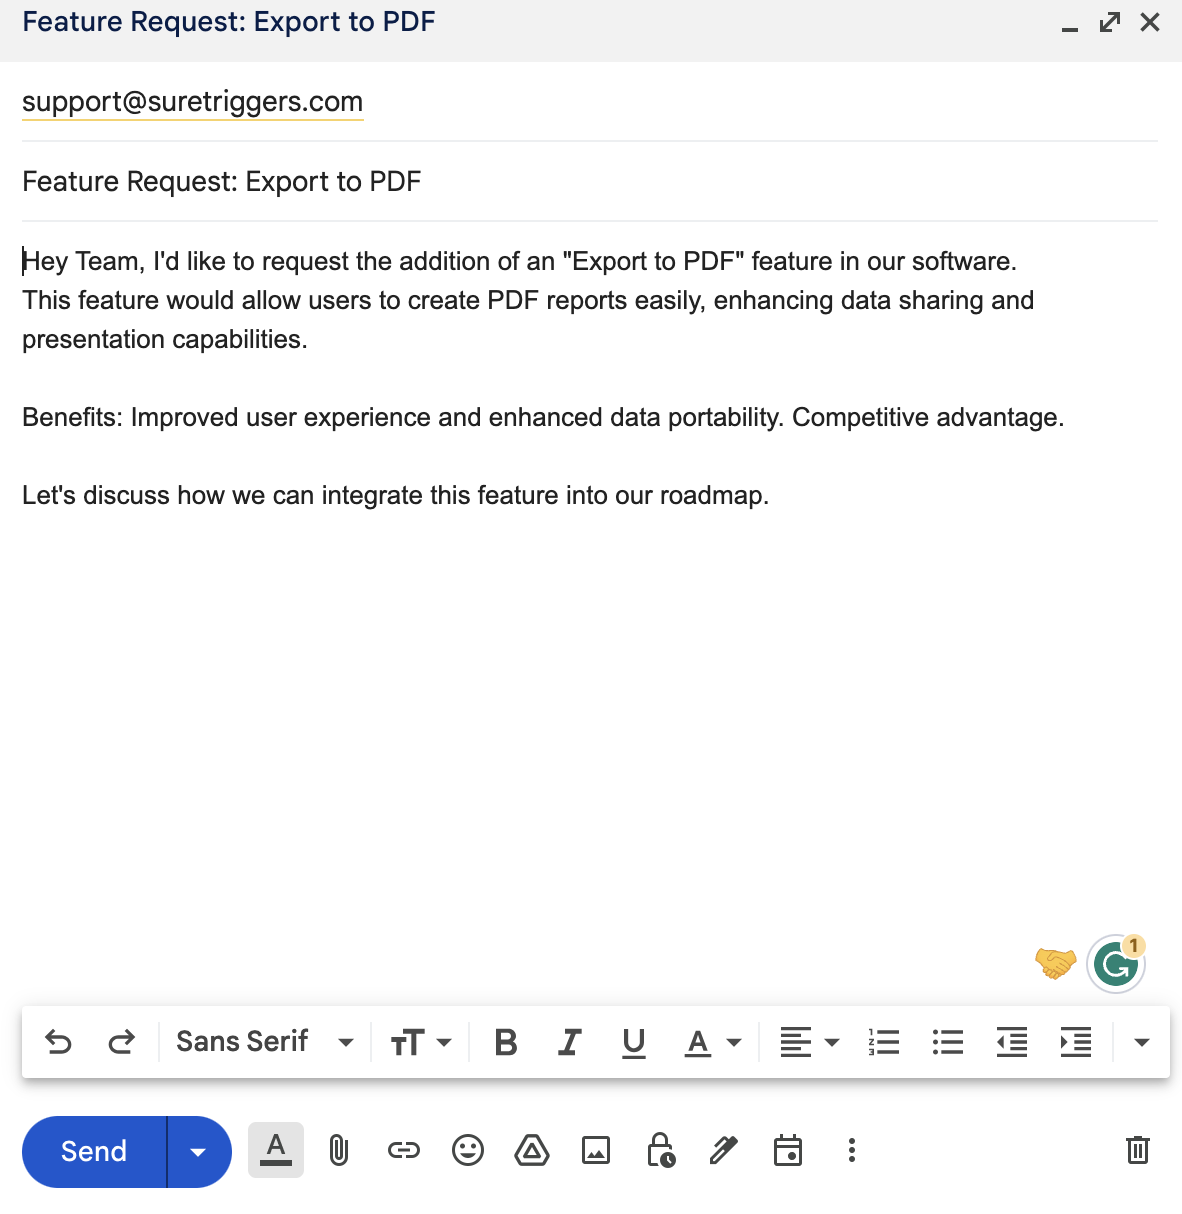
- Once done, send an email to your mailbox or to the email address.
- After sending the email, you’ll see email data received in SureTriggers. You can review the data and save this step.
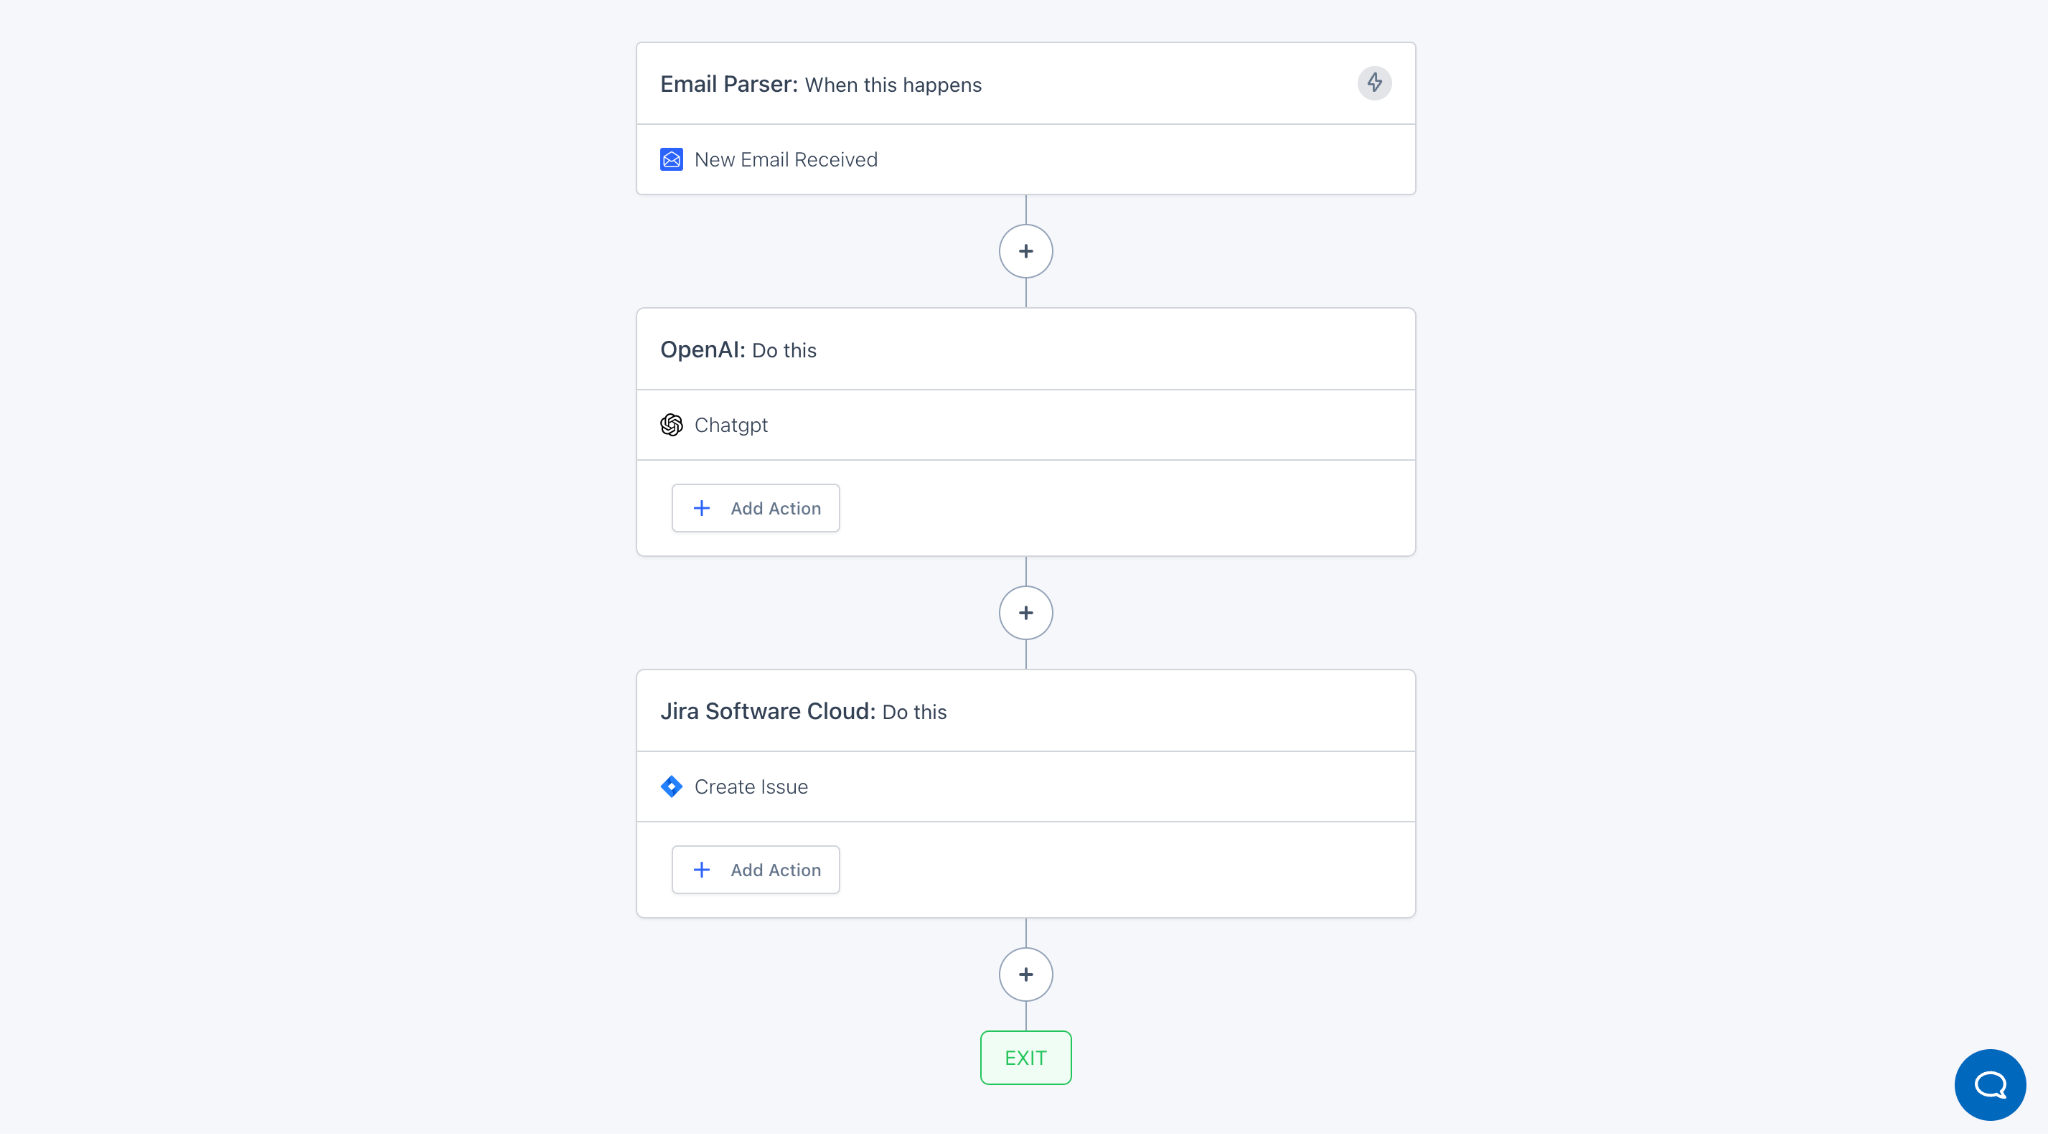
That’s it. Your Email Parser is set. Now, you can set up the next action steps and forward the data from Email Parser to any other app.
Hope this was helpful.
You can follow the steps above to set up an Email Parser in your workflows, and if you face any challenges, we’re just a message away.
We don't respond to the article feedback, we use it to improve our support content.