Are you using Beaver Builder to create contact forms on your website? If you are, then you probably know the struggle of reviewing and replying to the queries that come through those forms.
Handling those contact form messages manually can be a real pain.
You have to go through each message, read and understand what they’re saying, and then come up with a thoughtful response.
It’s a lot of work, especially when you have a bunch of messages to deal with.
And let’s not forget the delays. When you’re juggling between so many messages, it’s easy for responses to take longer than you’d like. It can be frustrating for people who submit the forms expecting a response.
On top of all that, you have to keep checking for new form submissions all the time. It’s like a never-ending cycle of form-checking and replying.
But don’t worry, SureTriggers can make your life a whole lot easier.
With SureTriggers, you can create a workflow that takes care of all this manual hassle for you.
It can automatically send personalized responses when someone submits a form, and it can instantly notify your team on Slack whenever a new form entry comes in.
How cool is that?
So, no more drowning in form submissions or stressing about delayed responses.
Let’s dive in and see how you can set up this awesome automation and simplify your contact form management.
Connecting with Apps You Would Need
To understand how to create this workflow, we will use the following apps:
- Beaver Builder: To create our contact form easily.
- OpenAI: To generate personalized emails that will truly impress your recipients.
- Gmail: To send emails to your customers whenever a form is submitted.
- Slack: We’ll assume that you and your team are already rocking Slack for internal communications. So, we’ll integrate with Slack and send a notification message whenever a new form submission lands in your inbox.
The process to connect these apps with SureTriggers is very simple. However, if you do not know how to connect different apps with SureTriggers, you can check out this article.
Steps to Create the Workflow
Once you have connected all the apps that you need with SureTriggers, you can simply follow the steps below.
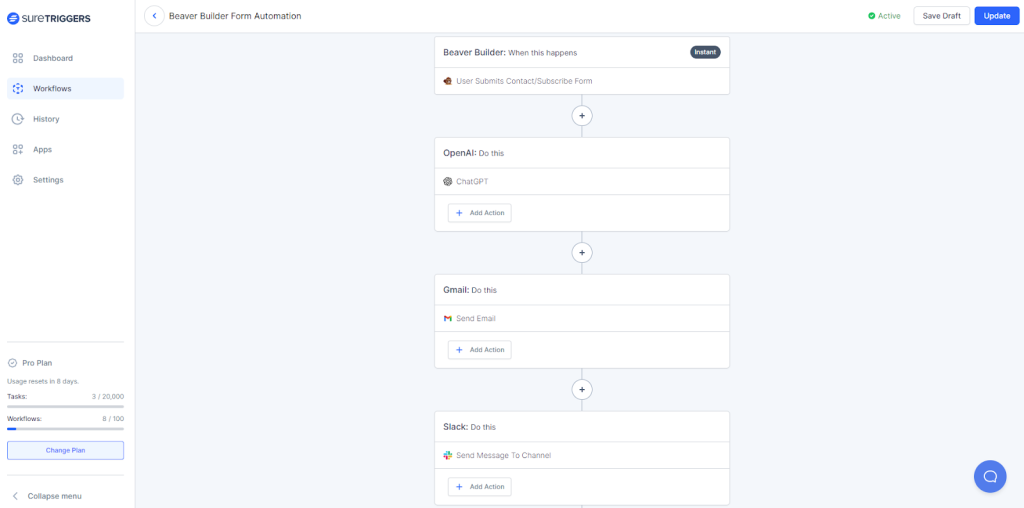
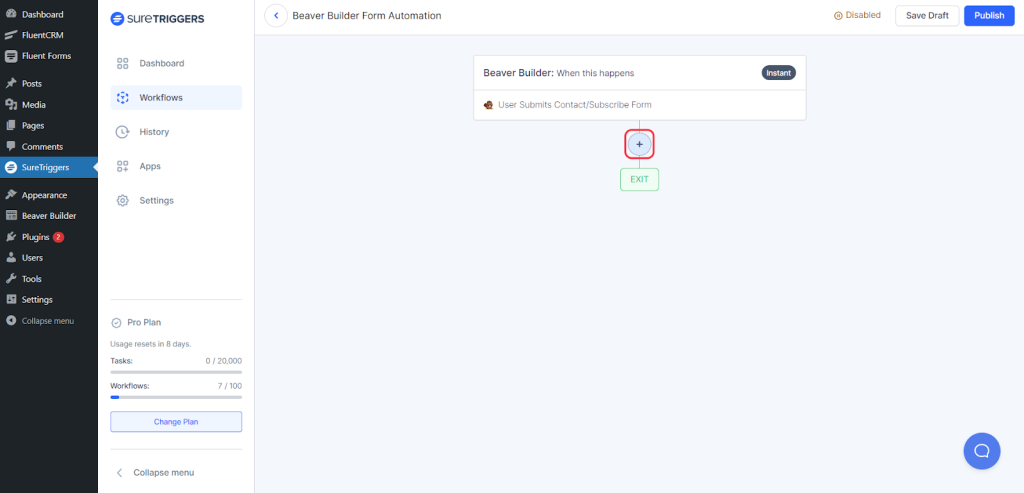
Step 1: Setting up the trigger for Beaver Builder Form
After you’ve created your form, you have to make sure that your form is saved as a module in Beaver Builder. Once you have saved your form as a module, proceed with the following steps:
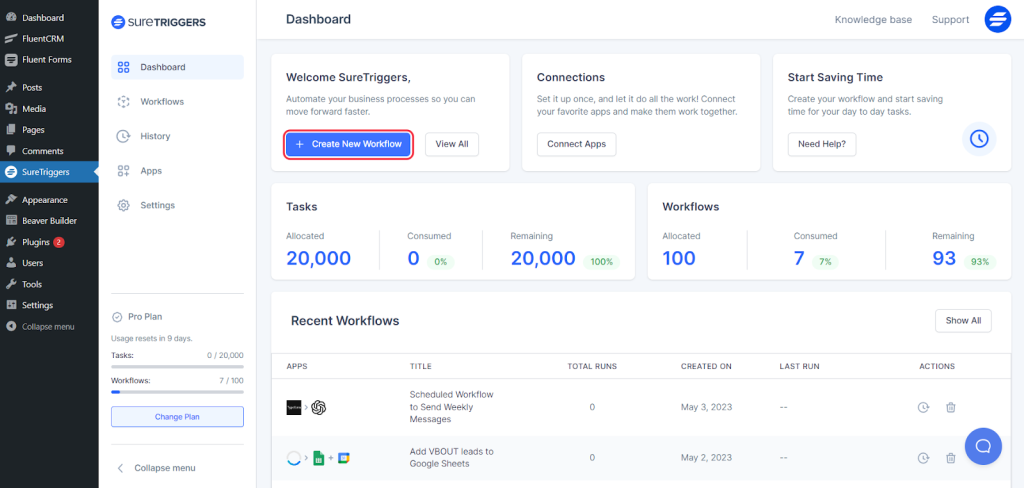
- Log in to your SureTriggers account.
- Click on the Create New Workflow button.
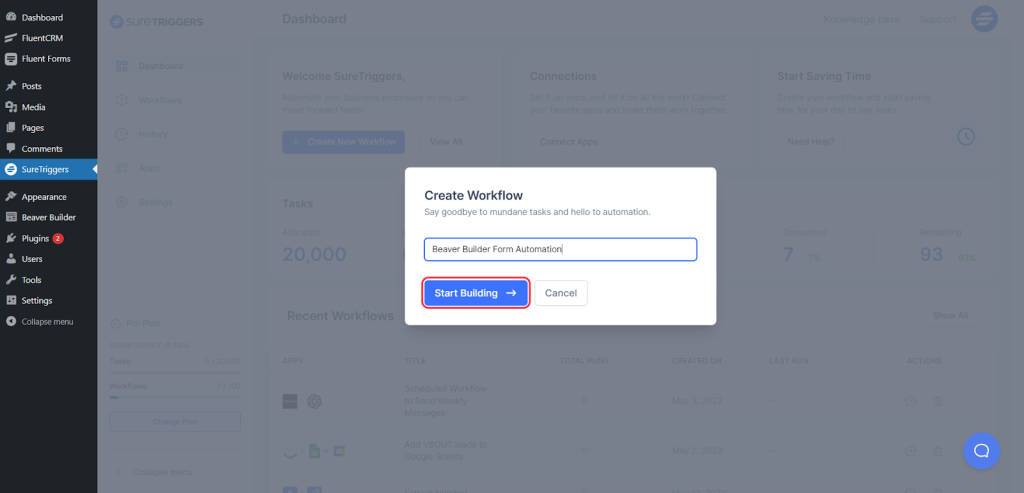
- Give a name to your workflow for reference and click on the Start Building button.
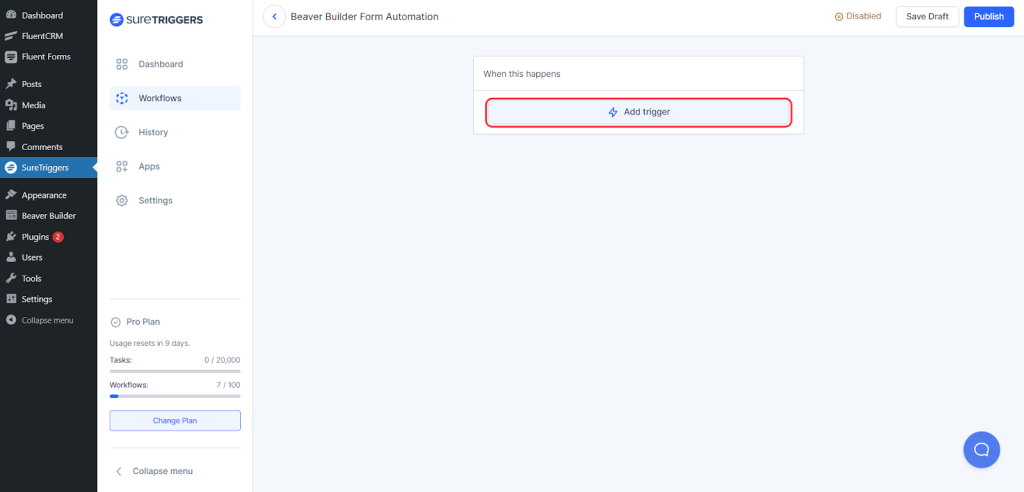
- Click on Add Trigger button and select Beaver Builder as your trigger app.
- Select the trigger event as ‘User Submits Contact Form/Subscribe Form’ and select the connection as the site with Beaver Builder installed.
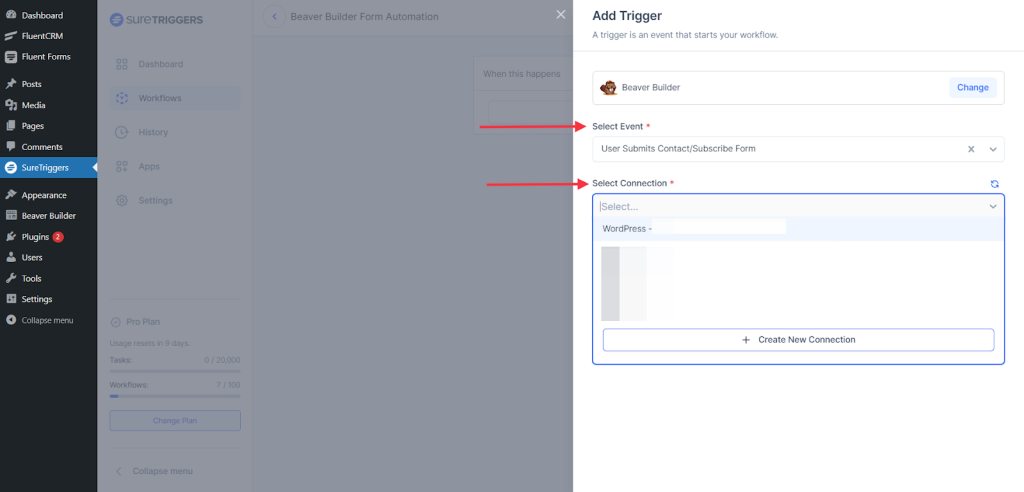
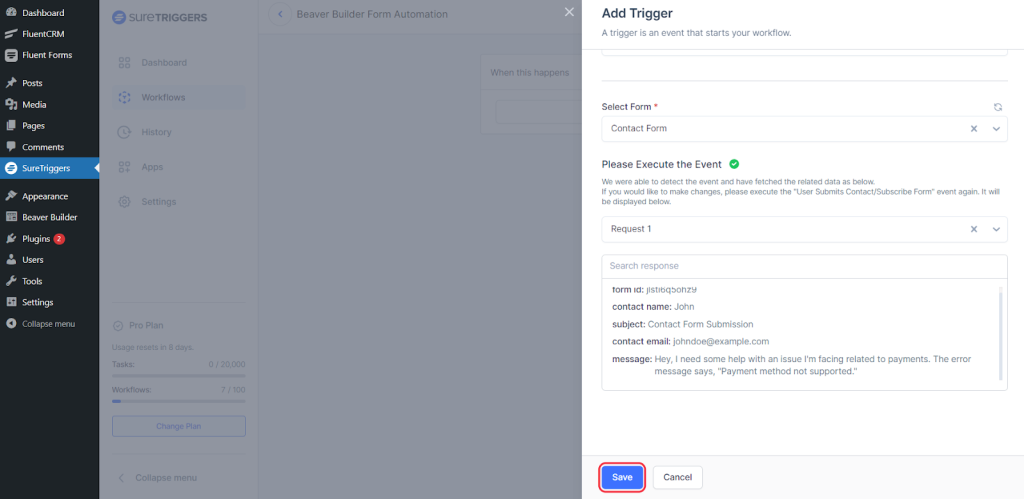
- Once the connection is selected, you will get the list of forms saved as a module in Beaver Builder. You can select the form that should start this workflow.
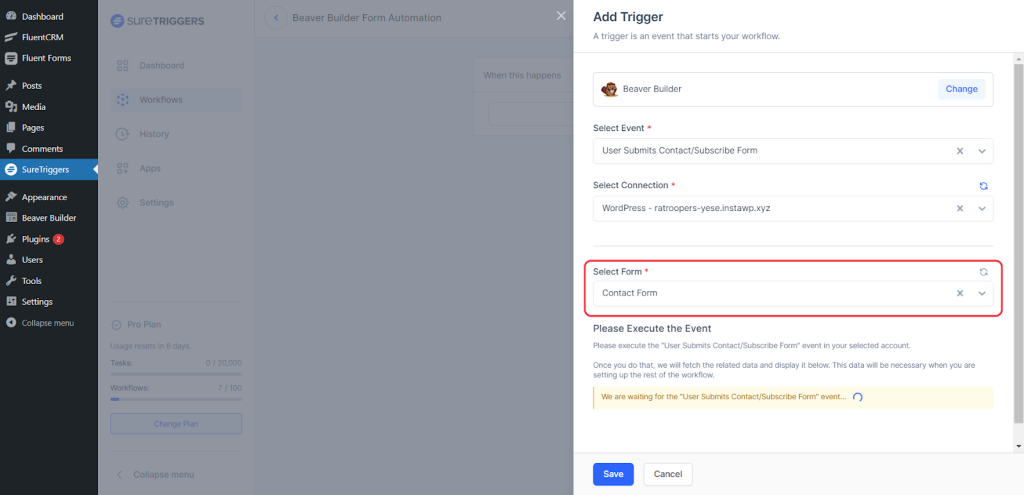
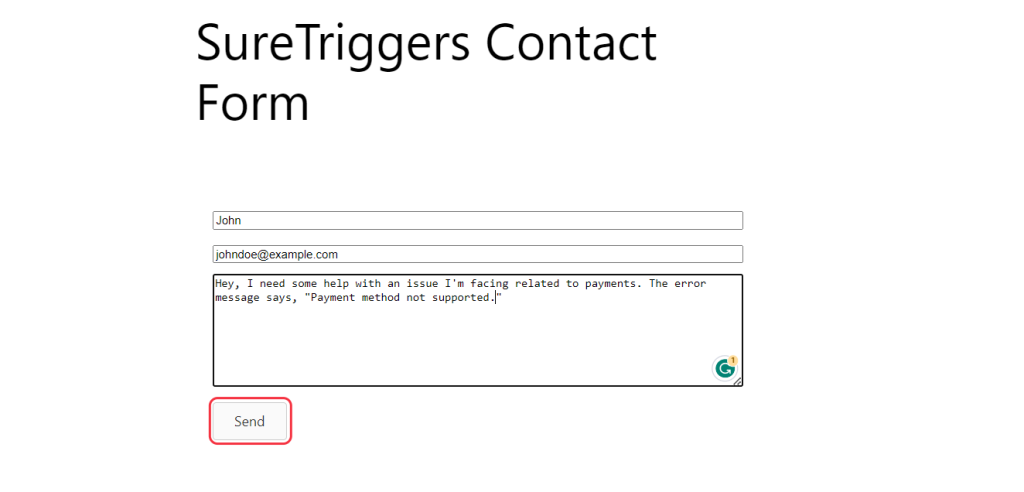
- After selecting the form, submit the form with sample information so SureTriggers can capture the structure of the response that the form will send.
- Once the response is fetched, you can save this step.
Step 2: Setting up action to generate a personalized email
Here are the steps to generate a personalized response to the form submission using OpenAI in a natural flow:
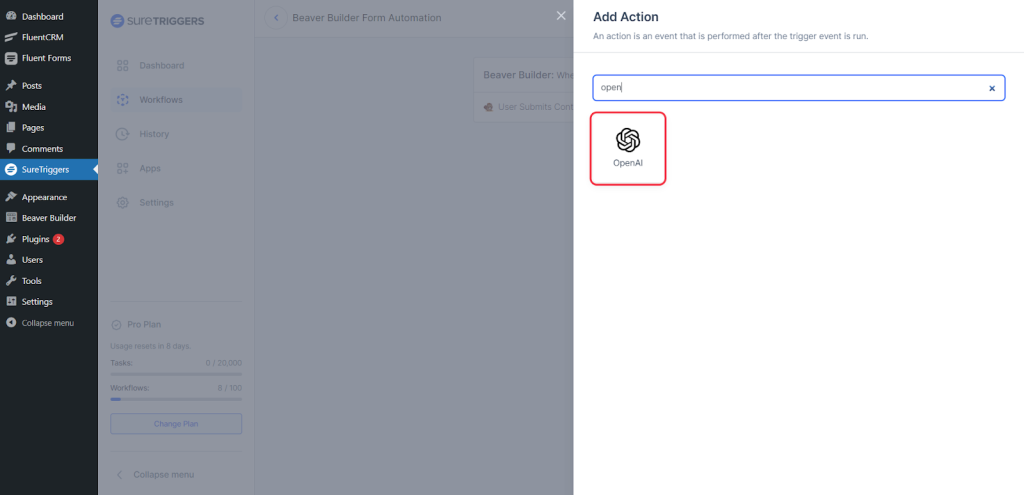
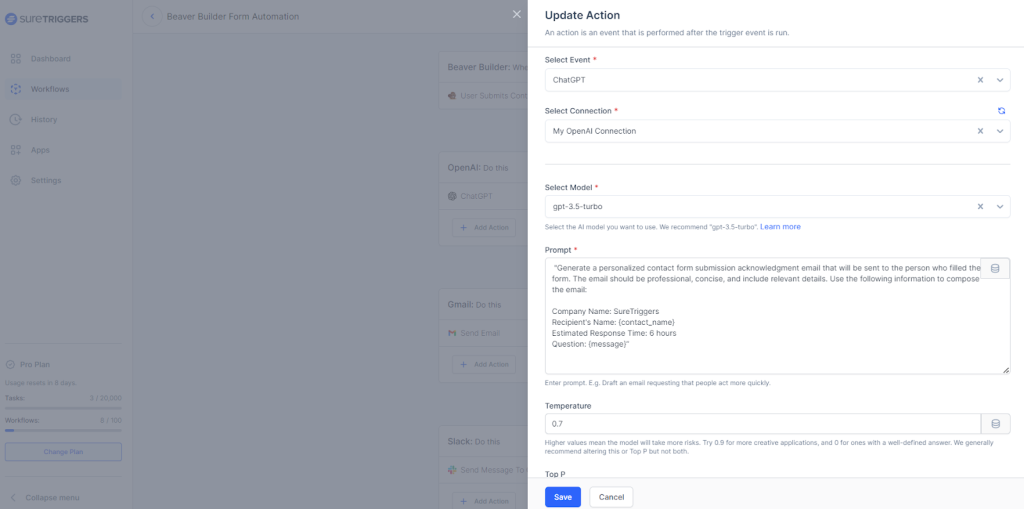
- Click on the plus icon to add a new action.
- Search for OpenAI and select Open AI from the results.
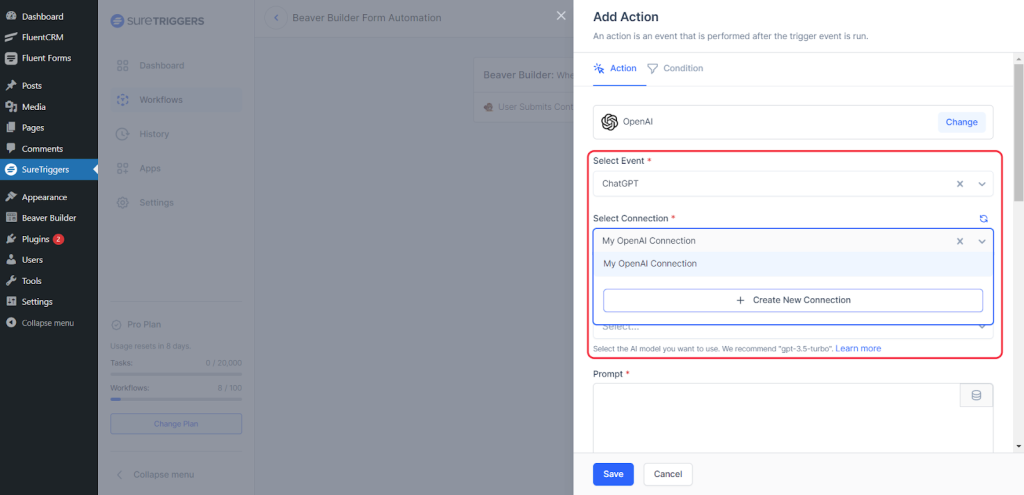
- Choose the action as ChatGPT and select the account you added for OpenAI as the connection.
- Set the model as gpt-3.5-turbo.
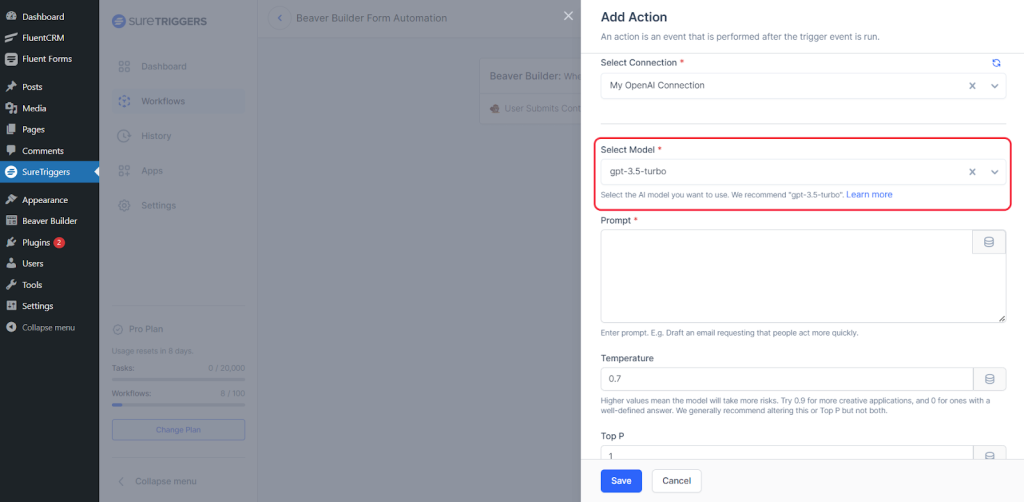
- Use the following prompt to generate the personalized response from OpenAI:
Generate a personalized contact form submission acknowledgment email that will be sent to the person who filled the form. The email should be professional, concise, and include relevant details. Use the following information to compose the email:
Company Name: {Type your company’s name}
Recipient’s Name: {Map Recipient’s Name}
Estimated Response Time: {Type an estimate reply time}
Question: {Map Message from the form}
Be sure to map the name, message and any other dynamic data of the recipient from the form submission step.
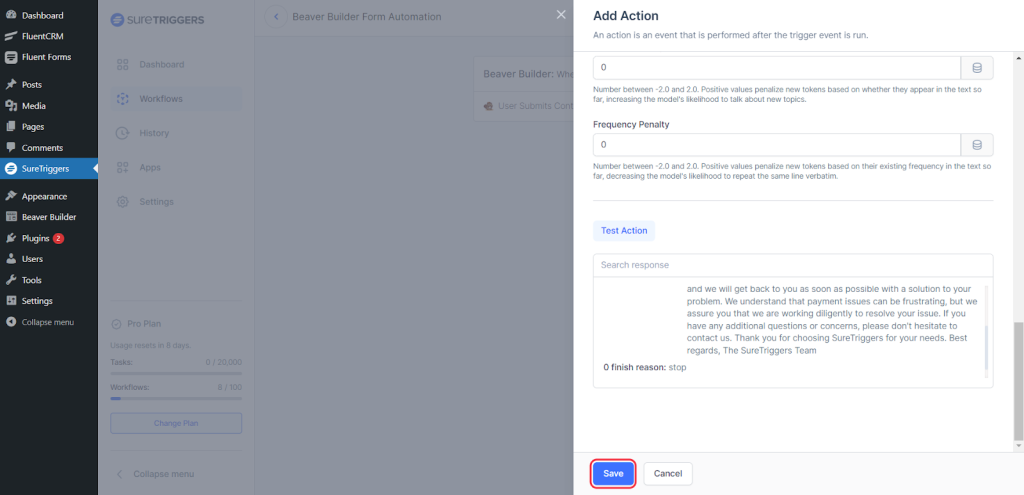
- In the Stop Sequence field, add ‘Thank You’ so chatGPT doesn’t generate text after the email has been drafted.
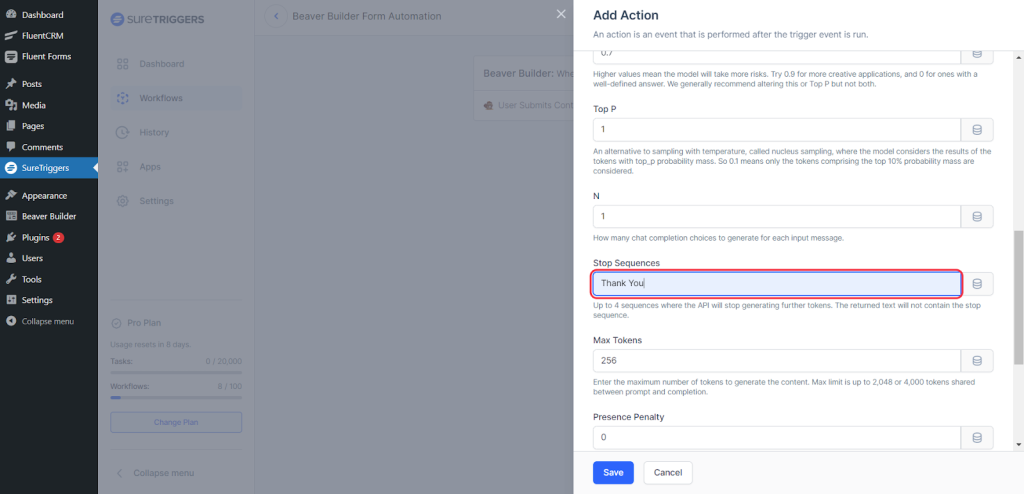
- Keep the other default fields filled with default values.
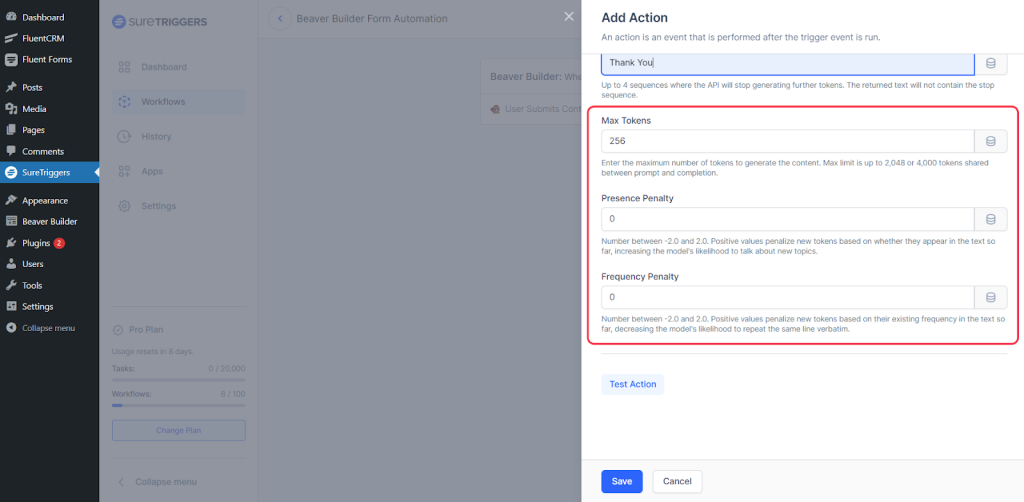
- Click on the Test Action button.
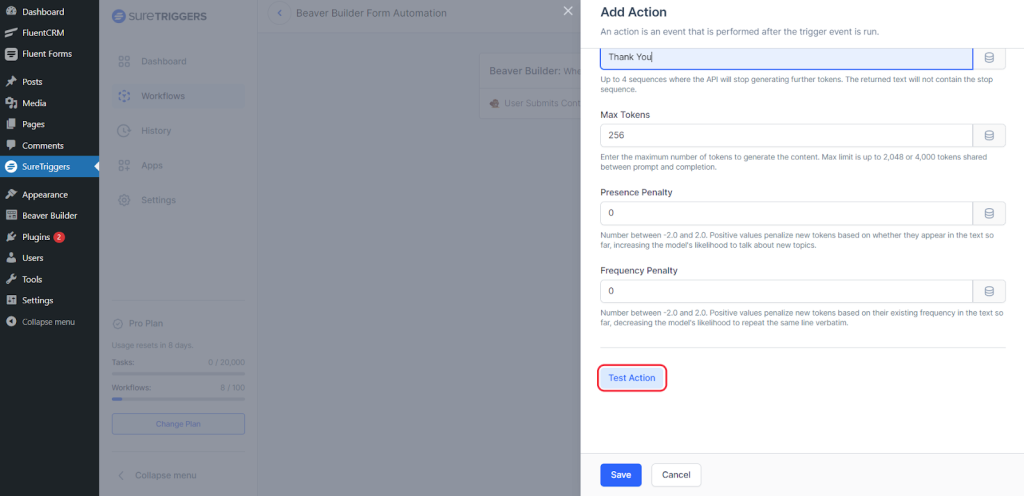
You will see a sample email generated by ChatGPT, which can be sent as a reply to the form.

- Save this step.
You can also tweak the prompt as per your requirements to generate the email with your desired tone and language.
Step 3: Setting up the action to send the email
Next, we will send the generated email to the user with Gmail action. To set up the action step, follow these steps:
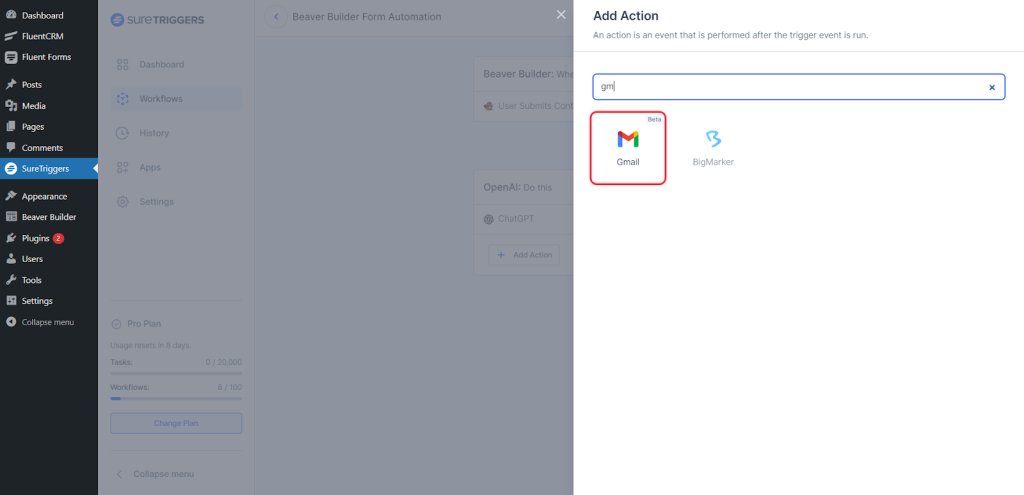
- Click on the plus icon to add a new action.
- Search and select Gmail.
- Select the action as Send Email and select the connection that you added previously.
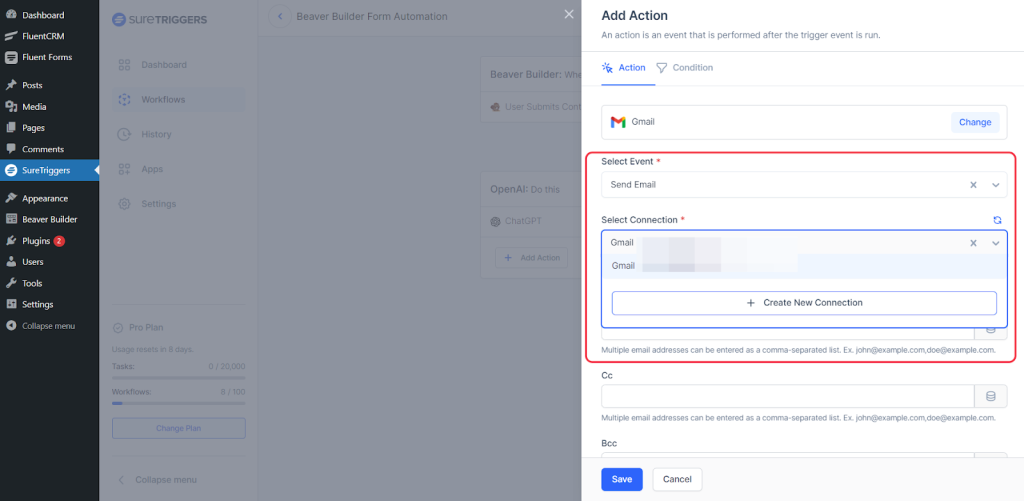
- Map the details in the fields as asked on the screen like To email, reply to, subject, etc.
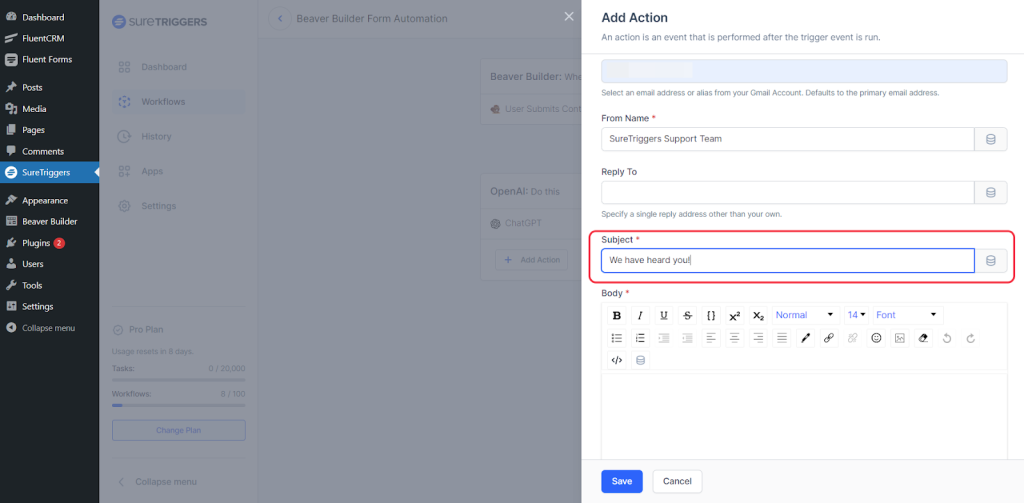
- In the email body, map the response from OpenAI.
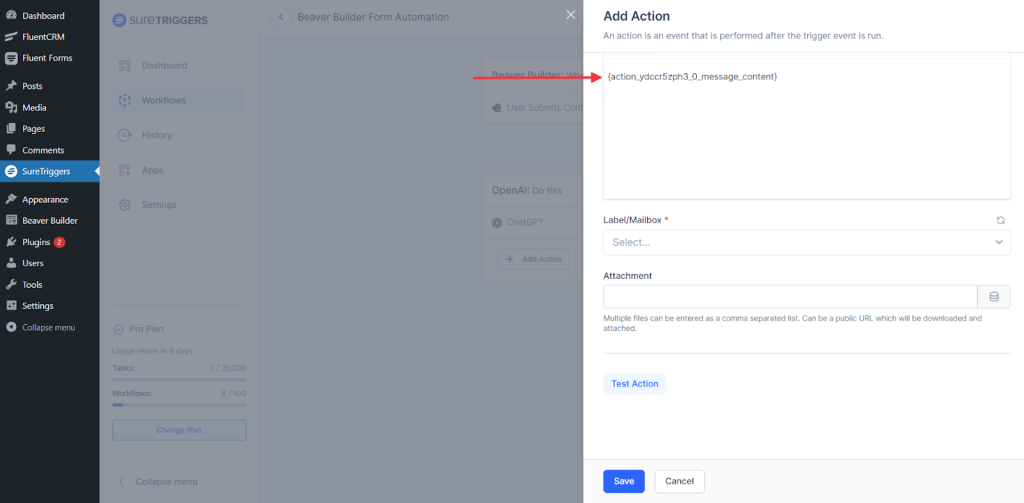
- Perform a test action and save the step.
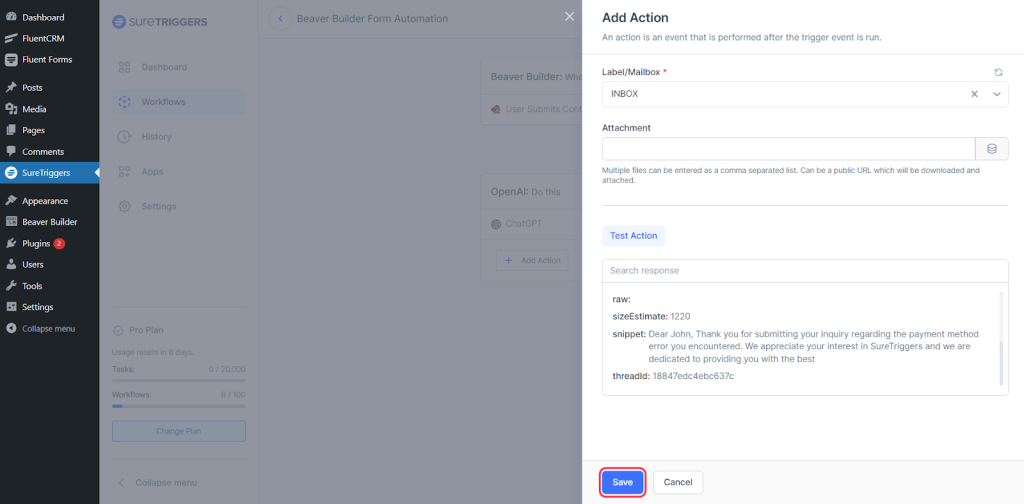
You can check the email inbox of the email that was used while filling out the form. You will see how the email would look on the customer’s end.
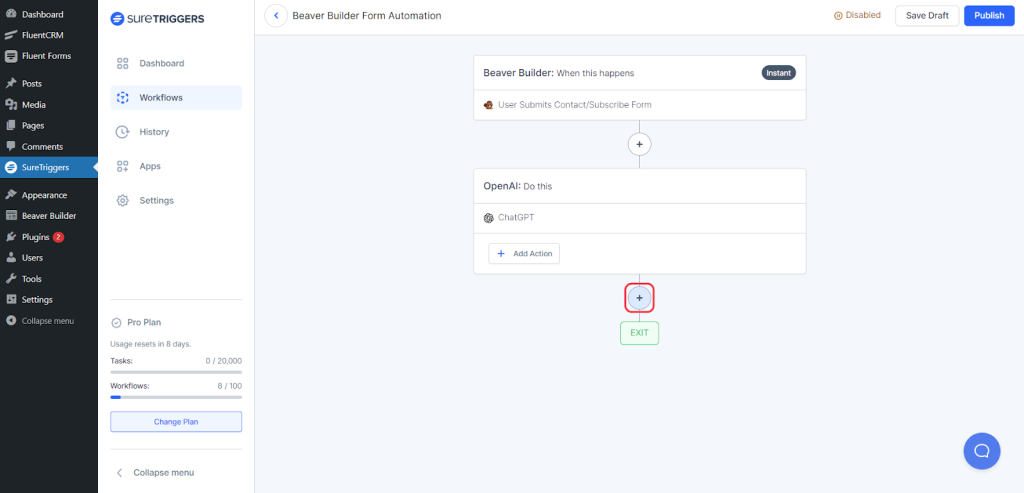
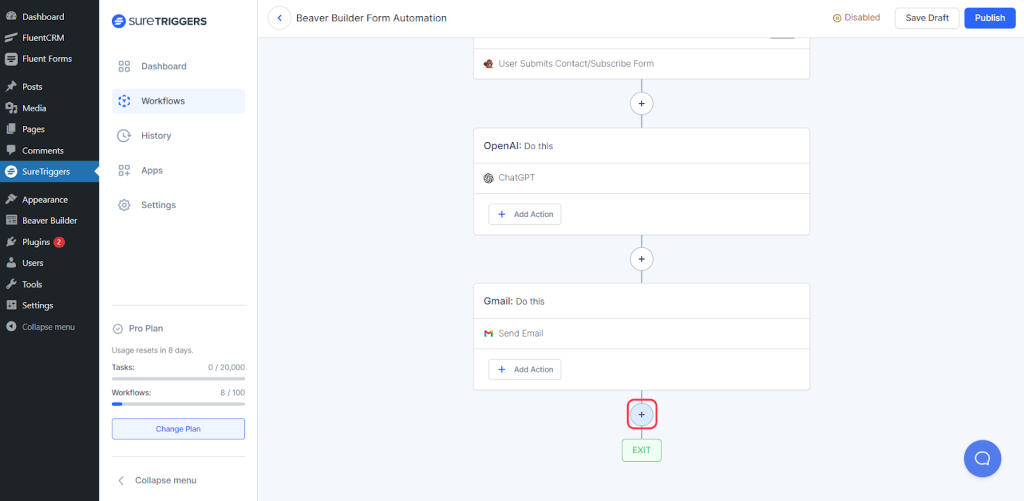
Step 4: Setting up action to notify team members on Slack
Before starting this step, you should connect your Slack workspace with SureTriggers by following the same steps that you did while connecting OpenAI and Gmail.
Once connected, add one more action to your Slack message. Here’s how:
- Click on the plus icon below the Gmail action.
- Search and Select Slack.
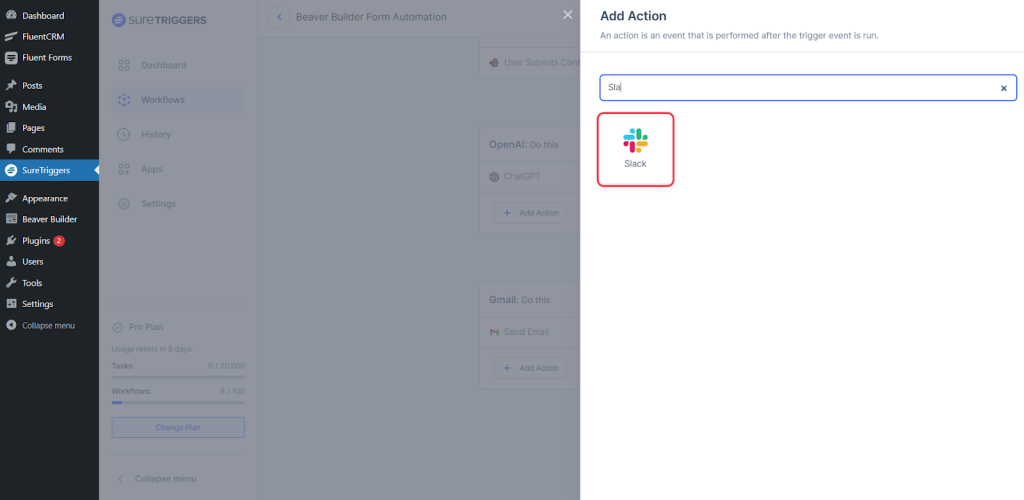
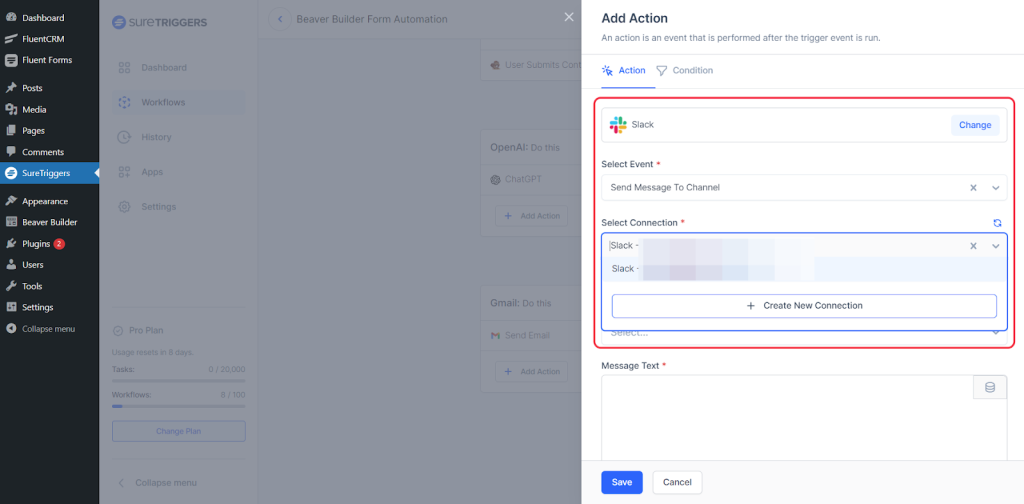
- Select action as Send Channel Message and connection as the workspace where you want to send the message.
- Select the channel where you want to send the message.

- Map the responses from the form submissions in the Message Text field.
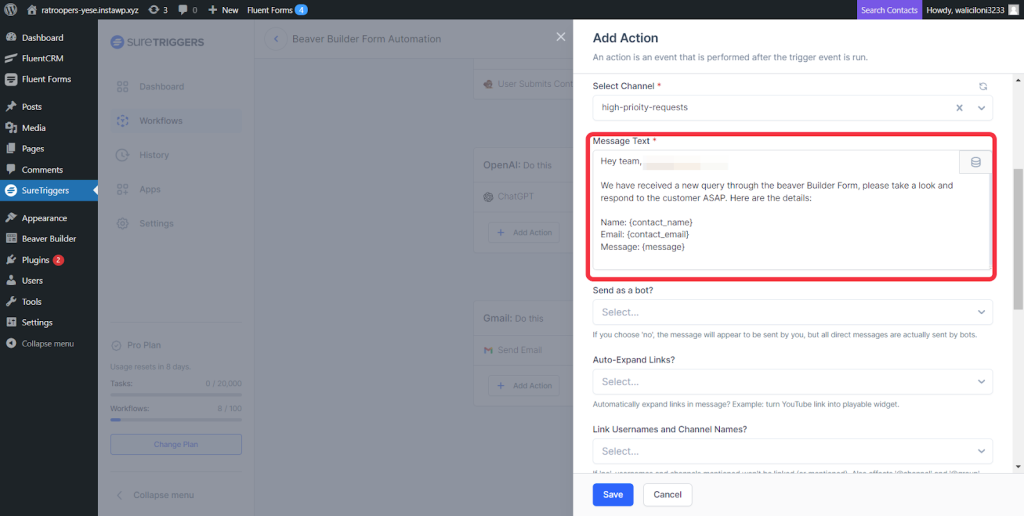
- Set up the other fields as instructed on the screen.
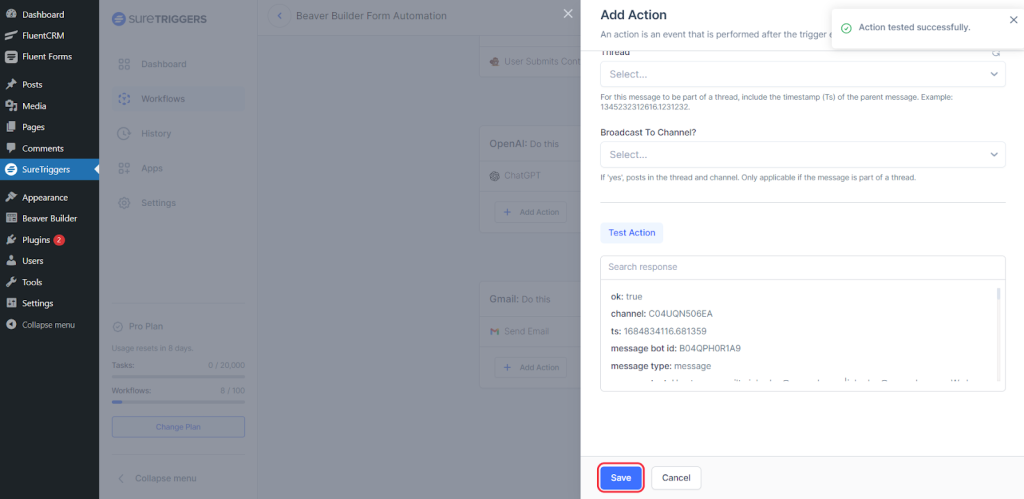
- When you have configured the other fields, click on Test Action Button.
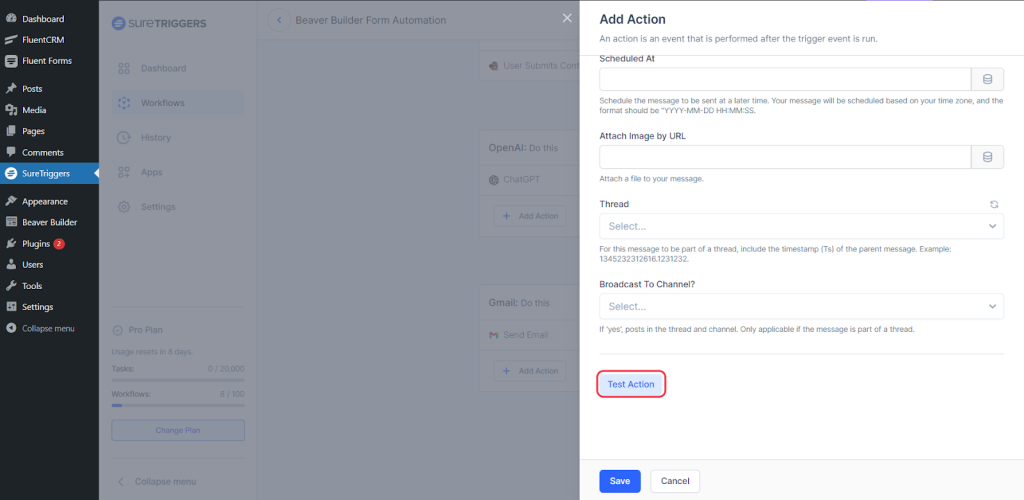
- Now, save this step and publish your workflow.
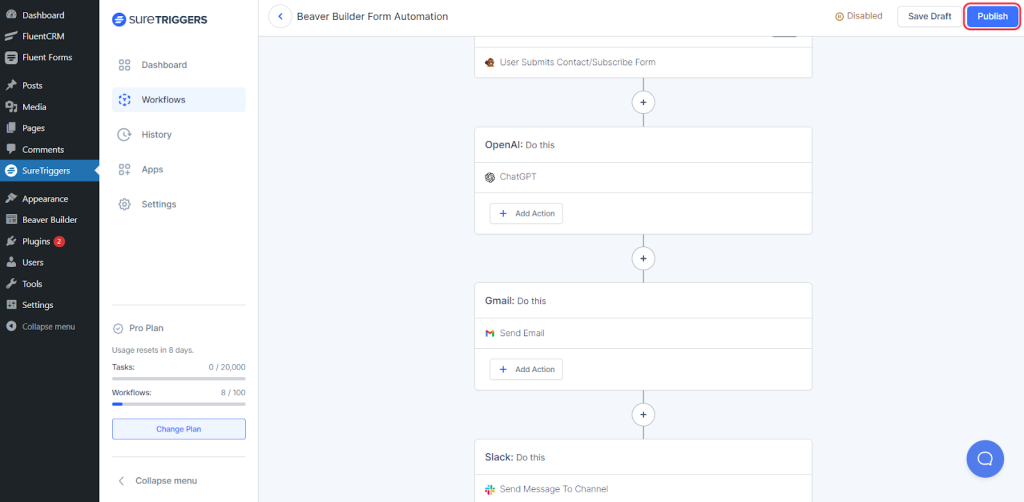
Congratulations, your workflow is live! 🎉
Now whenever someone fills out the form, they will receive a personalized acknowledgment email, and your team will be notified on Slack when new form submissions are received.
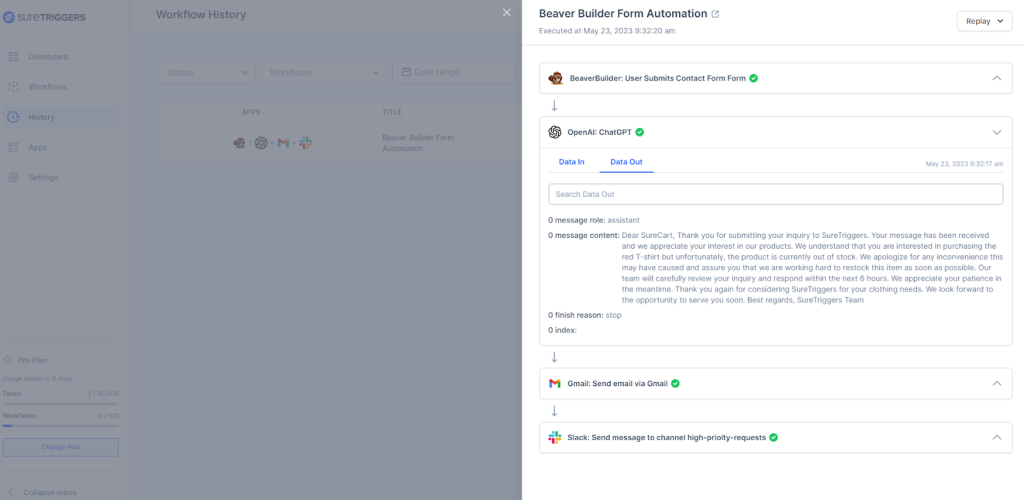
Where to Check the Sent Emails?
If you’re curious about the content of the emails being sent, you can easily check the sent email for each workflow run from History. Simply look into the data out tab of the OpenAI step.
Pre-Built Recipe for this Workflow
To simplify your life, we have a pre-built workflow template (Recipes) available for you. It will save you from creating this recipe from scratch.
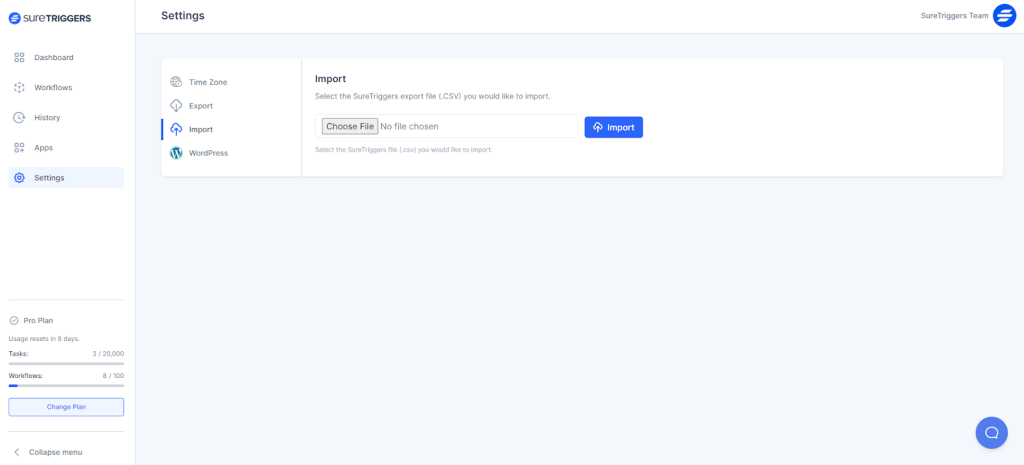
Click here to download the workflow.
Once you have downloaded this workflow, You can easily import it into your SureTriggers account and set up your workflow and running in less than 10 minutes.
You can learn how to import workflows in SureTriggers from here.
And if you’re new to SureTrigger and don’t have an account, you can sign up for free and start using this workflow!
Frequently Asked Questions:
Can I create this workflow for a different form builder application?
Yes, you can use any form of application as the trigger and use the same action steps.
Is there any other way to send email instead of Gmail?
Yes, you can send emails from any SMTP of your choice. You simply have to use the ‘Send Email’ app instead of Gmail.
Recommended Articles
How to sign up for SureTriggers?
Common terms that you’ll come across in SureTriggers