No results found. Try again with different words?
Search must be at least 3 characters.
What are Actions?
One of the key components of a workflow in SureTriggers are actions. You cannot publish a workflow without having at least one action in your workflow.
So let’s understand everything about actions in this article like what actions are and how to set them up.
Let’s start!
What are Actions?
In simple terms, an action is a task that is performed in an app automatically when a trigger event happens in your trigger app.
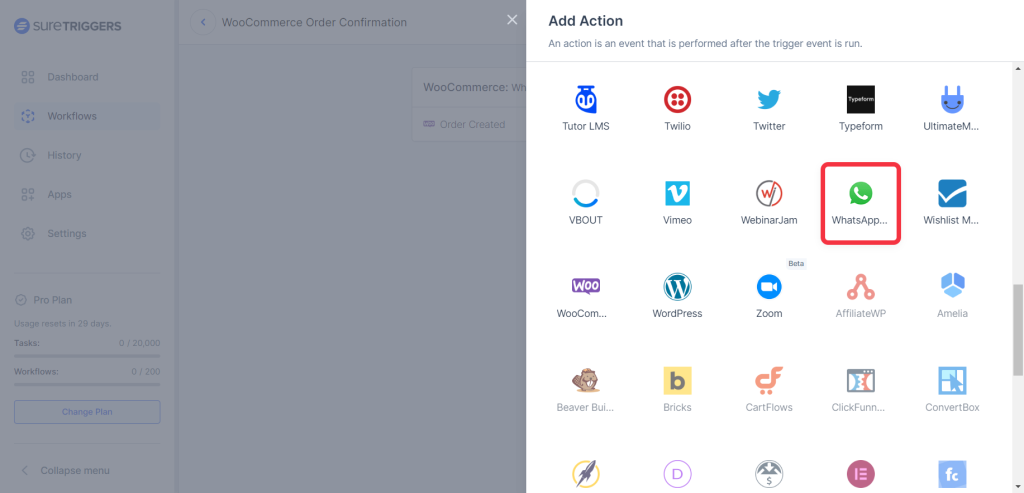
For example, if you have a workflow that is triggered when a new customer makes a purchase from your e-commerce store, you might want to automatically send them a confirmation message on WhatsApp. The action, in this case, would be sending the message.
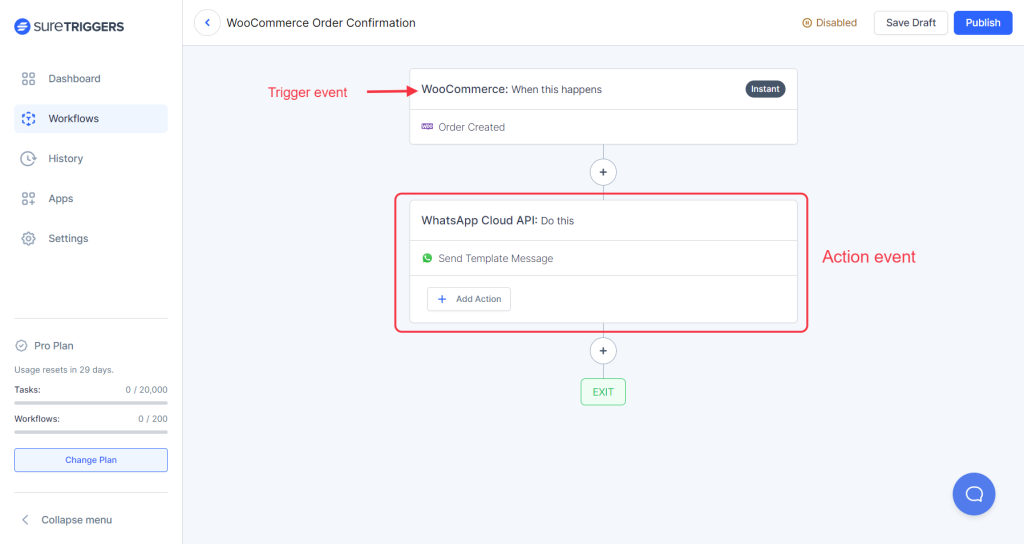
Now, let us understand action apps and action events.
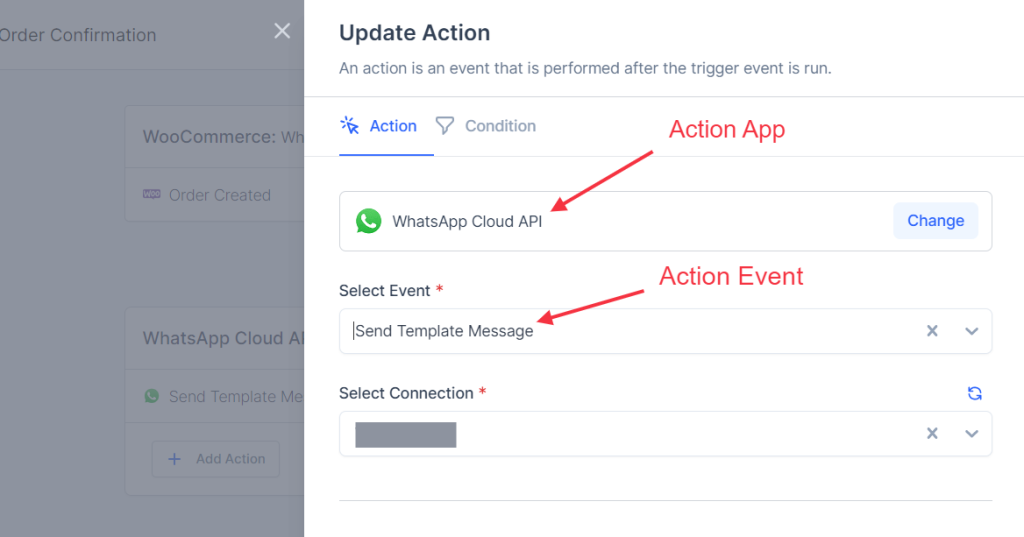
Action App: It is the app in which you want to take action when the trigger is received. From the above example, the action app is WhatsApp.
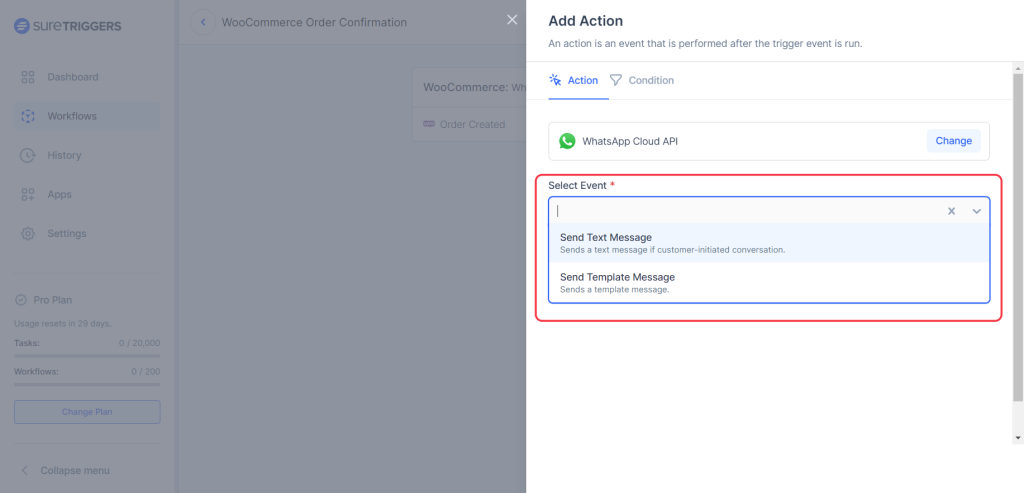
Action Event: Action event depends on the action app that you’ve selected. It’s the task that you want to do in your action app. The action event in the above example is ‘Send Template Message’
How to Set Up Actions in a Workflow?
Every action can have different requirements while you set up your action. However, you’ll find the instructions to set up your desired action on your screen.
To set up actions in a workflow, you can simply follow the steps below:
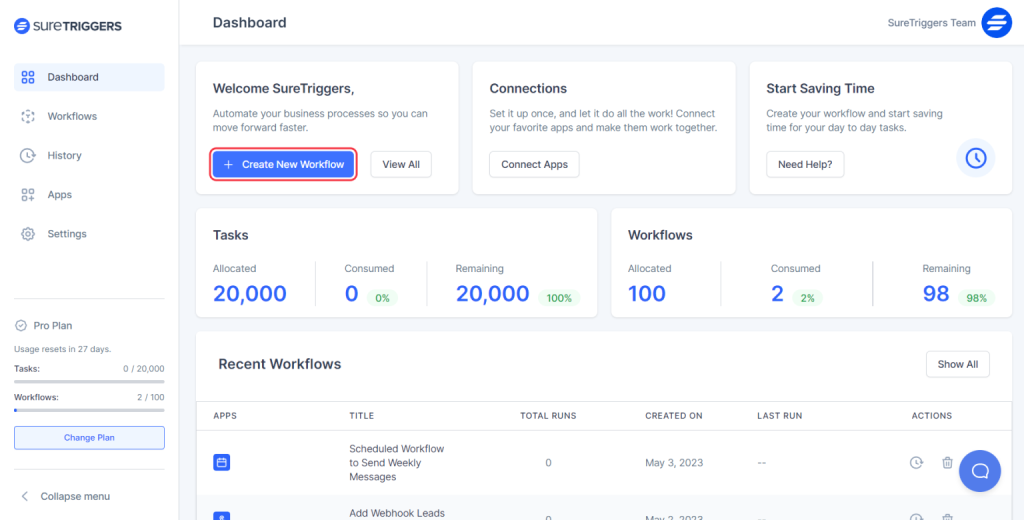
- Go to your SureTriggers account.
- Click on the button to Create Workflow.
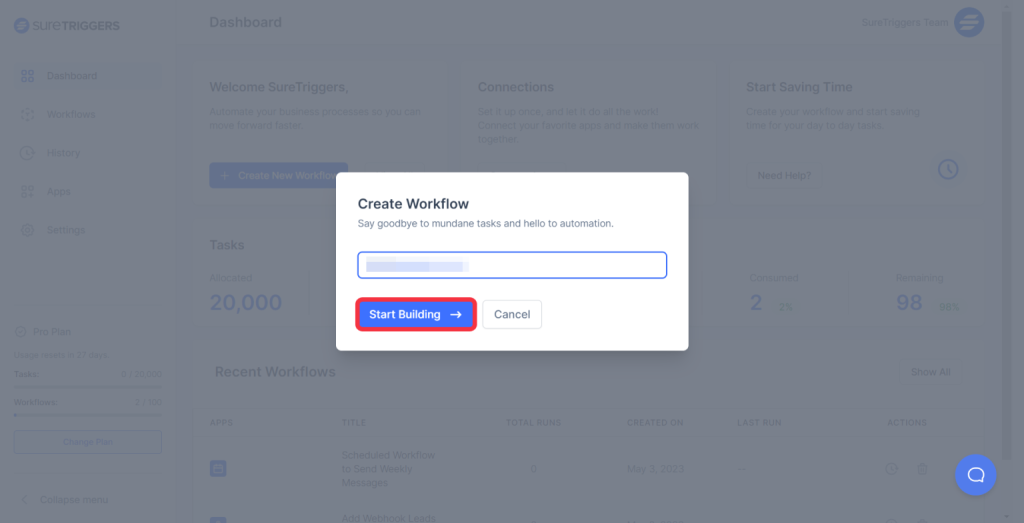
- Give a name to your workflow and click on the Start Building button.
- Set up your trigger event by following the steps here.
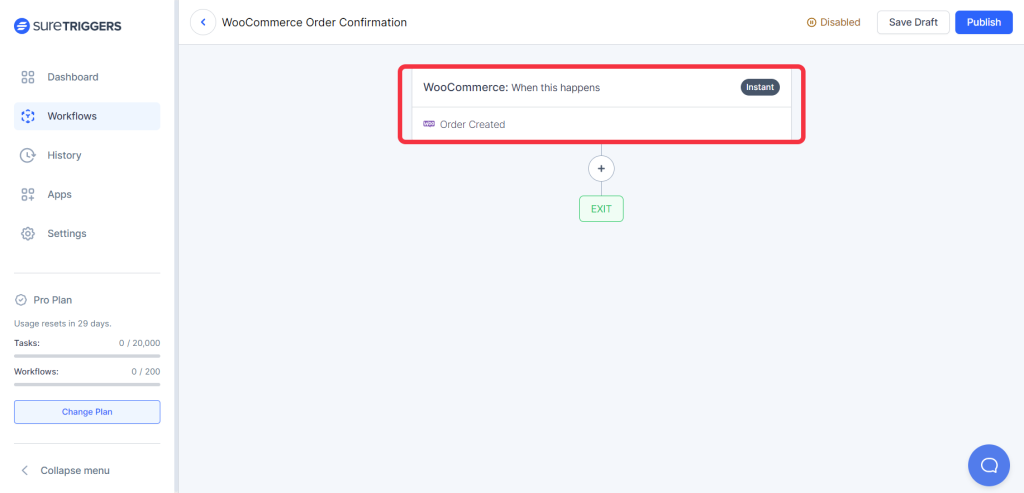
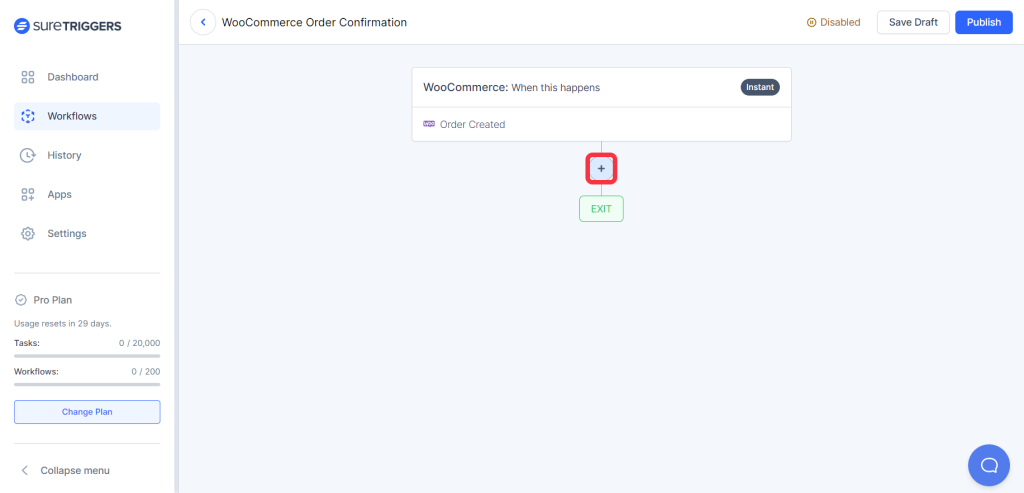
- Click on the plus icon after you set up your trigger.
- Select your trigger app.
- Select your trigger event.
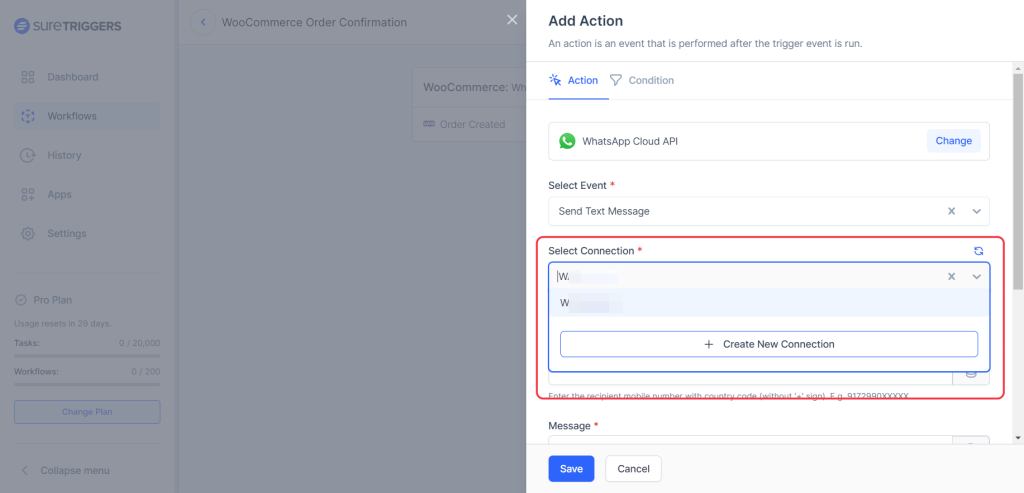
- Select the connection/account of the action app where you want to take the action.
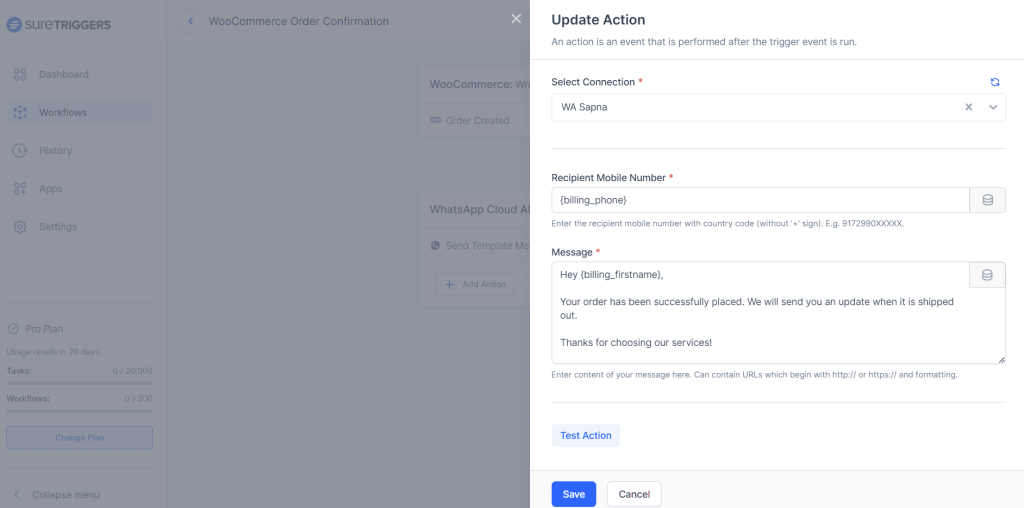
- Configure your action steps as per the instructions on your screen.
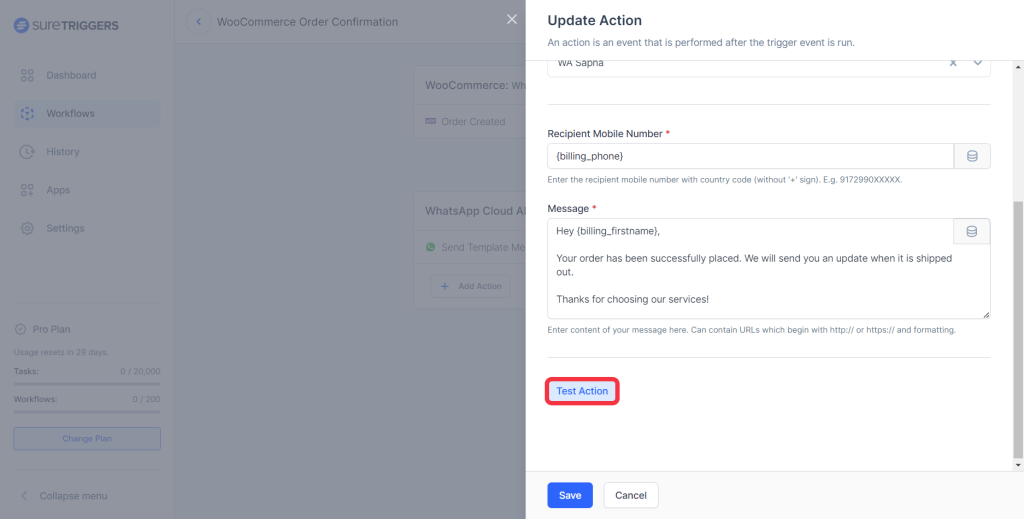
- Test action to make that everything works as expected.
- Save the action steps.

Your action step will be configured successfully. By following the same steps, you can add more actions to your workflow and publish it.
Once the workflow has been published, all the actions will be executed when the trigger is received based on your configuration.
Hope this information will help you set up actions in your workflow. But if you still have questions or concerns, feel free to reach out to us.
We don't respond to the article feedback, we use it to improve our support content.