In SureTriggers, you create workflows to automate processes. And in any field of work, processes can change.
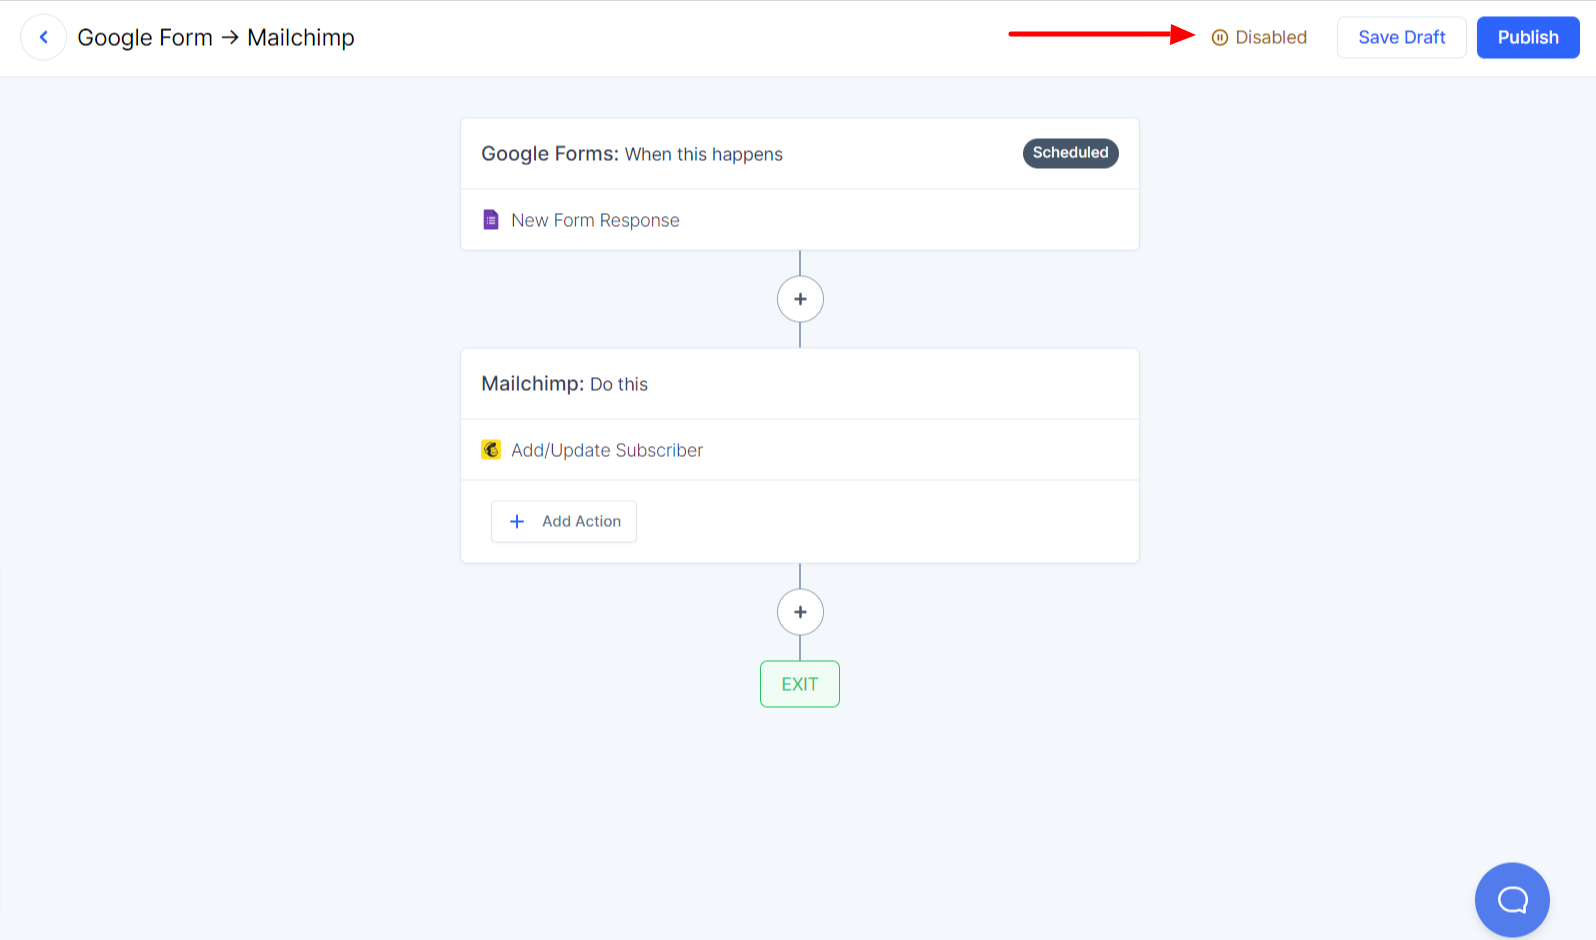
For example – You created a workflow to add leads collected through Google Forms into Mailchimp, an email marketing tool.
And now, you decide to send a confirmation SMS to your leads, using a Twilio-like service, to confirm that their form submission has been received.
In this case, you may wonder – Should I create a new workflow to send the automated SMS? Or should I send the SMS manually?
Such situations arise, right?
So in these cases, you can simply edit the existing workflow and make the required changes.
By editing workflows, you can:
- Add new steps to your workflow
- Make changes to the existing steps
- Delete a step from your workflow
Let’s dive in and understand how to edit workflows in detail.
Adding a New Step
To add a new step in your workflow without making changes to other steps, follow the instructions below:
- Navigate to the Workflows section.
- Click on the name of the workflow where you want to add the new step.
- Click on the plus icon below the current last step of the workflow.
- Select the action app, action event, and connection for the new step.
- Configure the step according to the instructions on the screen.
- Click on the Test Action button to test the new step.
- If the action is successfully tested, save the step.
- Click on the Update button to publish the new changes.
Note: The action steps in your workflow are executed one after the other in sequence. If you want to insert a new step between two existing steps, you can click on the plus icon located between the two steps and configure the new step accordingly.
Making Changes to an Existing Step
If you need to make changes to an existing step of a workflow, you can do it easily.
Let’s imagine that you have a workflow to add subscribers in email marketing tools, like Mailchimp, from Google Form submissions.
While you created this workflow, you were adding a tag(New) to these subscribers.
But now you want to add another tag (Prospects) to these subscribers.
So you can edit the existing step in your workflow to add the new tag. It’s that simple!
To edit an existing step in your workflow:
- Navigate to the workflows section.
- Click on the name of the workflow that you wish to edit.
- Click on the specific step where you want to make changes and click on it.
- Make the desired changes to the step.
- Click on the Test Action button to test the changes you made.
- Once the action has been successfully tested, save the step.
- Finally, click on the Update workflow button to apply the changes made to the workflow.
Deleting a Step
If you need to delete a step from your workflow, it’s a straightforward process. Follow these steps:
- Head over to the workflows section.
- Click on the workflow that contains the step you want to delete.
- Hover your mouse over the name of the action step that you wish to remove.
- When the delete icon appears, click on it.
- Confirm that you want to delete the step.
- Update your workflow.
Making Changes to the Trigger
When you change the trigger app or event in your workflow, it can impact all the steps in the workflow.
This is because the trigger data that is mapped in the action steps get removed when you change the trigger.
So, if you decide to make changes to the trigger app or event, it’s important to note that you’ll need to set up the action steps again.
It might sound like a hassle, but it’s essential to ensure that everything runs smoothly and as intended.
Things to Keep in Mind While Editing Workflows
Remember that while you edit a workflow, it will continue to run depending on the workflow status.
Here are some key points to remember:
- Editing an Active workflow won’t affect its normal operation; the workflow will keep running as it was while you edit it.

- The new changes in your active workflow will be implemented when you update your workflow.
- If your workflow is in the disabled state, then no actions will be performed until you publish it.
And that’s it!
We’ve covered everything you need to know about workflows.
We hope this article has been helpful to you, and we wish you all the best in your automation endeavors. The possibilities are endless!
And yes, do not hesitate to contact us if you need help!
Recommended Articles
How to sign up for SureTriggers?
Common terms that you’ll come across in SureTriggers