In this article, we’re going to learn about one of the most amazing features of SureTriggers – The Trigger Button.
The Trigger Button is a special kind of trigger that kicks off your workflow when someone clicks on a button on your WordPress website.
Now, you might be wondering how it actually works. Well, it’s quite simple. When you set up the trigger button, you’ll get a button shortcode that you can place on your WordPress site where you have SureTriggers plugin installed.
And when a logged-in user clicks on this button, you can take actions in other apps.
With this trigger button, you can do a lot of things. For instance, you can automatically enroll users in LearnDash courses or register them for events in plugins like The Events Calendar, etc with a click of a button.
Sounds cool, right?
So let’s dive and understand how to set up the Trigger Button.
How Does The Trigger Button Work?
The trigger Button is a special trigger that you will find while setting up the trigger step in your workflow. It gives you a shortcode that you can place over your WordPress site.
When a logged-in user clicks on this button, the details of the user are fetched and later, you can create workflows to pass the details to other apps.

What Can You Do With the Trigger Button?
The trigger button opens up a world of possibilities. Just think about the convenience of allowing your website users to perform actions in other apps with a simple click.
To give you an idea, here are a few examples of what you can do:
If you’re an eductor and provide courses on any LMS tool, you can automatically enroll users into courses hosted on your Learning Management System (LMS) using their information. With just a click of the trigger button, users can seamlessly join relevant courses without any additional steps.

Similarly, the trigger button can automatically register users for events and webinars. By integrating the button into your website, users can easily sign up for upcoming events or webinars, saving them time and effort.
Another common yet powerful workflow you can create is to add subscriber users to your newsletter subscription list. With the trigger button, users can opt-in to receive updates and newsletters from you with a single click, streamlining the subscription process.

These are just a few examples of how the trigger button can enhance user experience and automate tasks across different platforms.
The possibilities are truly endless, limited only by your imagination and the workflows you create.
How to Set Up the Trigger Button?
To set up the trigger button, simply follow these simple steps:
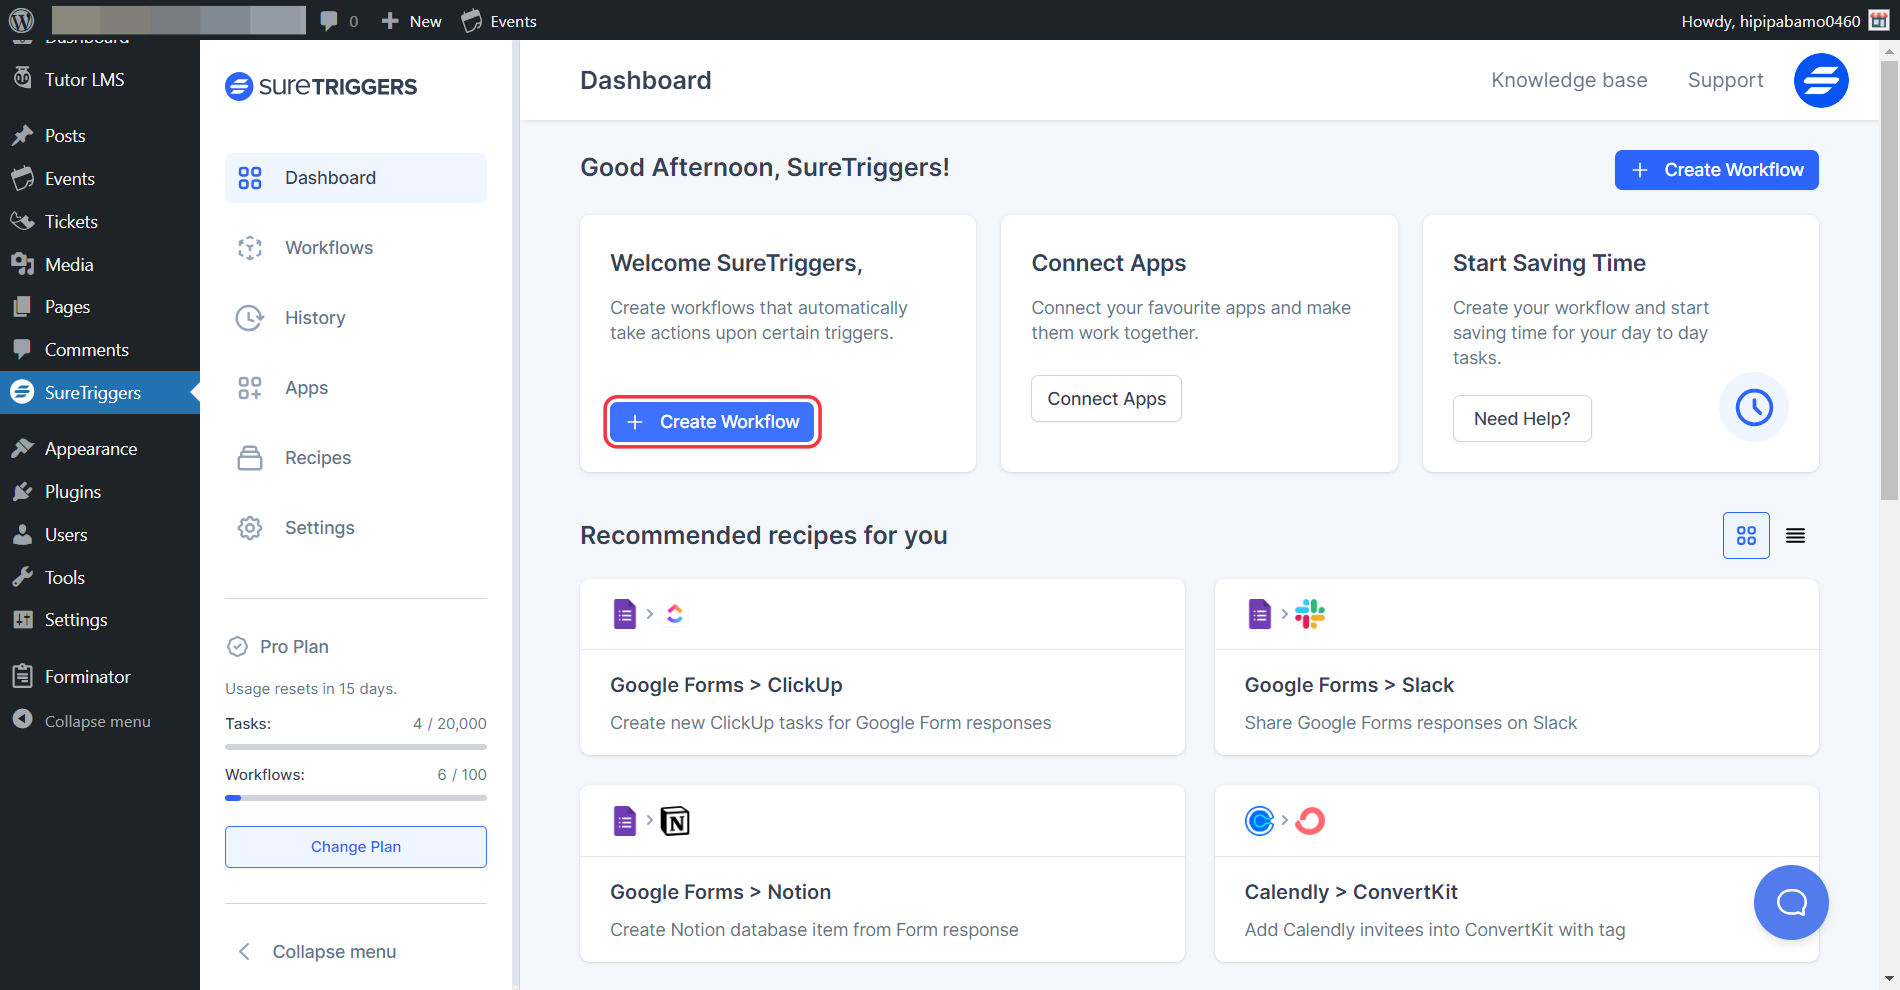
- Login to your SureTriggers account.
- Click on Create New Workflow button.
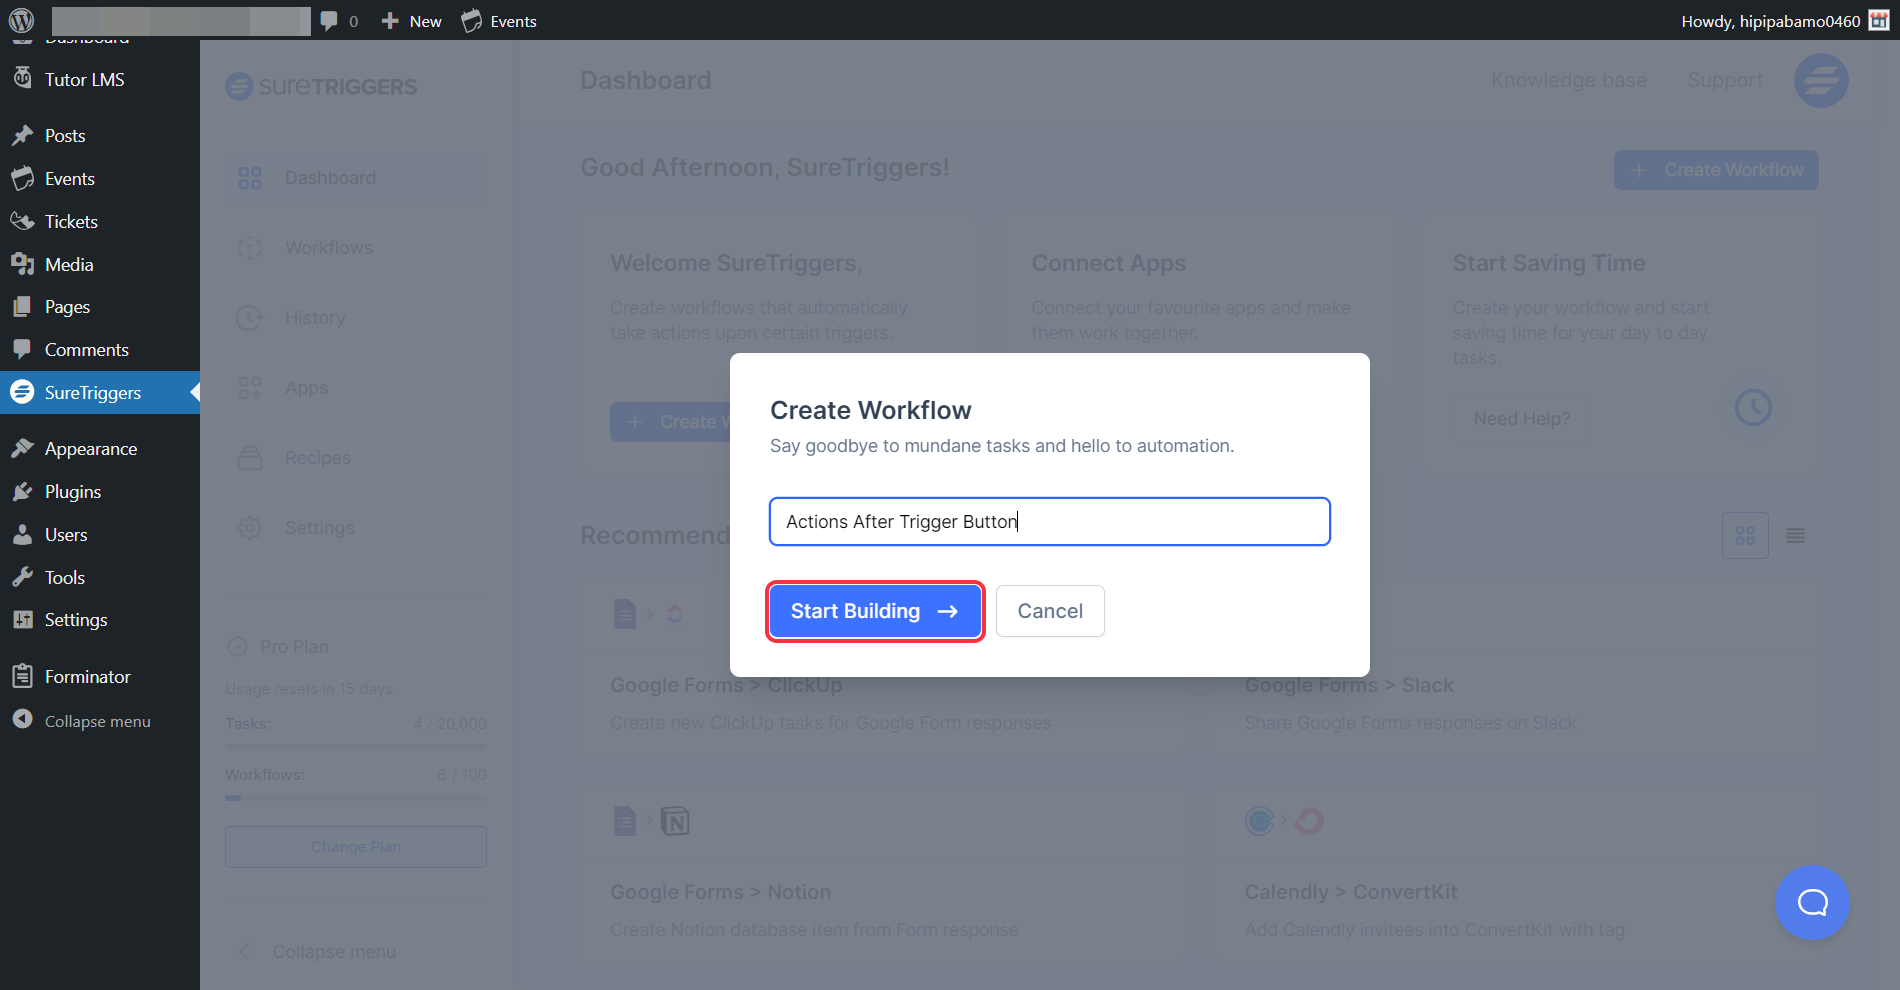
- Give a name to your workflow and click on the Start Building button.
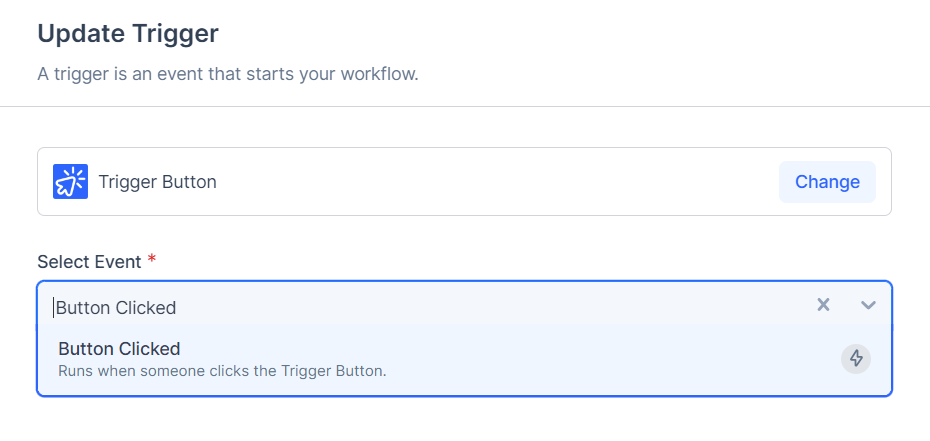
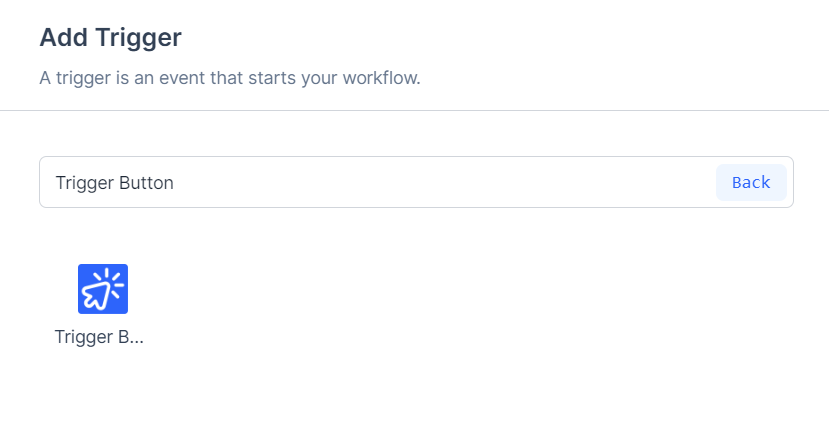
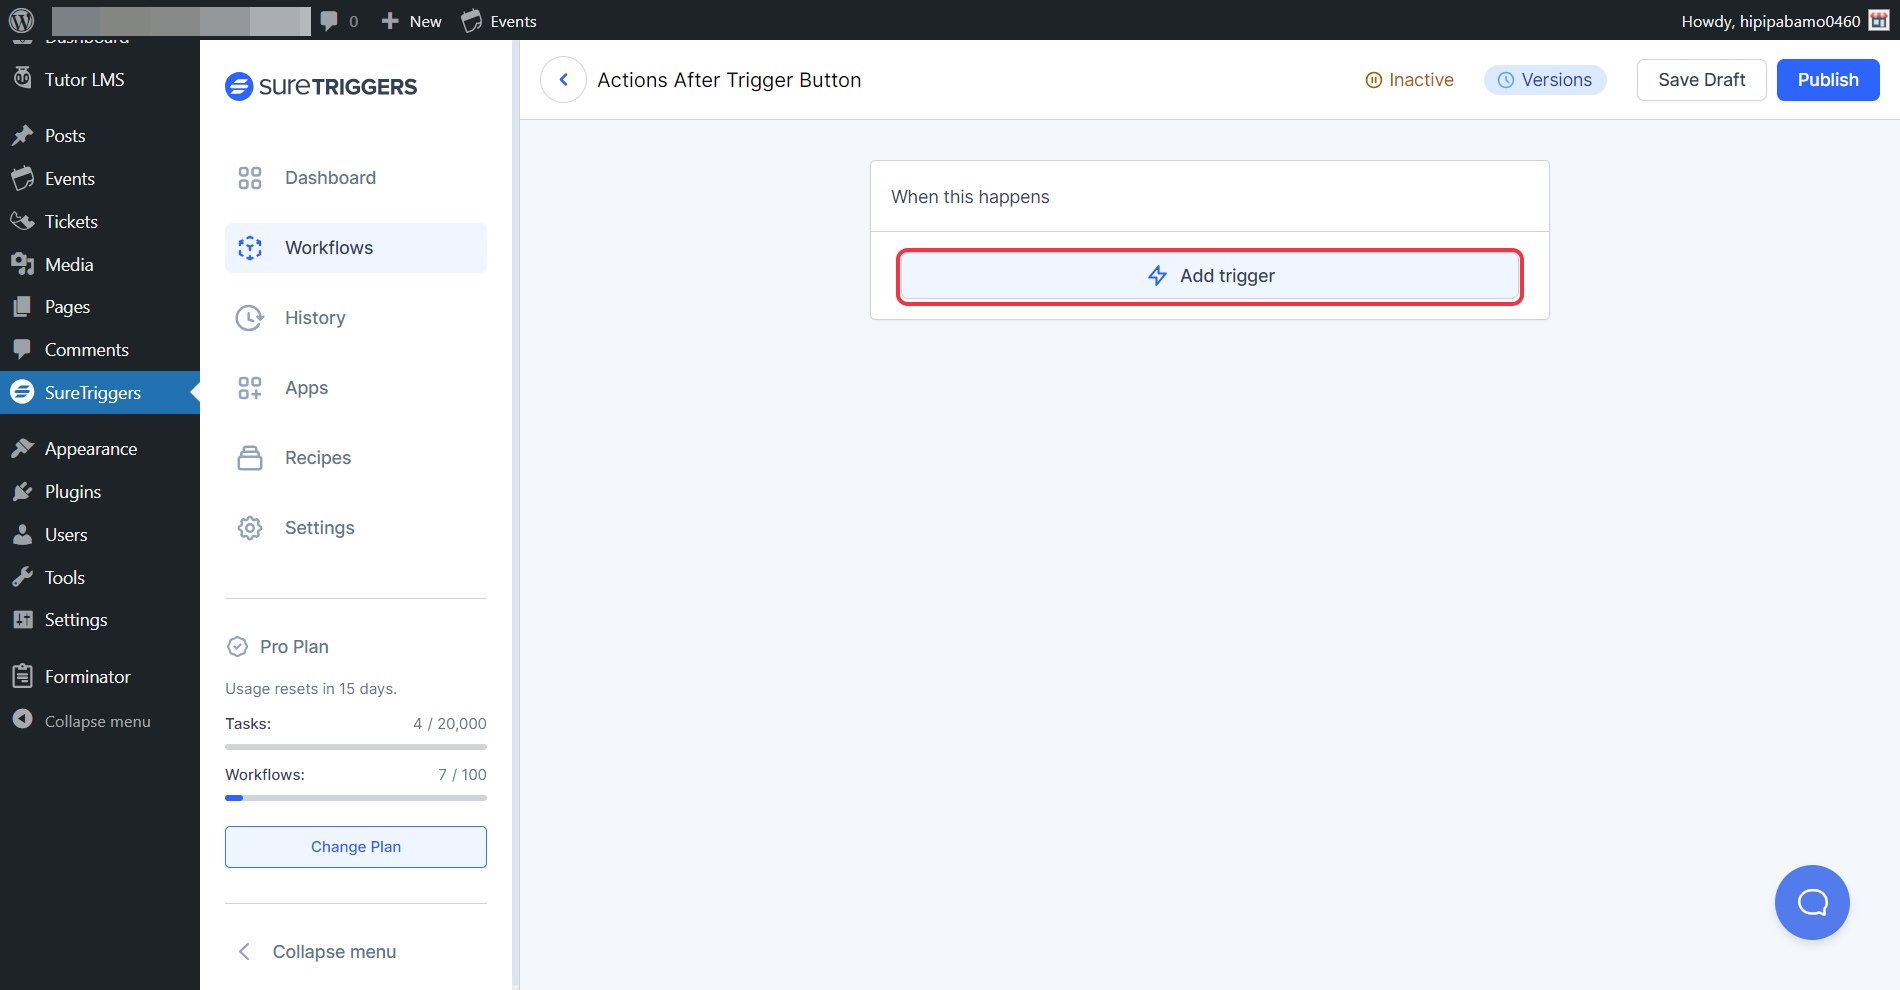
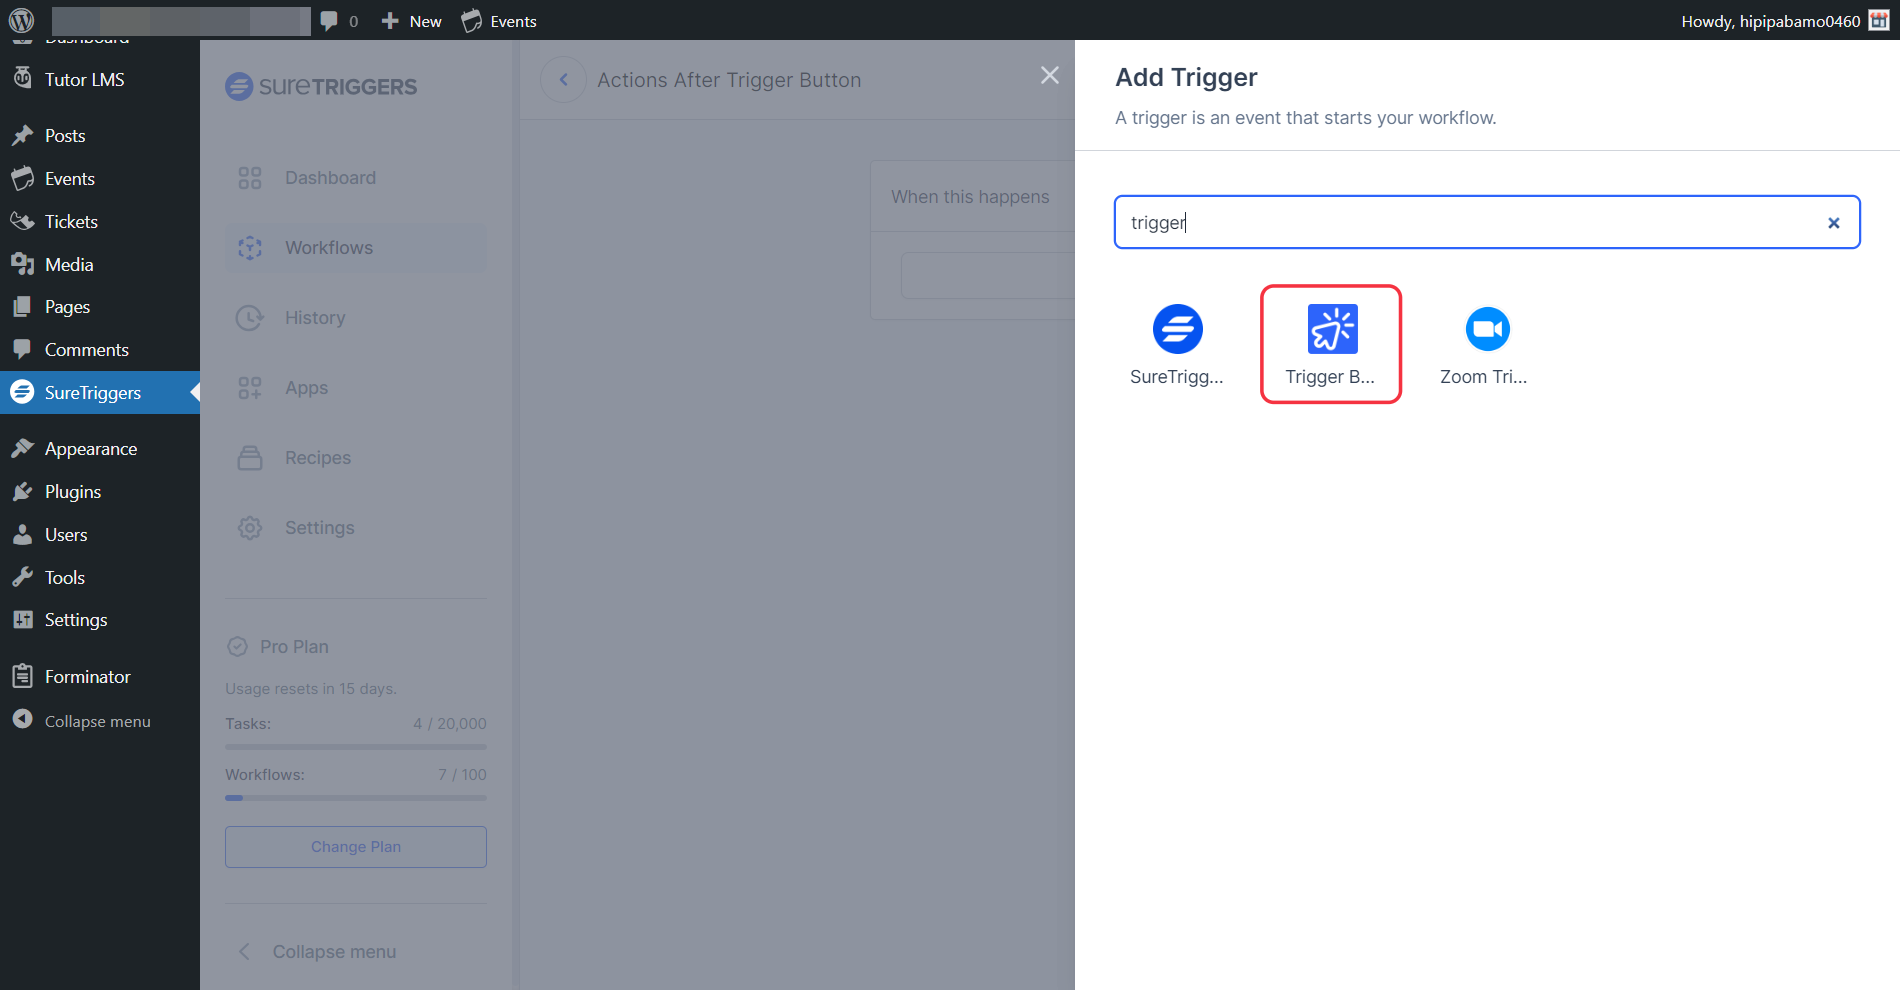
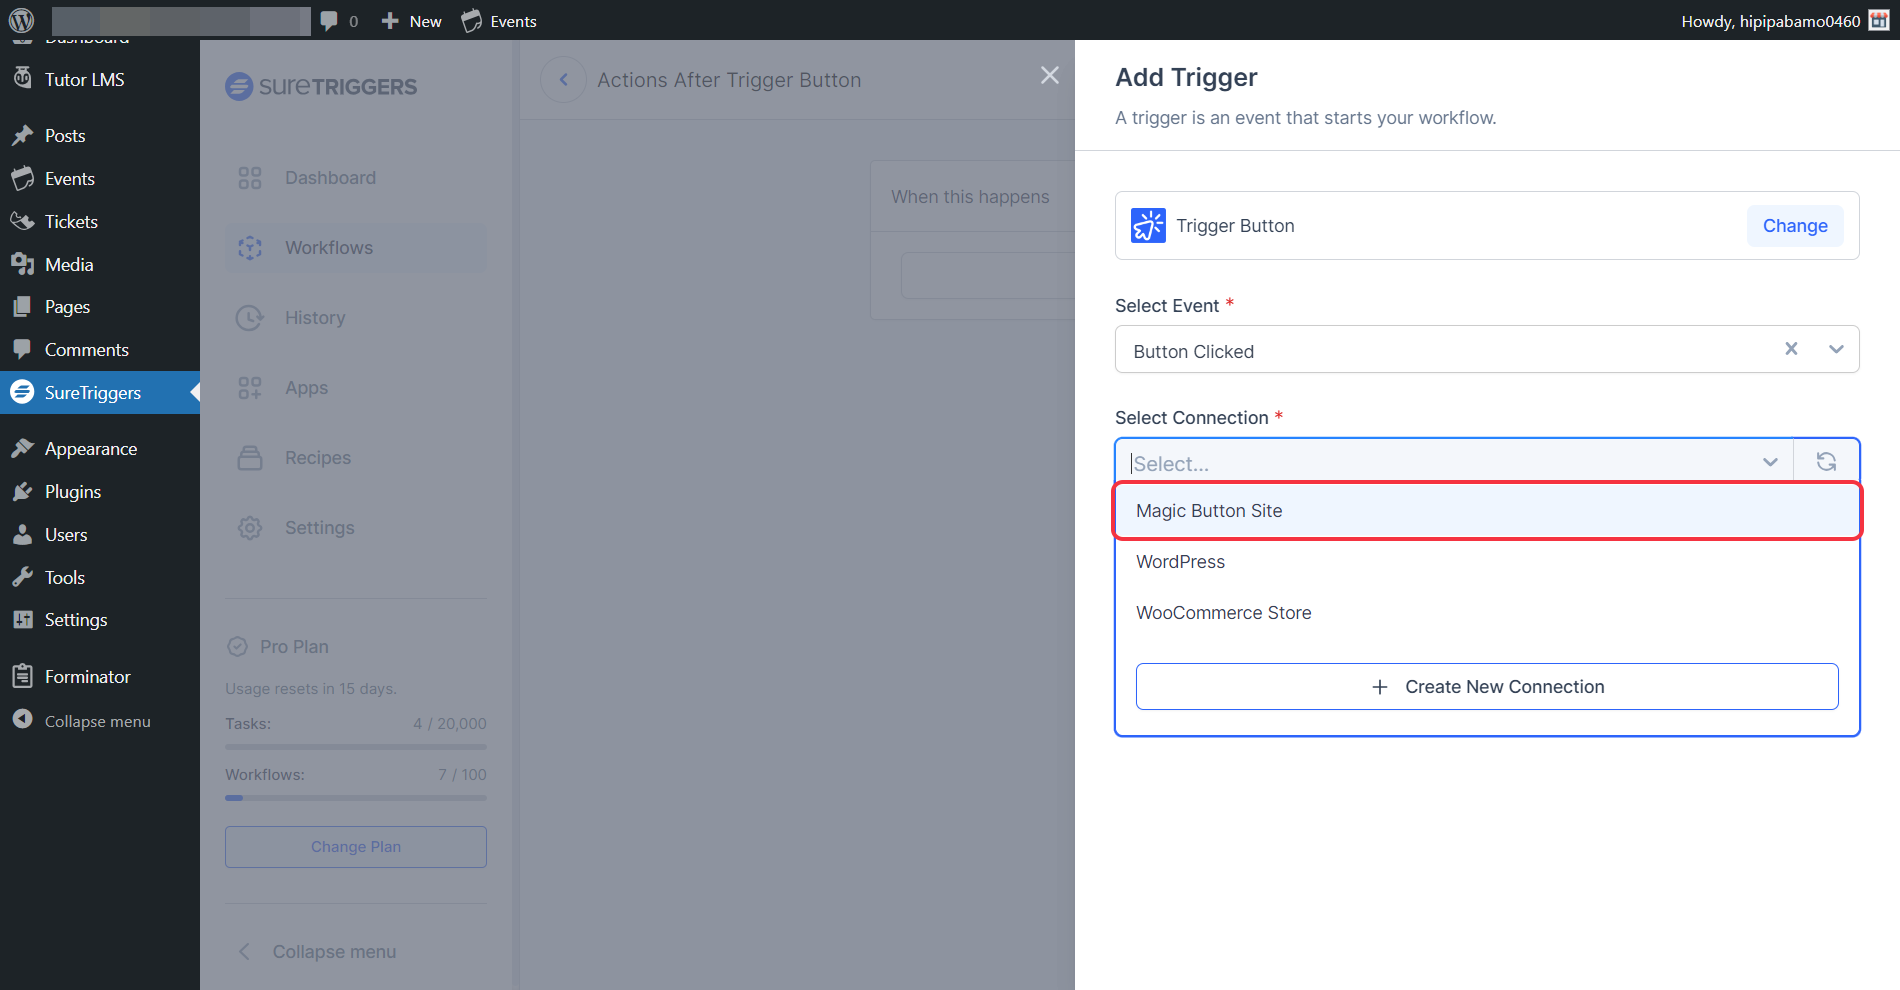
- Click on Add Trigger button and search for Trigger Button.
- Select the event as Button Clicked and select the connection as the site on which you want to add the button.
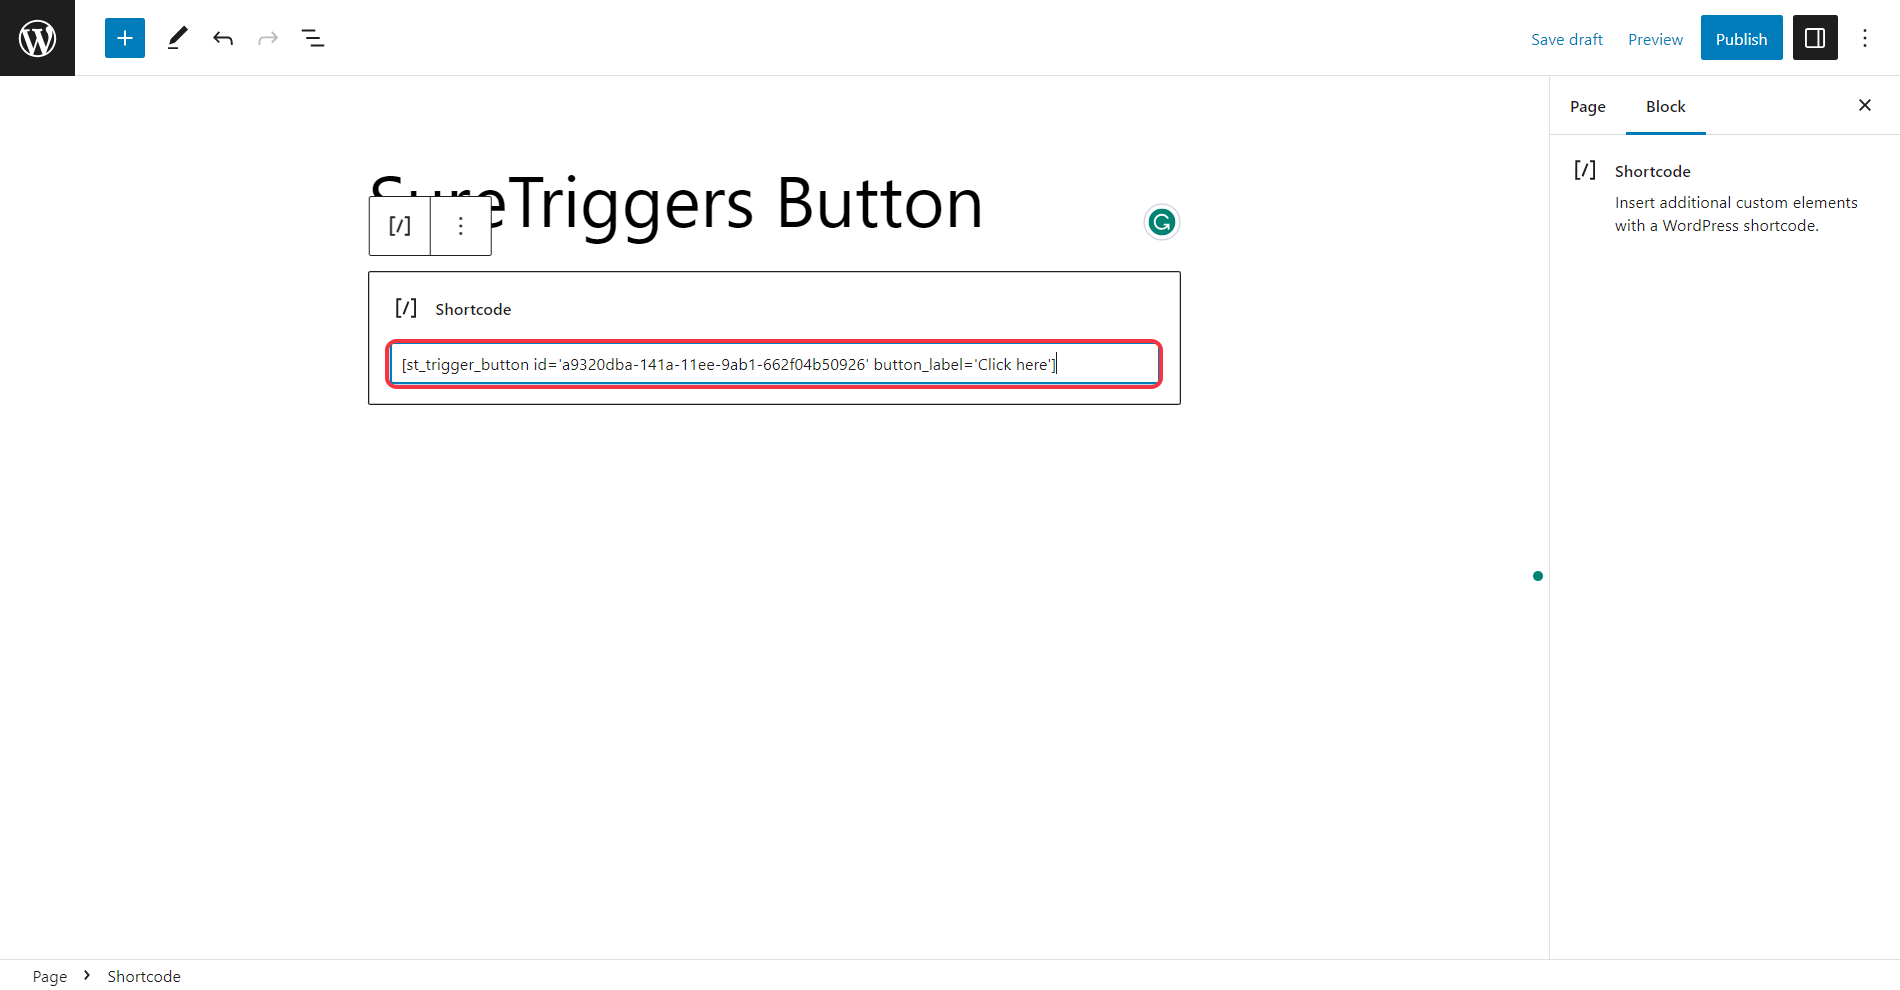
- Copy the short code and place it on any page/post as per your needs. This button is fully customizable and you can check how to customize further in this document. Please note that this shortcode will only work on your sites where SureTriggers plugin is installed.
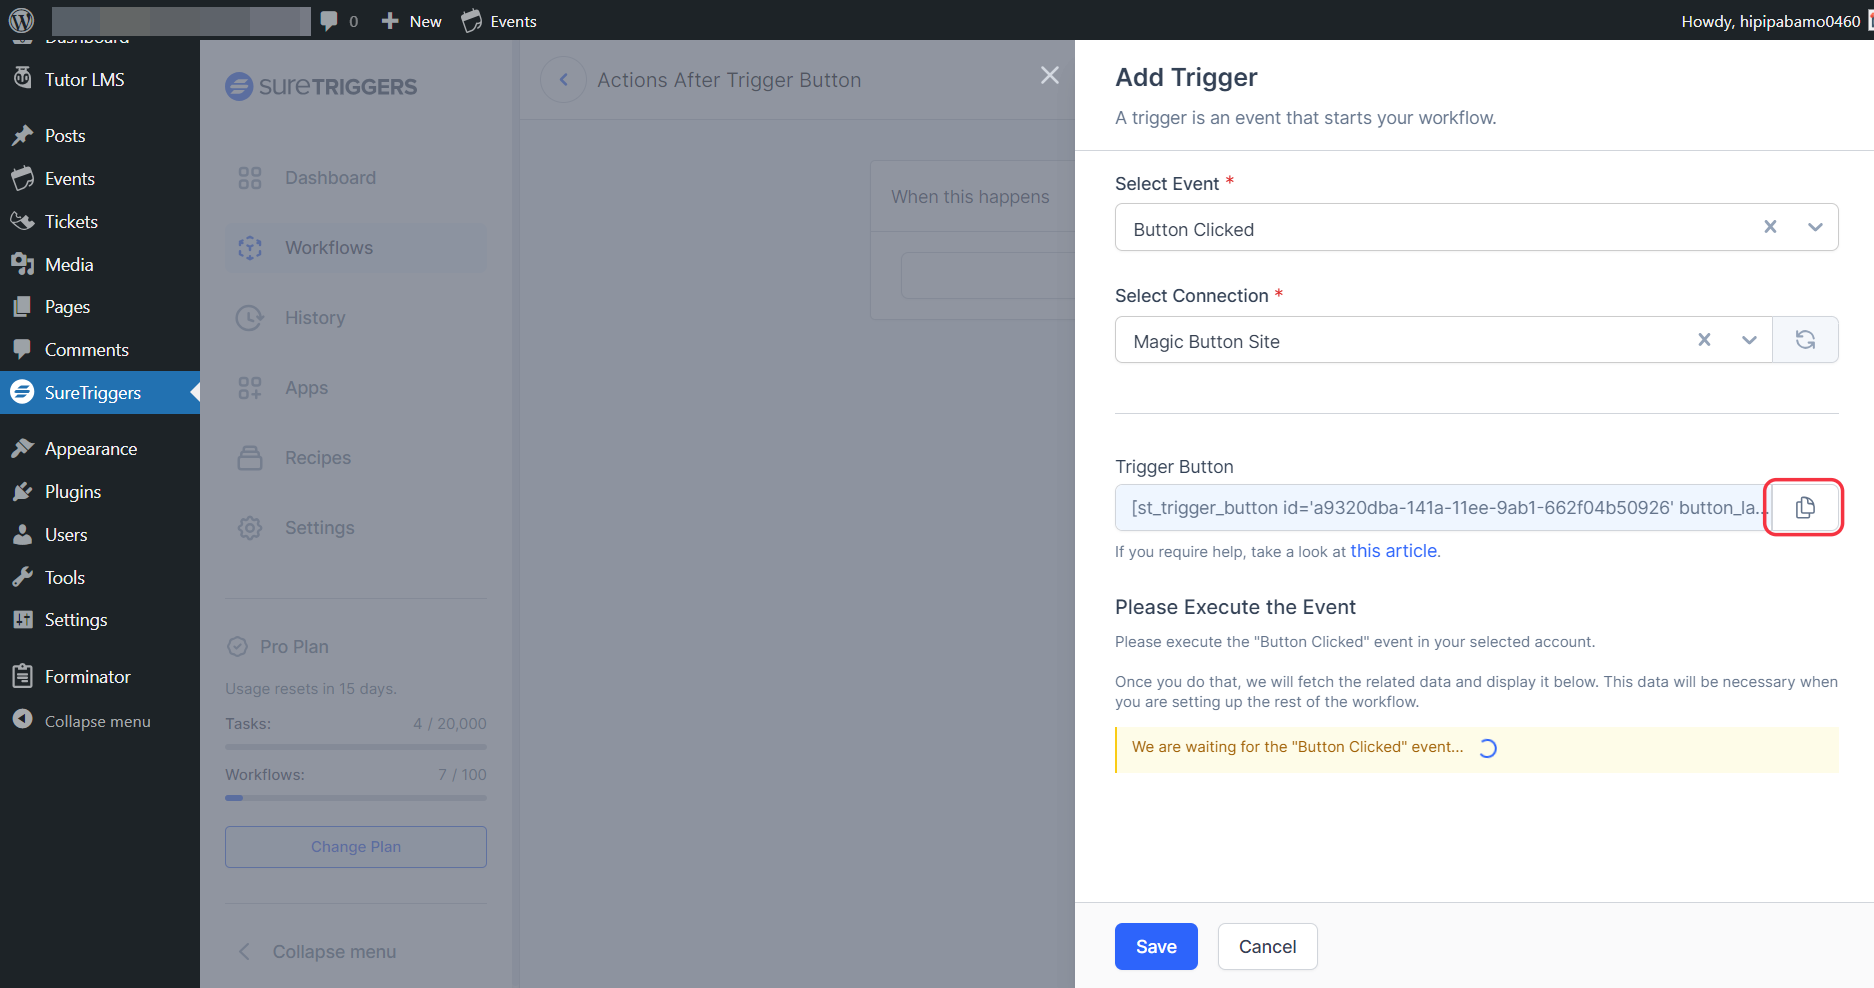
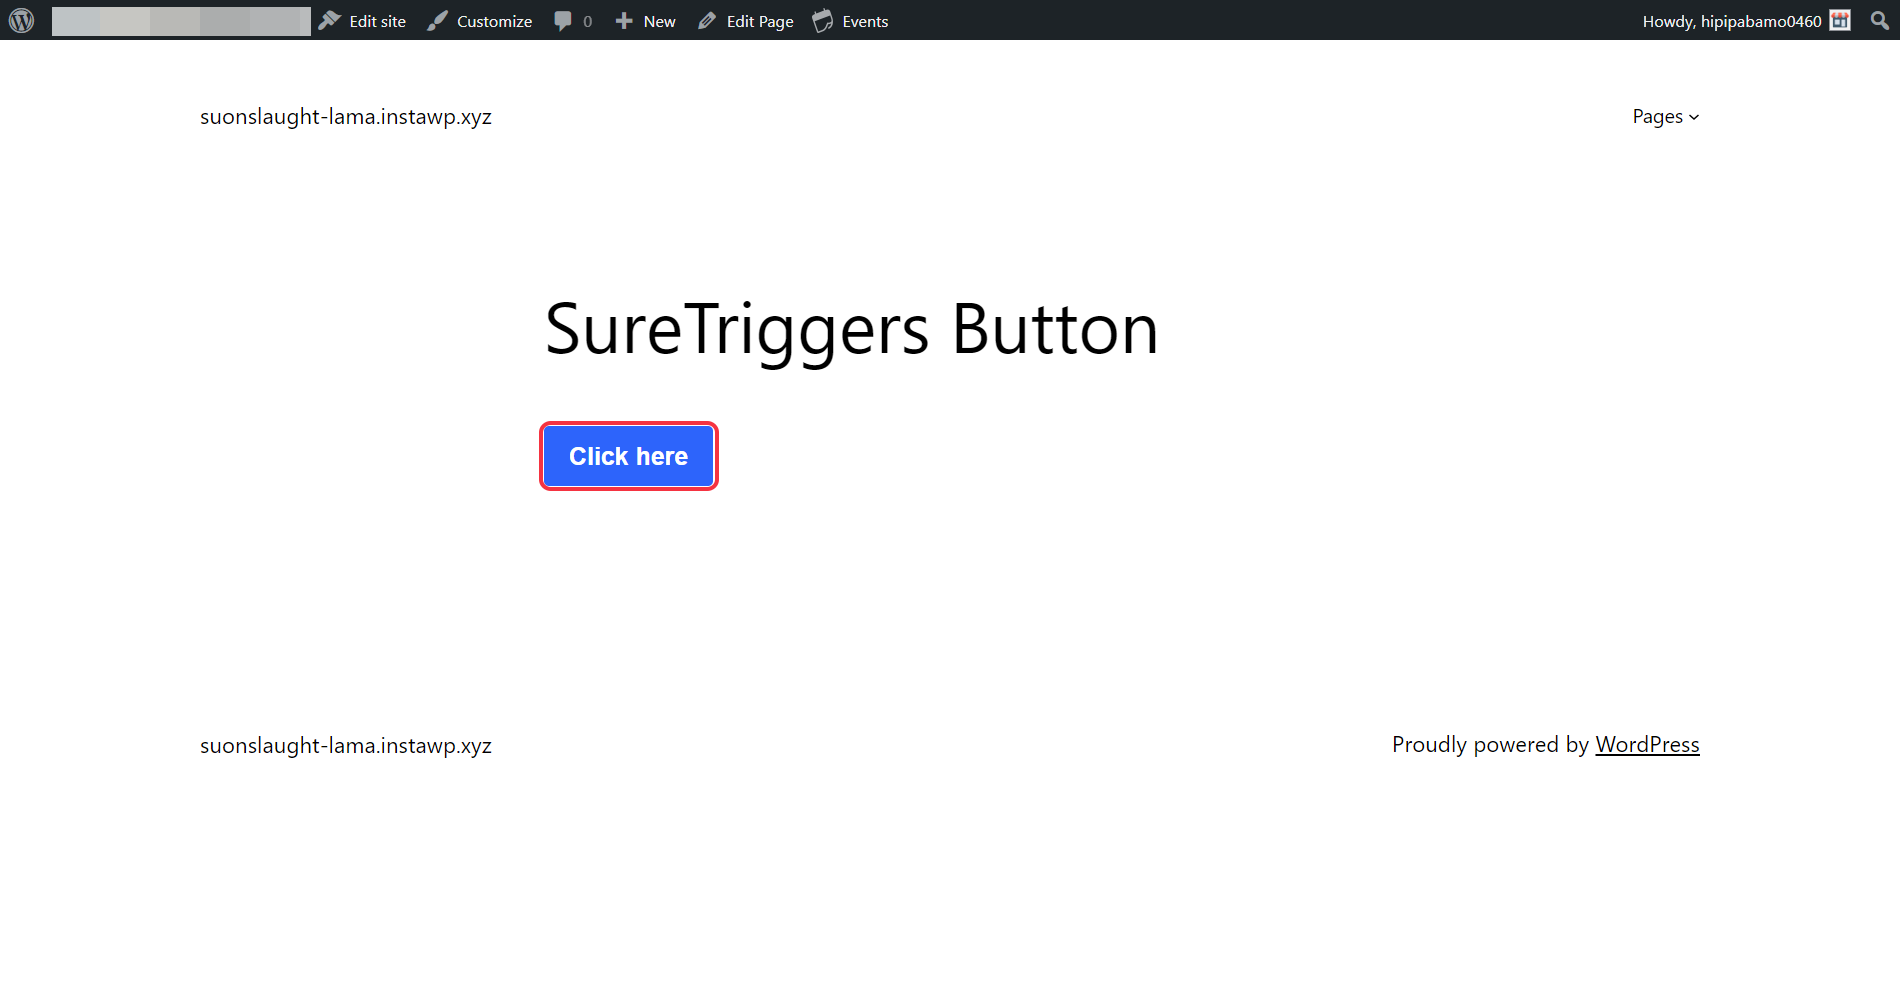
- Once you have your shortcode ready, simply place it on any page or post.
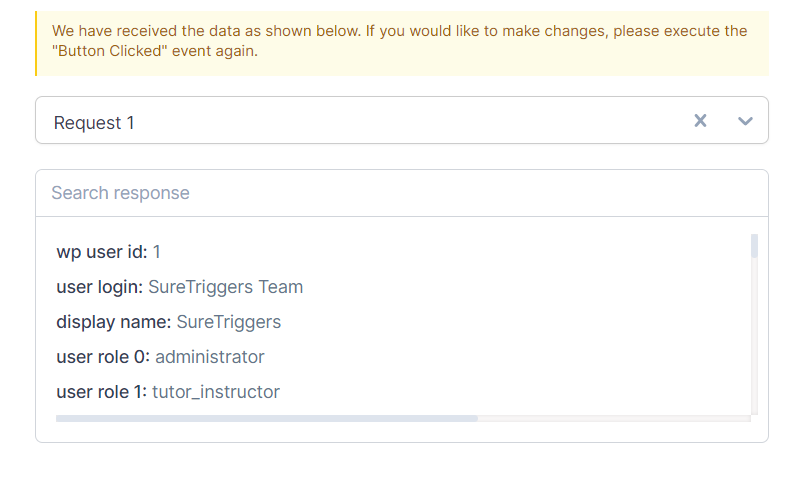
- When you see the message on the SureTriggers screen saying, “We are waiting for the “Button Clicked” event…” , click on the button that you added on the page/post so SureTriggers can fetch the data.
- Once the data is fetched, you can save this step.

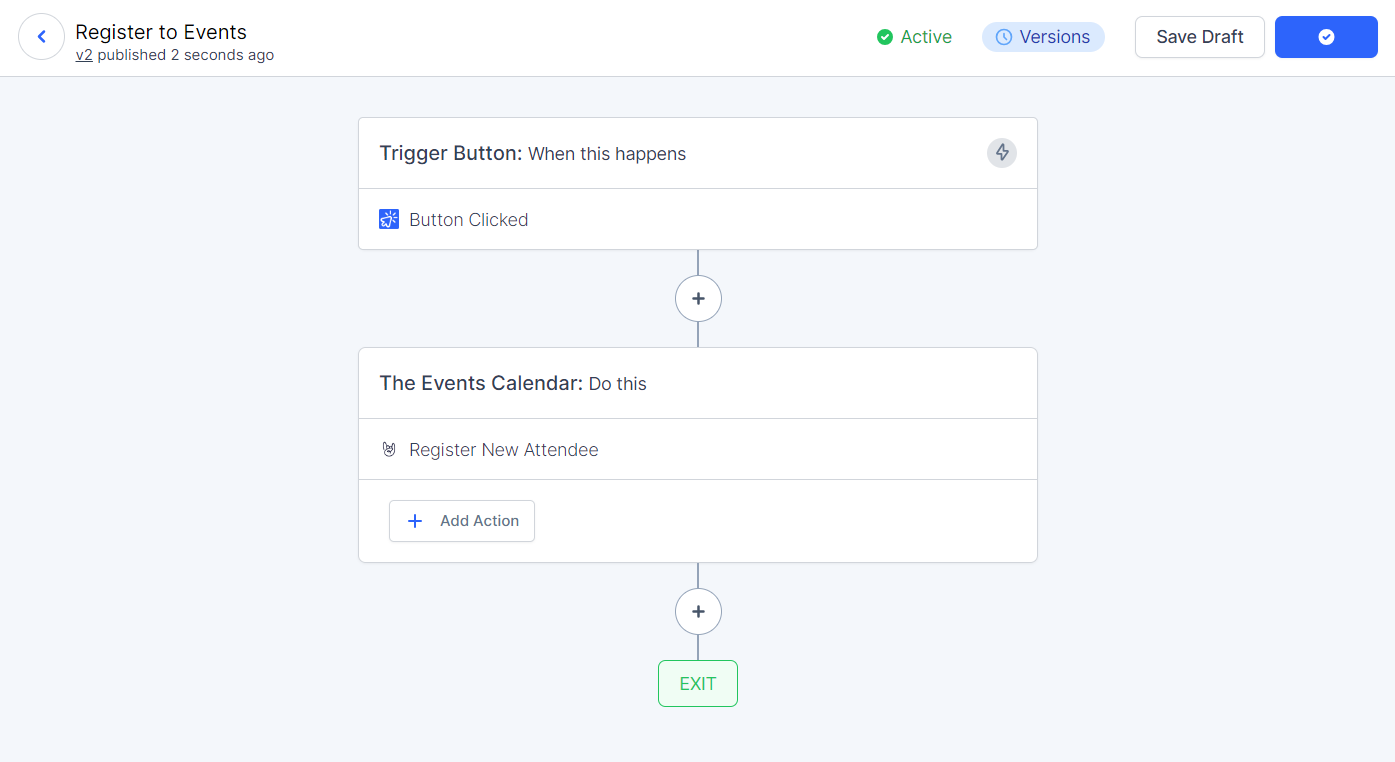
That was all! Now, you can add the next actions in your workflow as per your needs!
How to Customize the Trigger Button?
The Trigger button is completely customizable. You can change the button label, click the state label, add a redirection URL, etc.
So if you want to customize your Trigger Button, you can make changes to the following parameters in the shortcode.
By default, the Trigger Button shortcode will be displayed with the ‘id’ and ‘button_label’ parameters.

Now, to customize the button, you can add the following parameters.
| Parameters | Use |
| ‘Id’ | This ID of the shortcode. Do not change this parameter. |
| ‘button_label’ | Enter the display text on the button as per your need like Click Here, Click Me, Etc. |
| ‘user_redirect_url’ | Enter the URL to which the logged in user should be redirected after clicking the button |
| ‘visitor_redirect_url’ | Enter the URL to which the non-logged user should be redirected after clicking the button. |
| ‘button_class’ | Provide a class to the button that is created using this shortcode. |
| ‘button_id’ | This parameter allows you to apply custom CSS styles and add custom JavaScript code to the button by giving the button ID. |
| ‘click_loading_label’ | Enter the text that should be displayed on the button when it’s being clicked. |
| ‘after_clicked_label’ | Enter the text that should be displayed on the button after the button has been clicked. |
| ‘click_once’ | Specifies if the button should be clicked once or multiple times. Set as ‘true’ to allow only one click with a cookie duration. Set as ‘false’ to allow multiple clicks. |
| ‘cookie_duration’ | The duration of the cookie is in days. Applicable only when ‘click_once’ is set to ‘true’. |
To add parameters to the button in the default code, just include the parameters and their values after the existing ones.
For example, if you have the default shortcode as:

If you want to add an extra parameter to change the button’s label after it’s clicked, you can simply add the ‘after_clicked_label’ parameter after the ‘button_label’ parameter.
So it would look like:

Similarly, you can add any parameter that you want!
Adding Custom Hooks to Button
The Trigger Button has a really cool feature called custom hooks that allow you to combine the response data with your own special functions.
When you click the button, these hooks are activated and you can use them to get the data you need from your custom functions.
We have two hooks specifically for this purpose:
- ‘st_trigger_button_before_click_hook’: It is triggered before the response is ready. It lets you do things or make changes before the response is fully processed.
- ‘St_trigger_button_after_click_hook’: It is triggered after the response is ready. It gives you a chance to handle the response or do extra tasks.
You can use these hooks along with your own custom functions to get the response data you want and use it in your specific workflows.
So hope this was helpful but if you still have questions in mind, do not hesitate to contact us!
Recommended Articles
How to sign up for SureTriggers?
Common terms that you’ll come across in SureTriggers