- Prerequisites
- Building an Integration
- Setting Up Authentication
- Setting Up Triggers & Actions
- Publishing Integration
- How To Authenticate Your Application Using The API Key Method
- How to Set-Up the Integration Based on Auth Type Bearer Token
- How To Authenticate Your Application Using OAuth 2.0
- How To Authenticate Your Application Using Basic Auth
- How To Authenticate Your Application Using The JWT Bearer Method
- How to Set-Up the Integration Based on Auth Type Session Auth
- How To Authenticate Your Application Using Custom Auth
Setting Up Triggers & Actions
After authenticating your integration, the next step is setting up triggers and actions for your app.
To get started, go to the Triggers and Actions tab under the “Build” dropdown menu.
In this article, we will walk you through the straightforward process of creating triggers and actions in the App Builder.
Let’s dive in!
What are Triggers & Actions?
Triggers are events that initiate a process. For example, receiving a new order can act as a trigger.
Actions are the events that automatically follow a trigger. For instance, when a new order comes in (the trigger), the action might be sending a confirmation email to the customer.
In summary, triggers start a process, and actions carry out tasks based on that trigger.
Setting Up Triggers
Navigate to your integration and go to Build > Triggers.
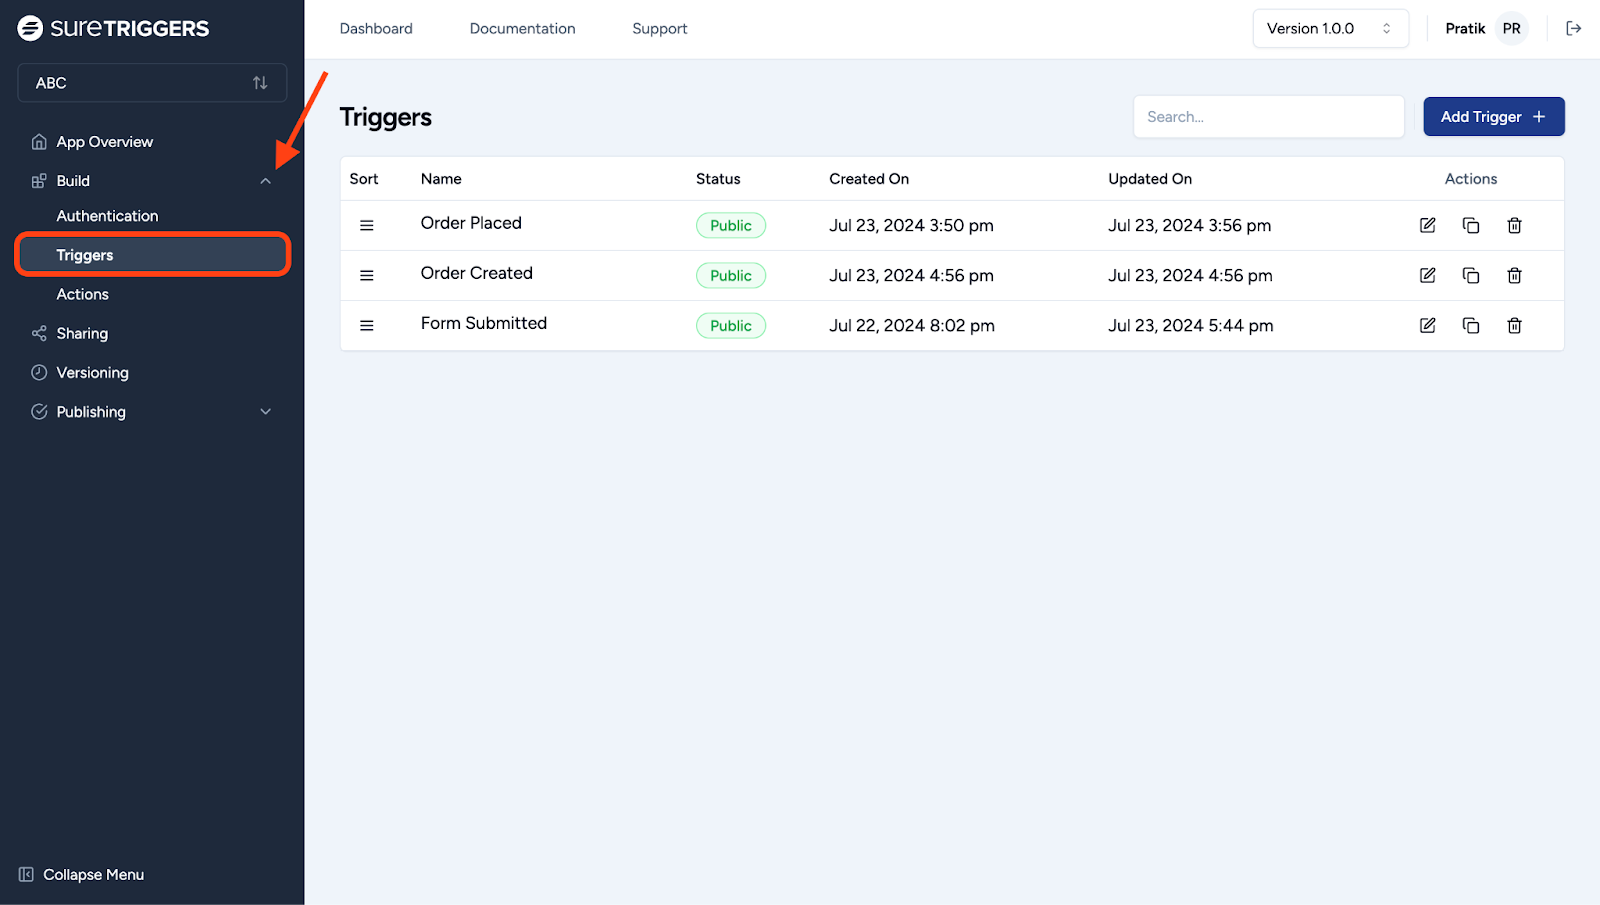
- Click the Add Trigger button at the top-right and provide a name and description for the trigger.
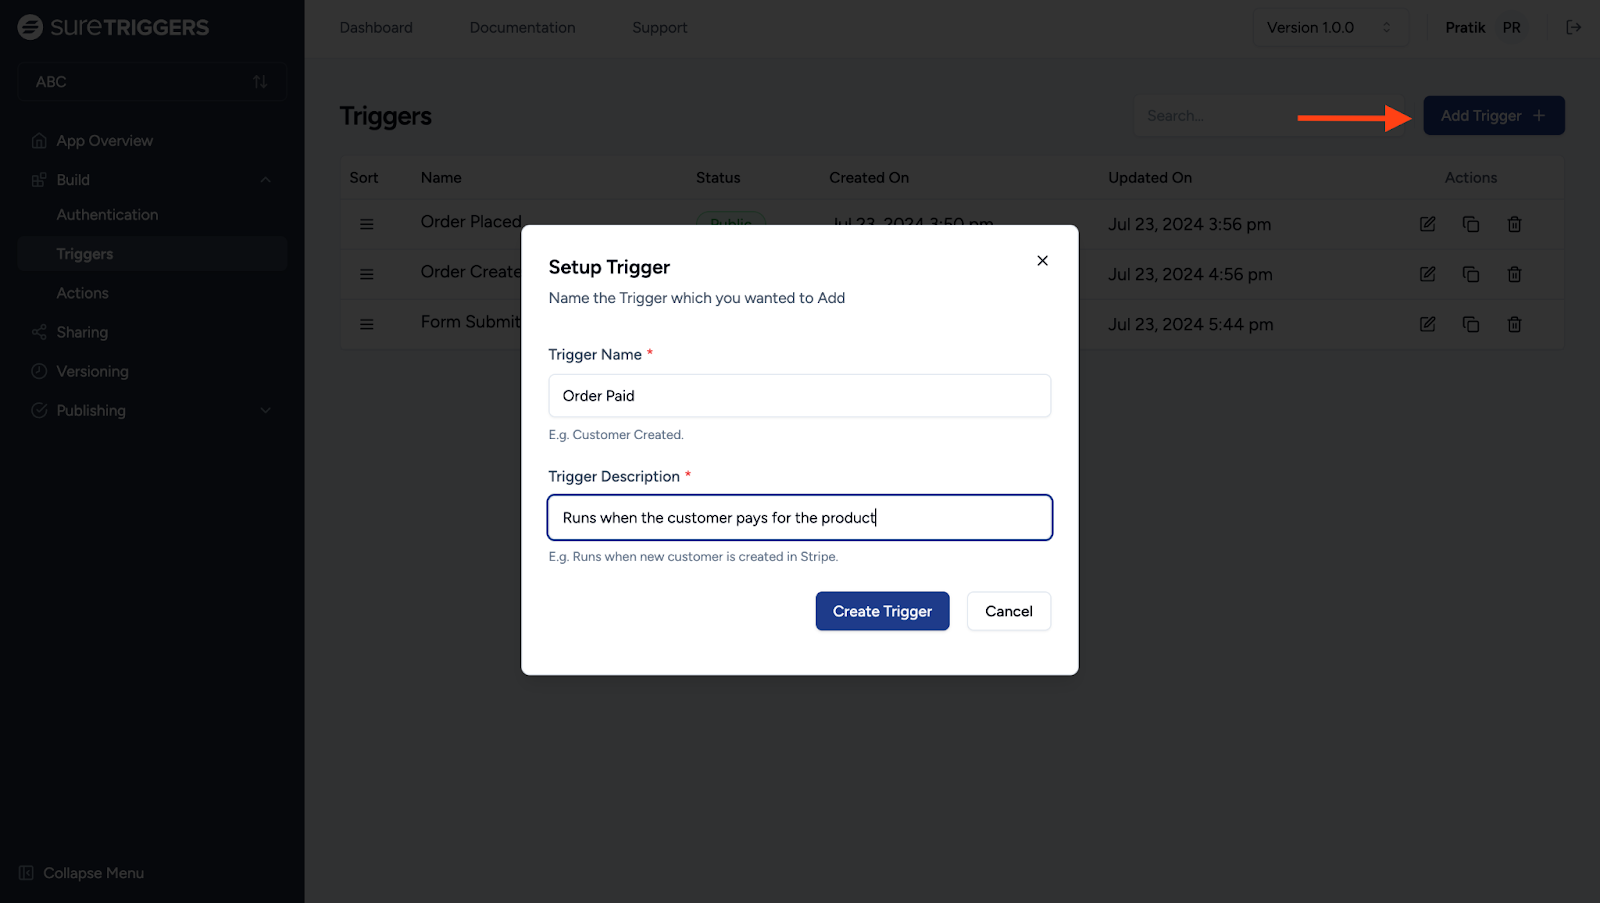
Click the Create Trigger button once done.
- Click on the “Edit” icon once the trigger is created.

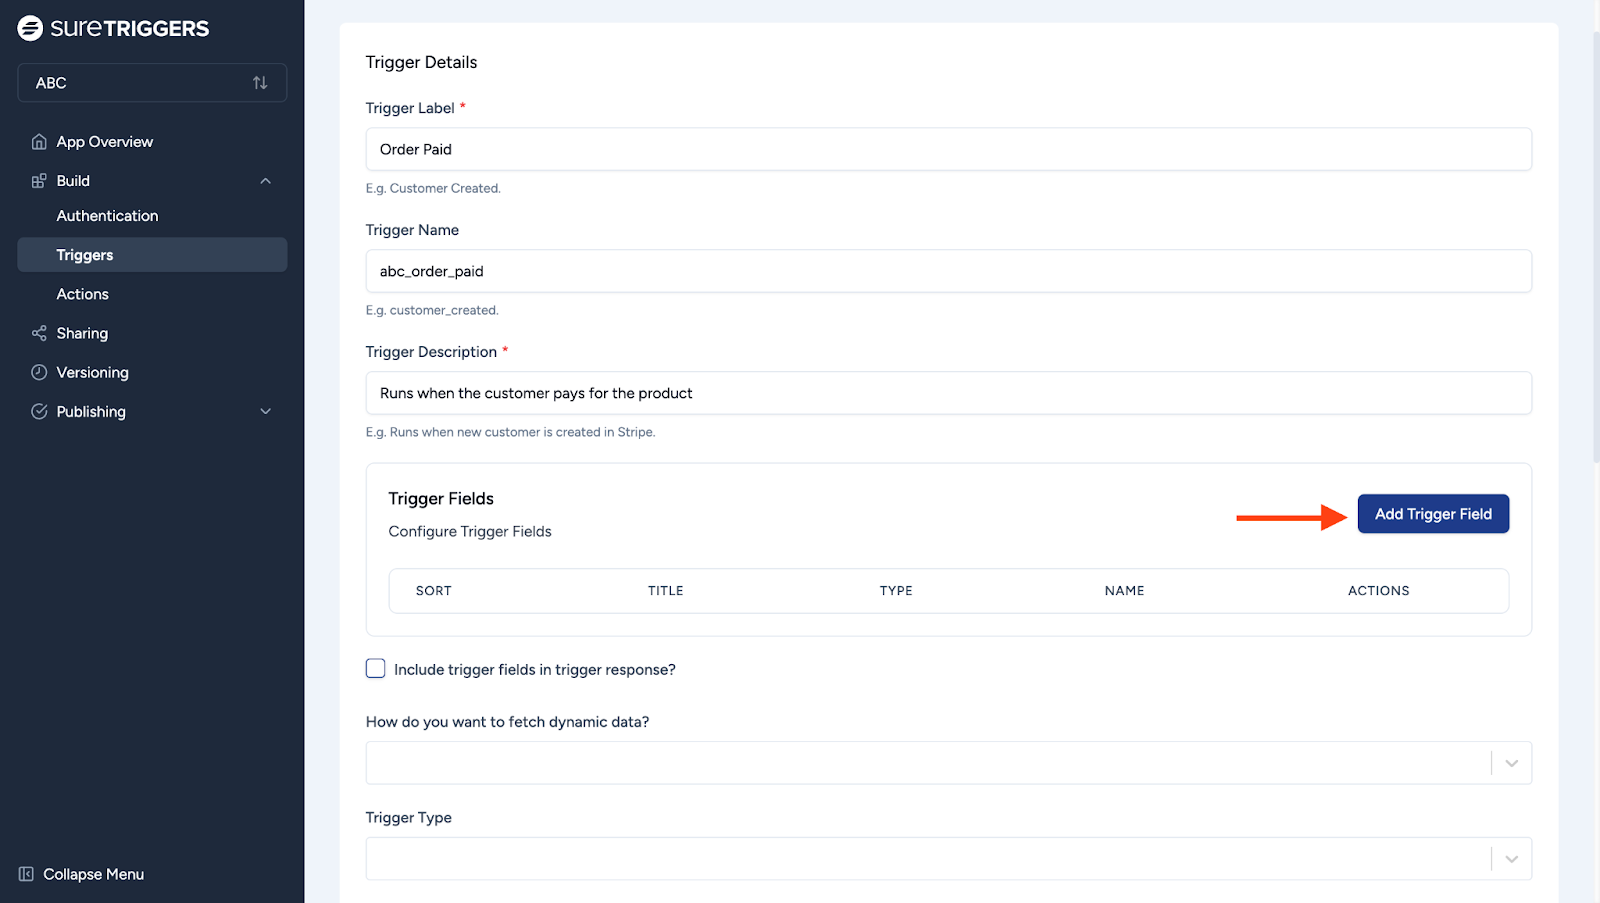
On this screen, you’ll set up and configure the details of your trigger.
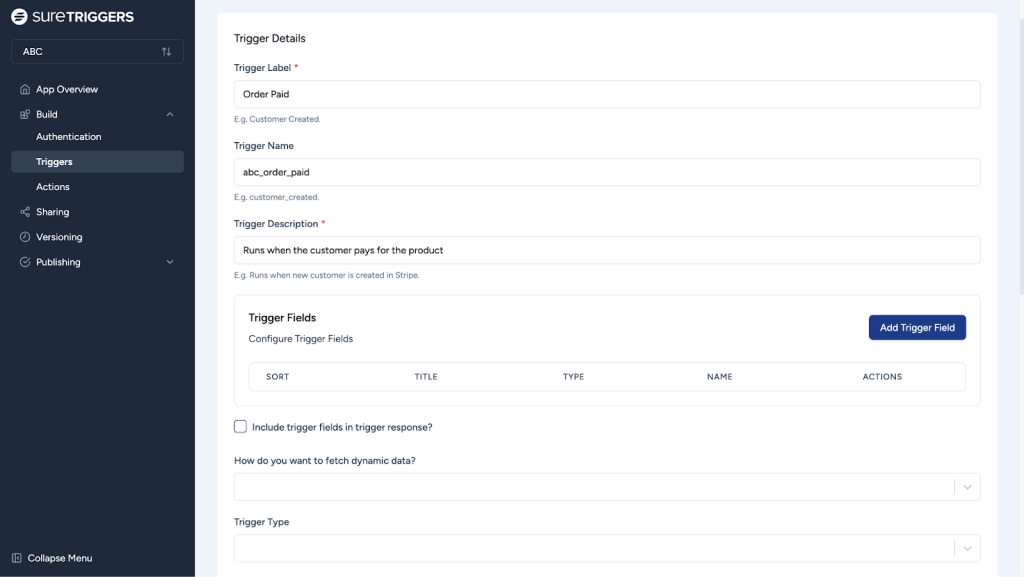
Here’s what each of these fields mean:
Trigger Label
This is a short, descriptive name for your trigger. It helps you quickly understand what the trigger does.
Trigger Description
This is a brief explanation of what the trigger does. You can edit it whenever needed.
Trigger Fields
This section allows you to configure the data that will be associated with your trigger.
This is where you add fields that’ll be included in the trigger’s response. You can specify the field’s title, type, and other details.
For reference, this is the screen we’re creating:
Now, click on the Add Trigger Field button.
After clicking, you’ll need to fill in the following fields:
- Title: Enter a user-friendly name for this field. This name should clearly describe what the user needs to input.
- Name: Provide a unique identifier for the field. This should be a key that helps identify the field in the backend or during filtering.
- Description: Write a detailed description of what this field is for. Use Markdown for formatting and ensure the description is clear and provides enough information for users.

- Default Value: Optional. Enter a default value that will automatically populate the field if no other value is provided.
- Exclude this field from matching incoming data?: Check this box if you want to prevent this field from being used to match or filter incoming data. This can be useful if the field is optional or not critical for the matching process.
- Is this field dependent on any other field?: Check this box if the value of this field should change based on another field’s value. This sets up a dependency where the field updates automatically when the related field changes.
- Is this a required field?: Check this box to make the field mandatory. Users must fill in this field to proceed, ensuring that critical information is not omitted.
- Type: Choose the type of input that the field will accept. Some of the options in the dropdown include:
- Checkbox: A simple yes/no option.
- Dynamic Custom Fields: Fields fetched via API that update dynamically.
- Dynamic Multi-Value Dropdown: Dropdown with multiple selectable values fetched via API.
- Dynamic Single-Value Dropdown: Dropdown with a single selectable value fetched via API.
- HTML Editor: Allows for rich text input with formatting options.
- Hidden: A field that is not visible to users but can hold data.
- Input Field – Manually or dynamically: Field for manual input or dynamic data mapping.
- Line Item Group: Group of related items that can be input together.
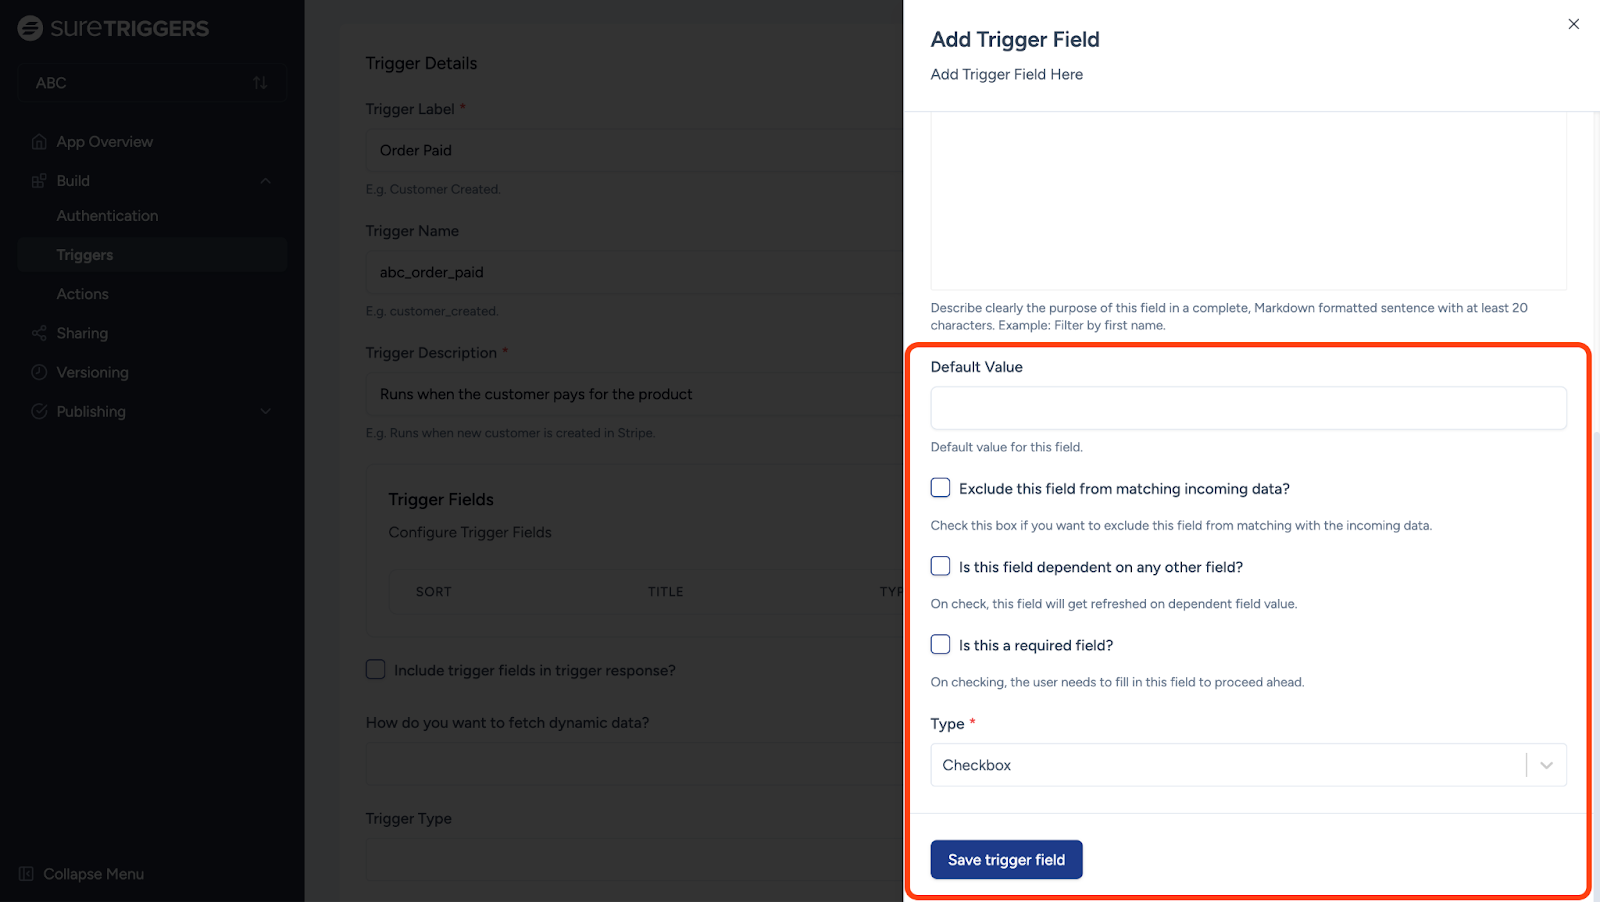
Click on the Save Trigger Field button to save the field configuration and add it to your trigger setup.
After clicking on the button, you’ll go to the previous screen where we’ll continue configuring the trigger.
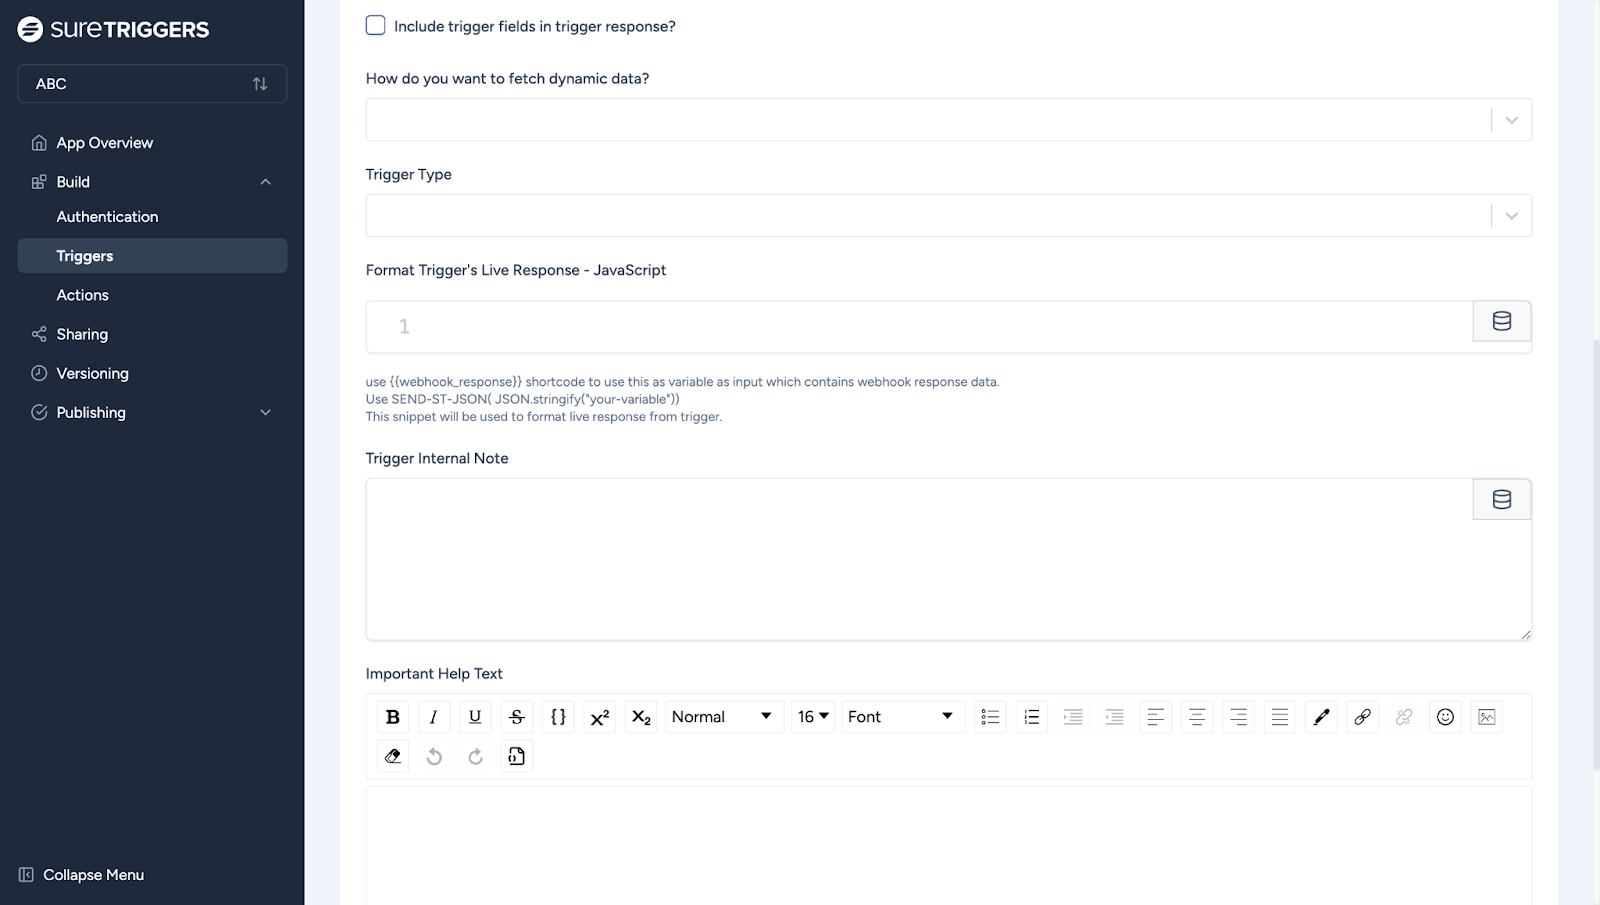
Include trigger fields in trigger response?
Decide if you want the trigger fields to be included in the data sent when the trigger activates.
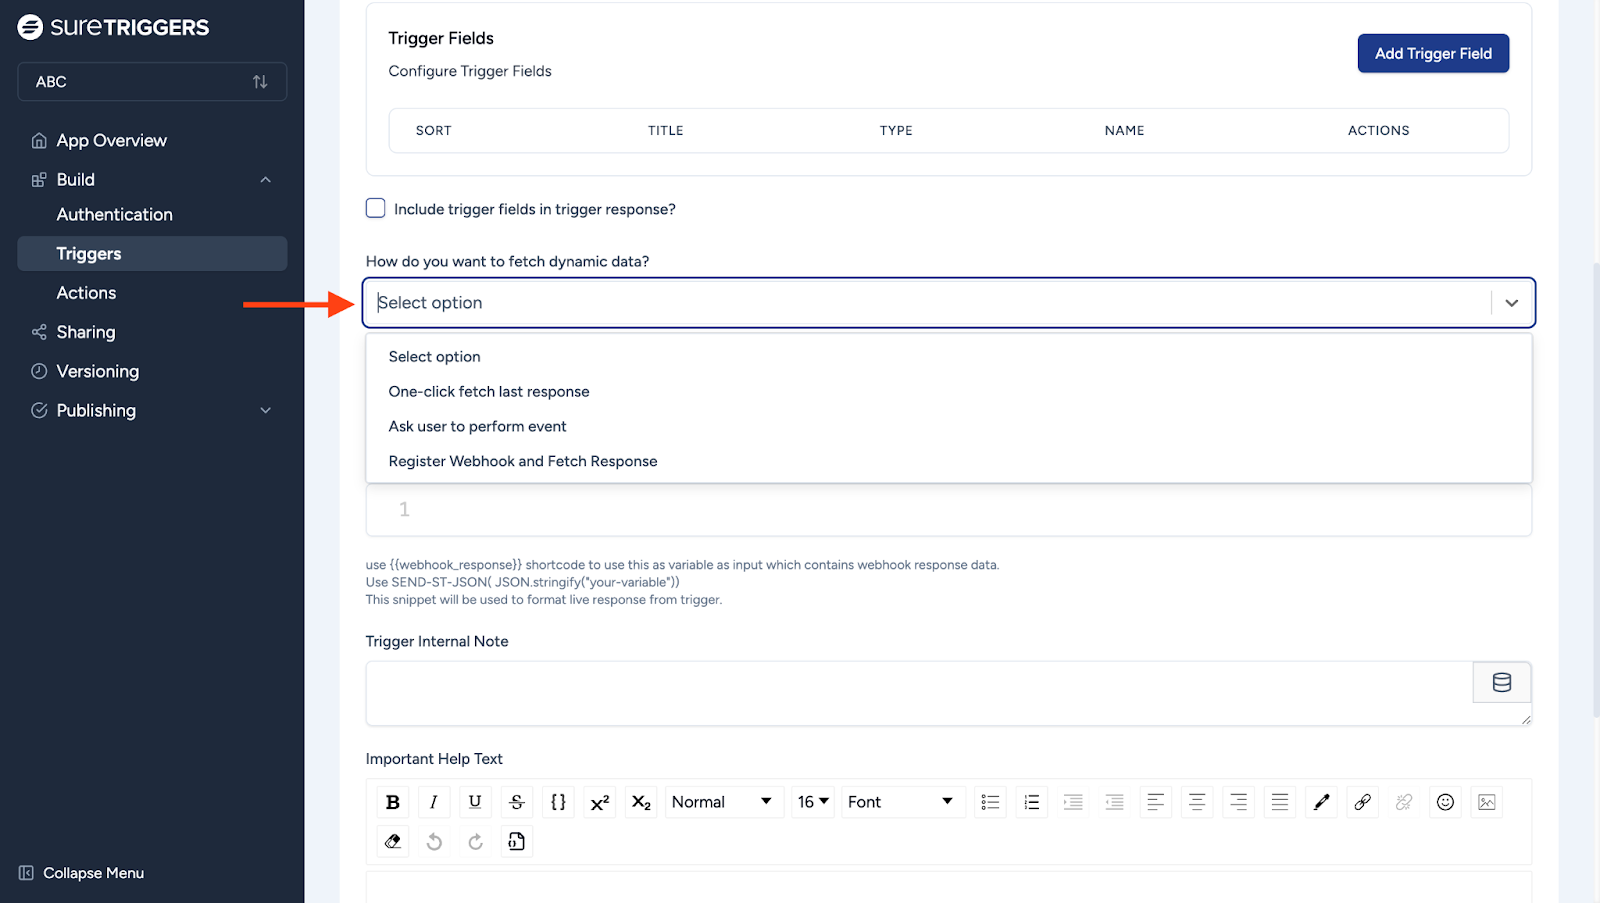
How do you want to fetch dynamic data?
Decide how you want to retrieve data that can change, like asking the user to perform an event or fetching it just using a simple click.
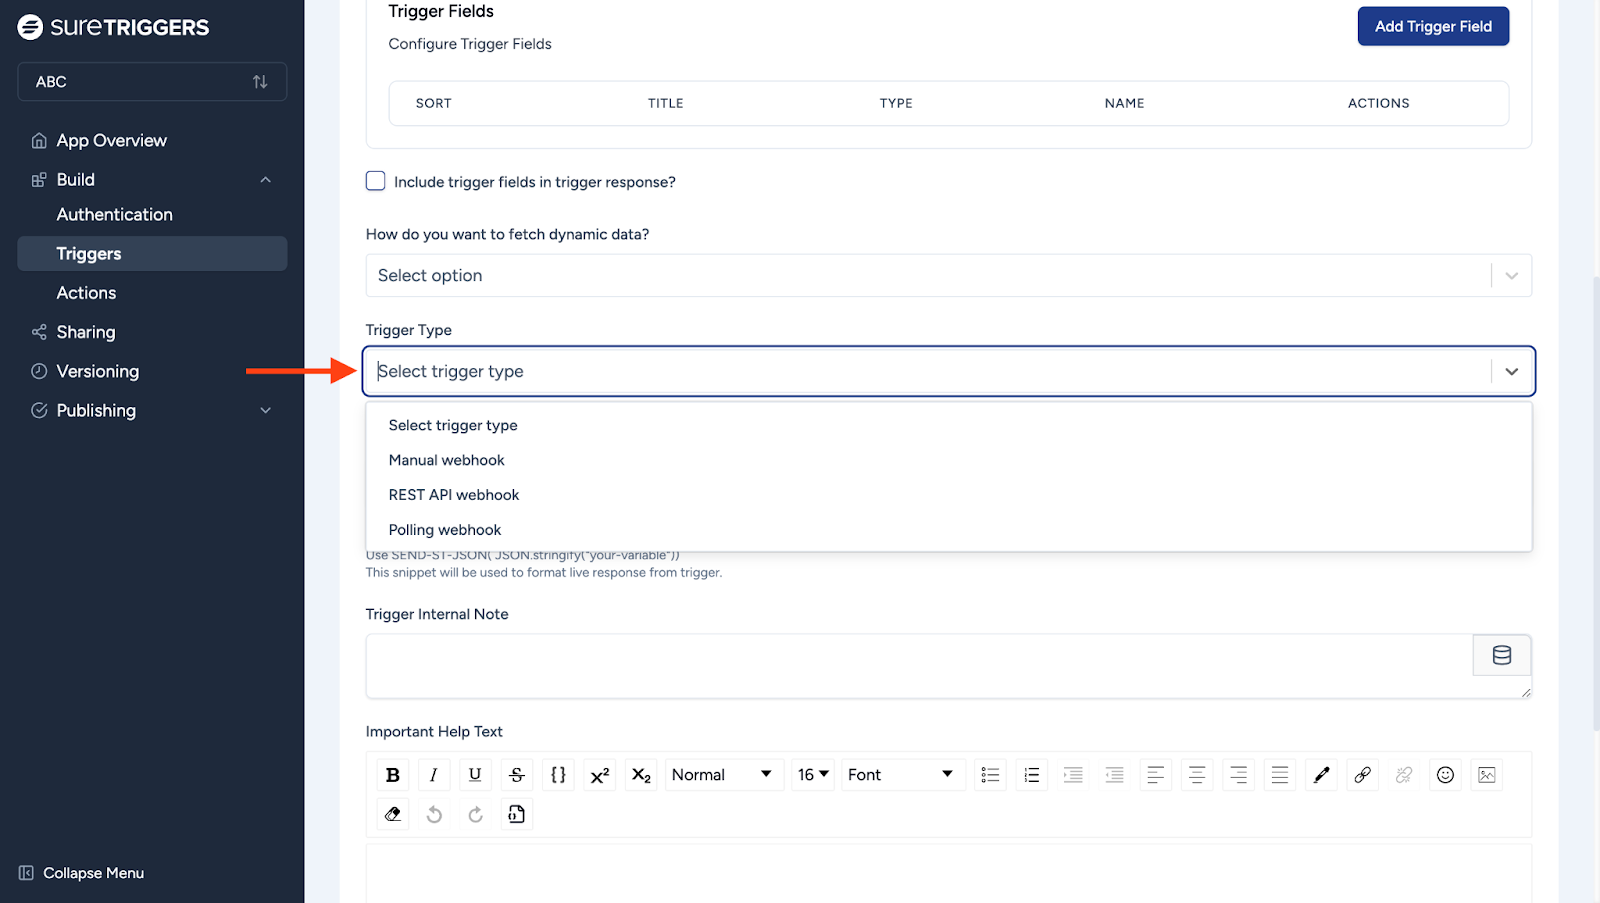
Trigger Type
Select the type of trigger you want to create.
Format Trigger’s Live Response – JavaScript
The JavaScript code used to format the response data.
Use {{webhook_response}} shortcode to use this variable as input which contains webhook response data.
You need to use the code “SEND-ST-JSON(JSON.stringify(“your-variable”))” to define how to handle live response data.
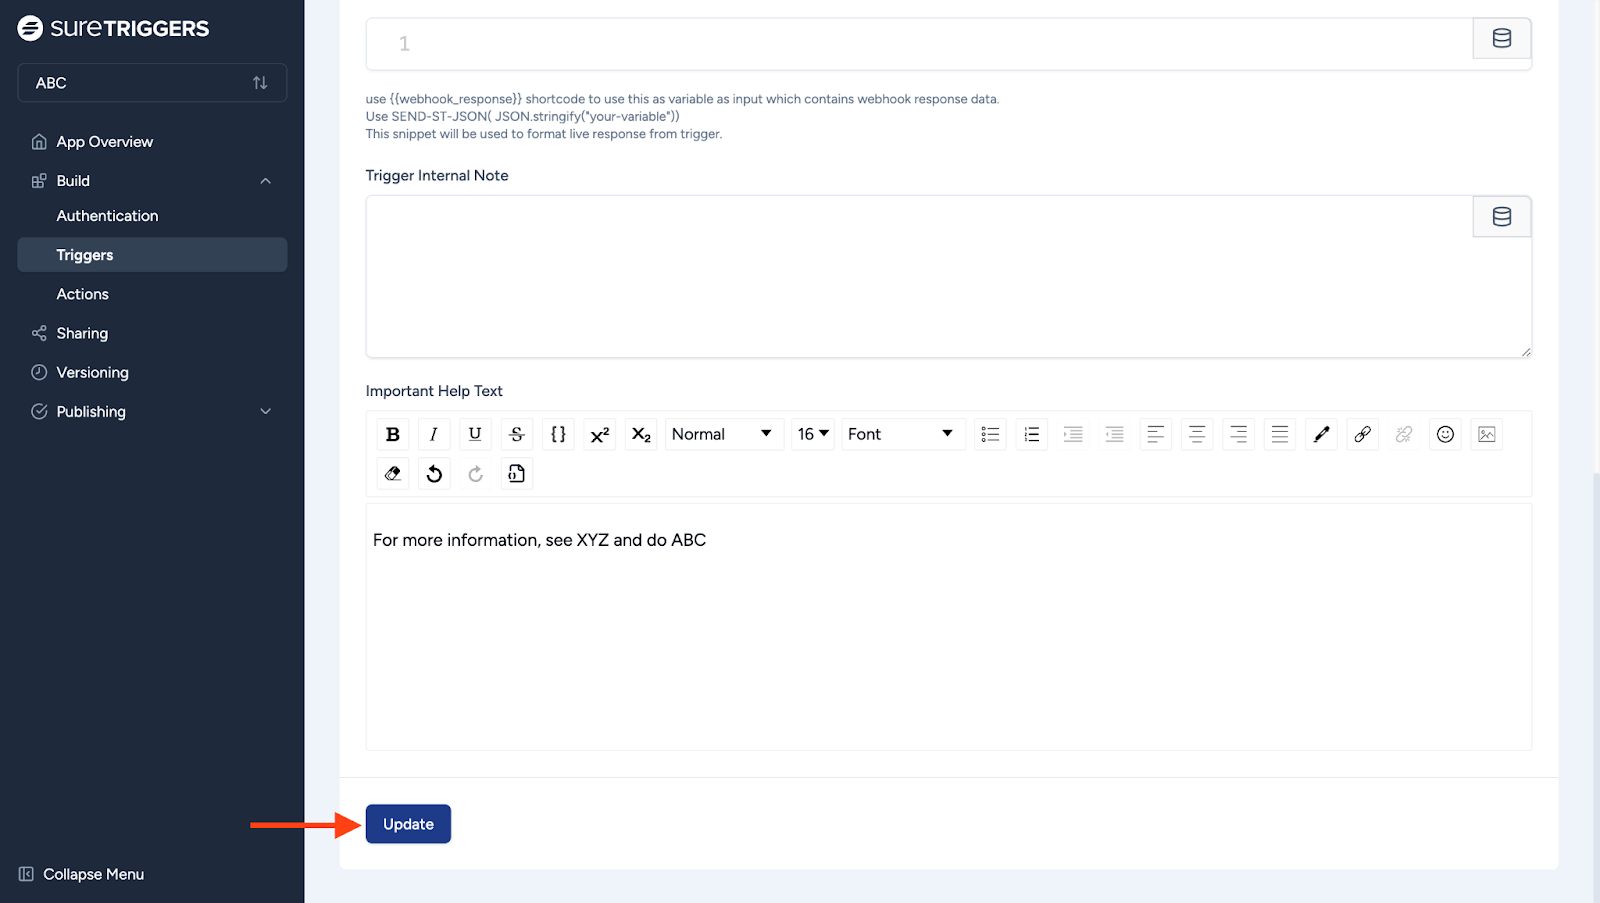
Trigger Internal Note
Add any notes that are useful for internal reference.
Important Help Text
Provide any essential instructions or information that users need to understand the trigger.
Finally, click the Update button to save your changes and apply the trigger settings.
A trigger will be created. Next, let’s create an Action for your integration.
Setting Up Actions
Note: Ensure you have access to your organization’s API documentation.
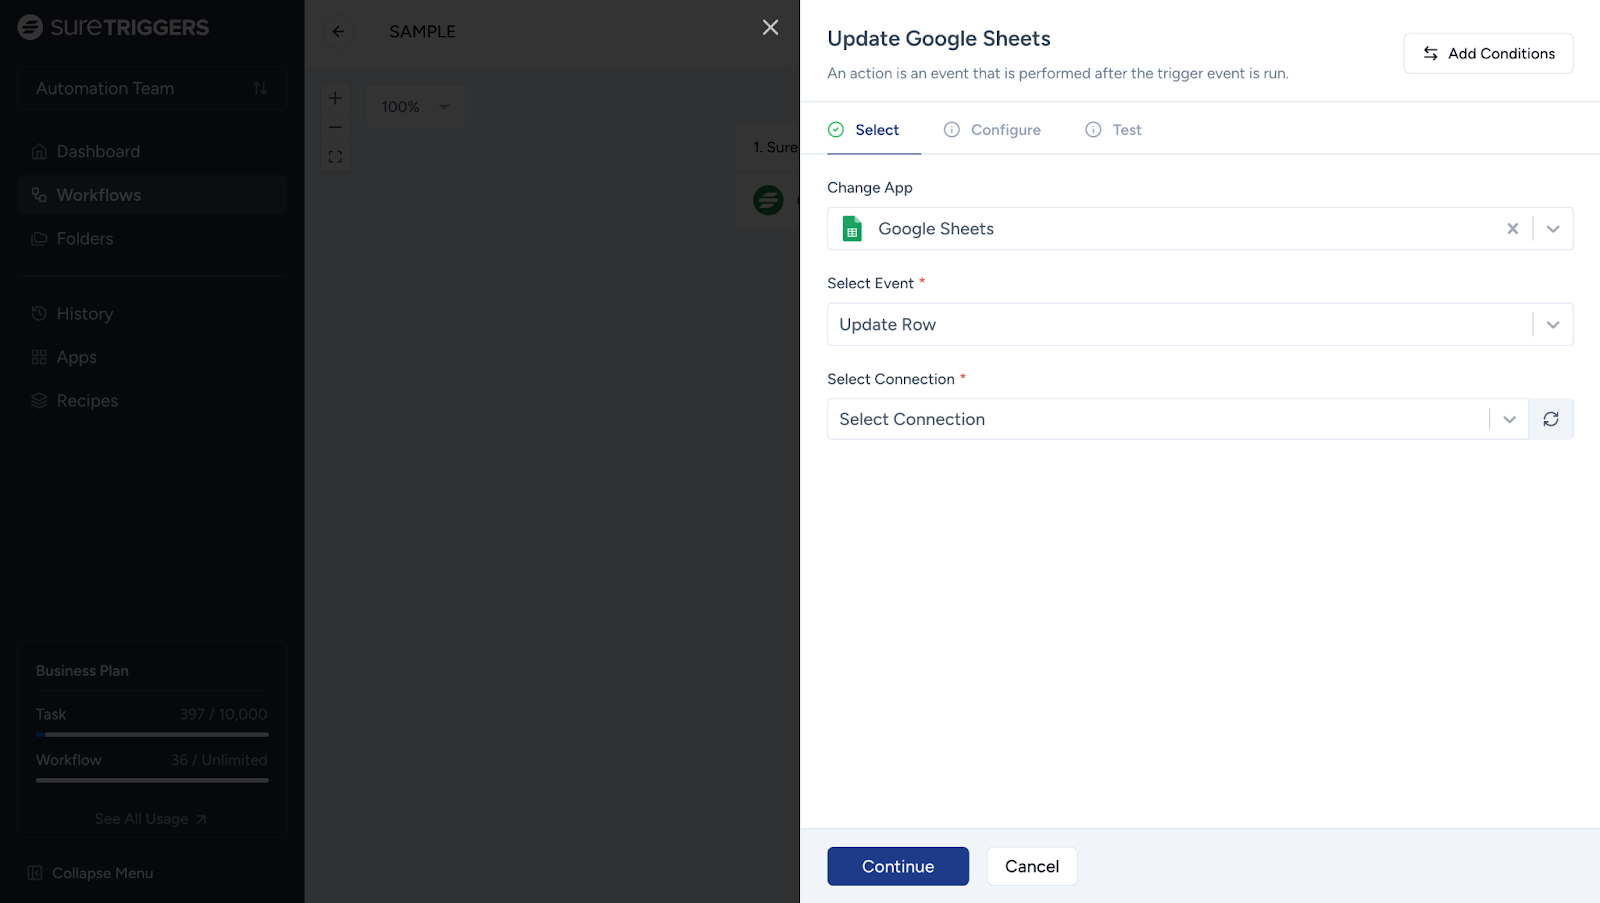
Remember, this is how the actions screen looks like for the OttoKit end-users.
Go to Build > Actions to create a new action.
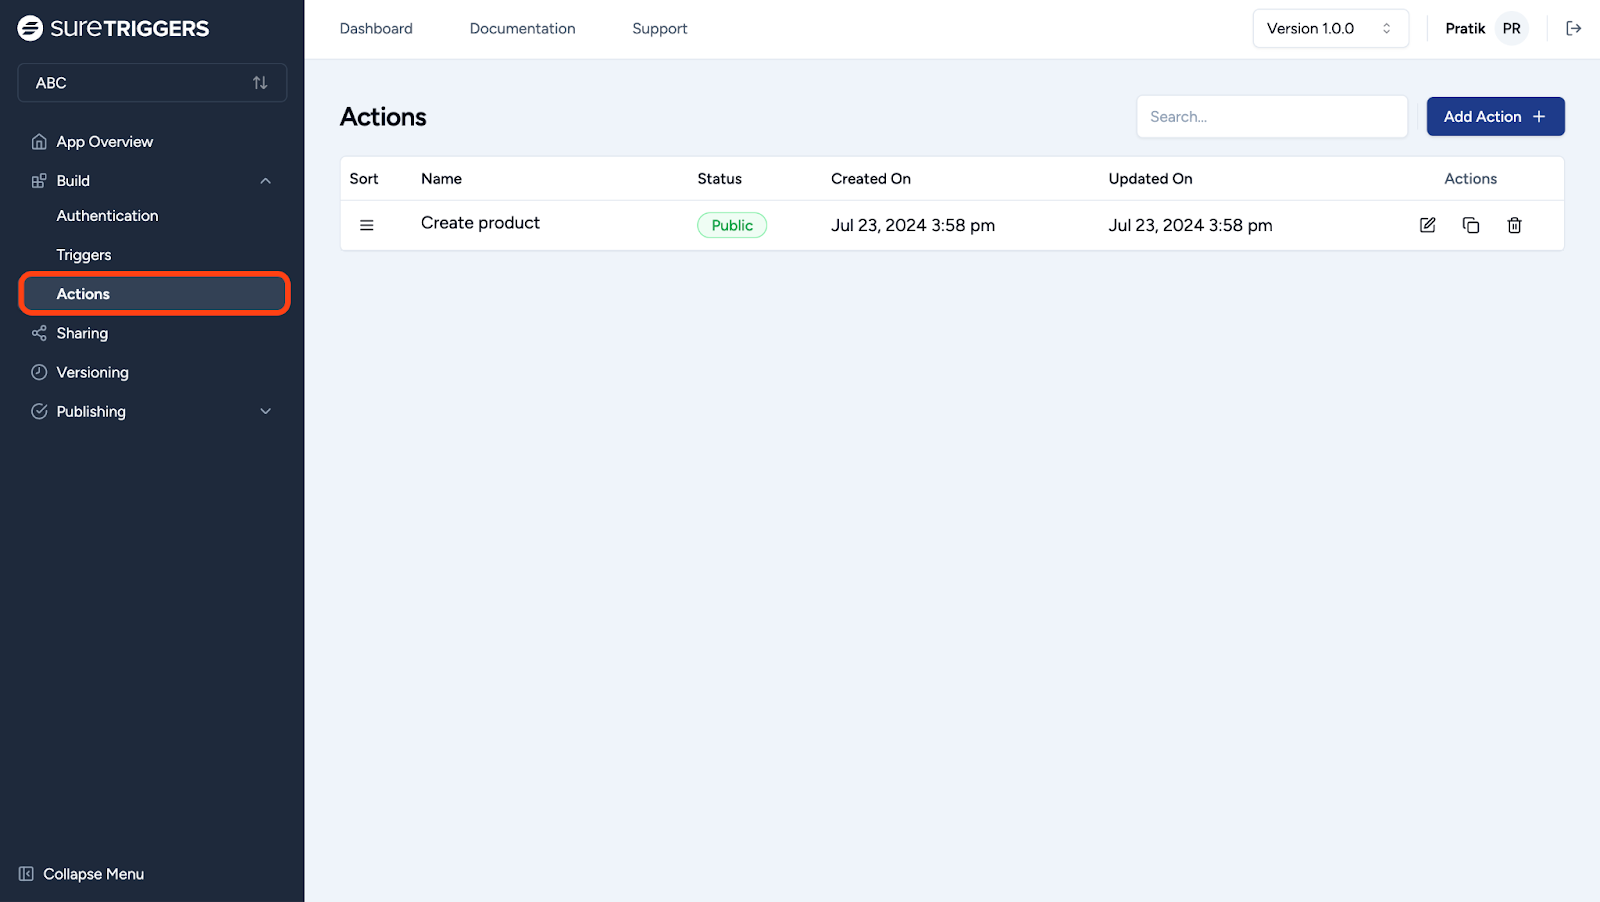
Here’s what the dashboard looks like:
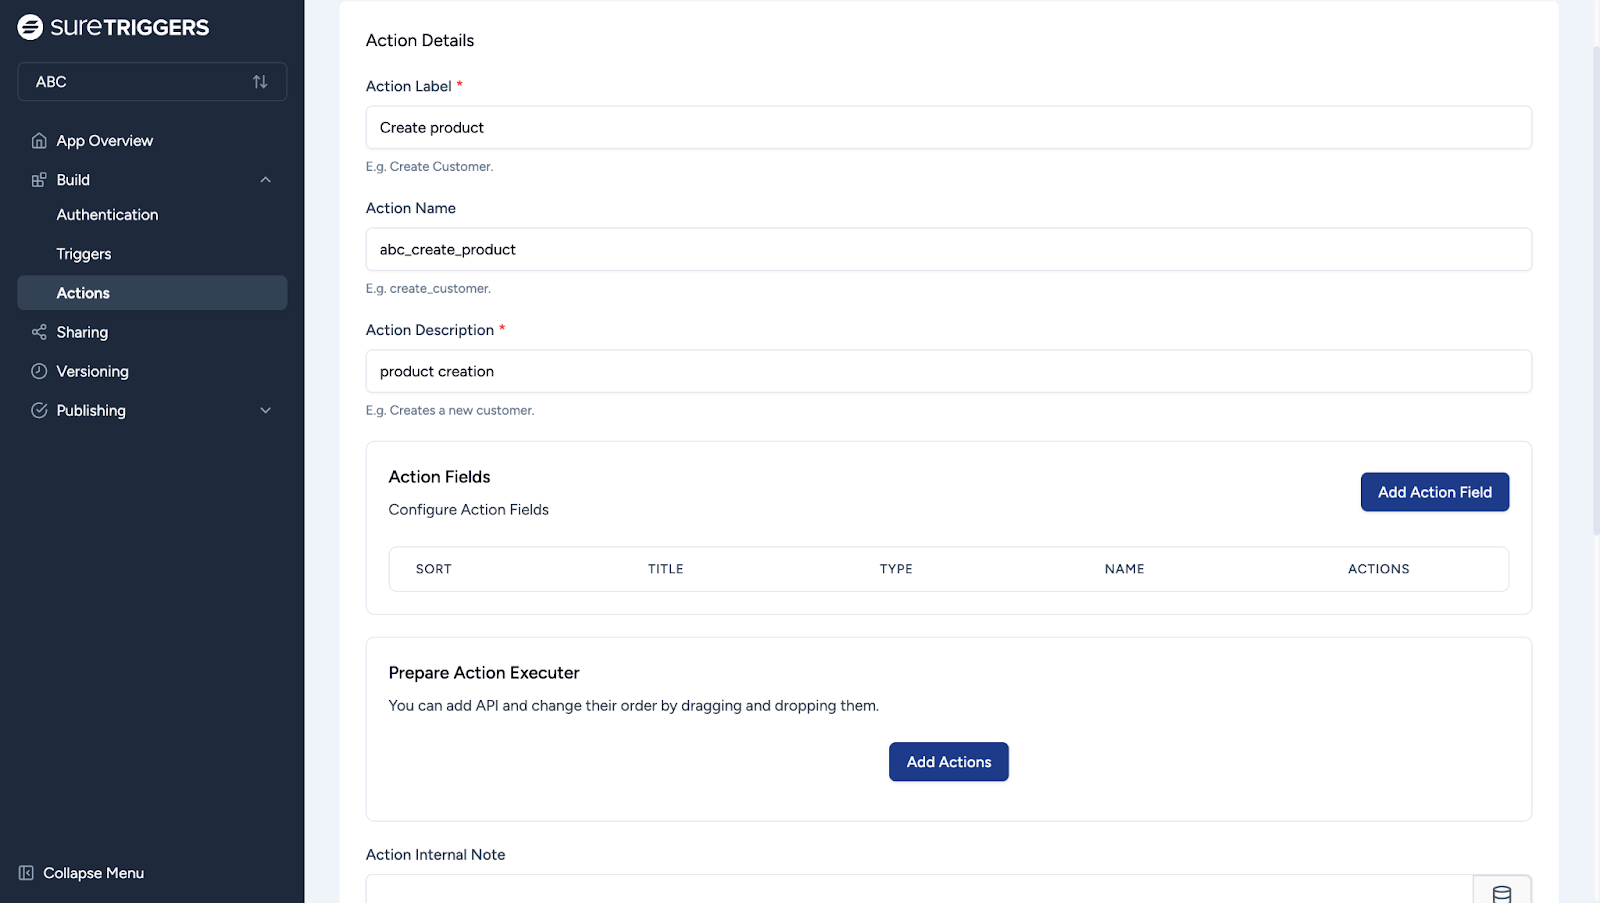
Most of the process until the Add Action Field is similar to creating triggers.
You can check the previous section for reference and adjust the fields according to your API documentation and needs.
Next, click on the Add Actions button under “Prepare Action Executer”.
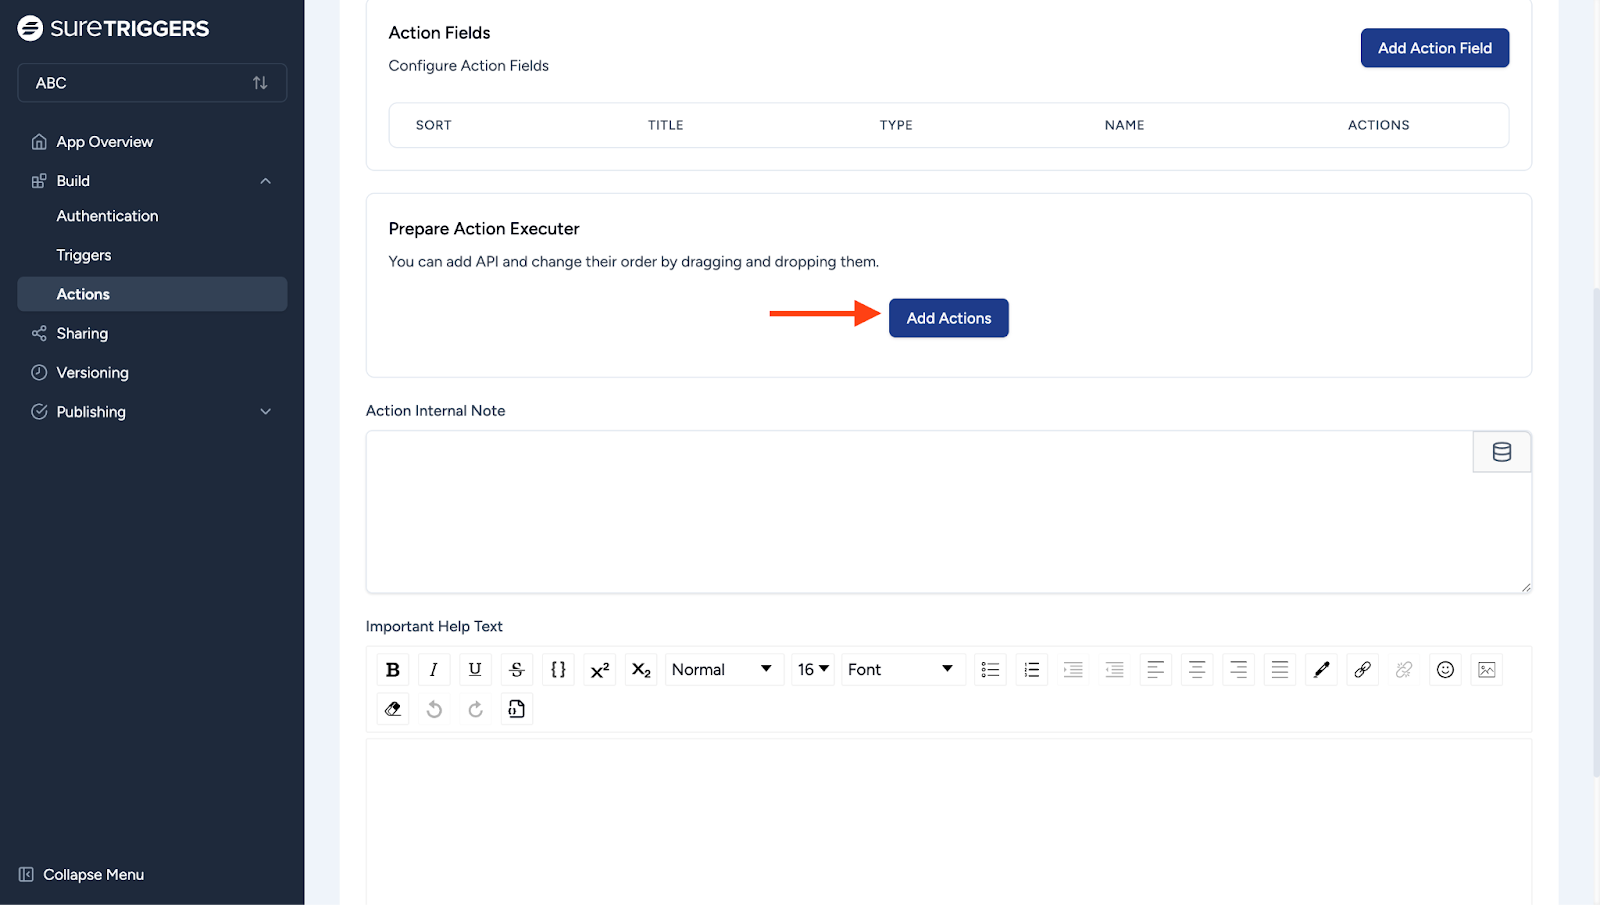
Here, you can specify multiple API endpoints that you want the action to interact with.
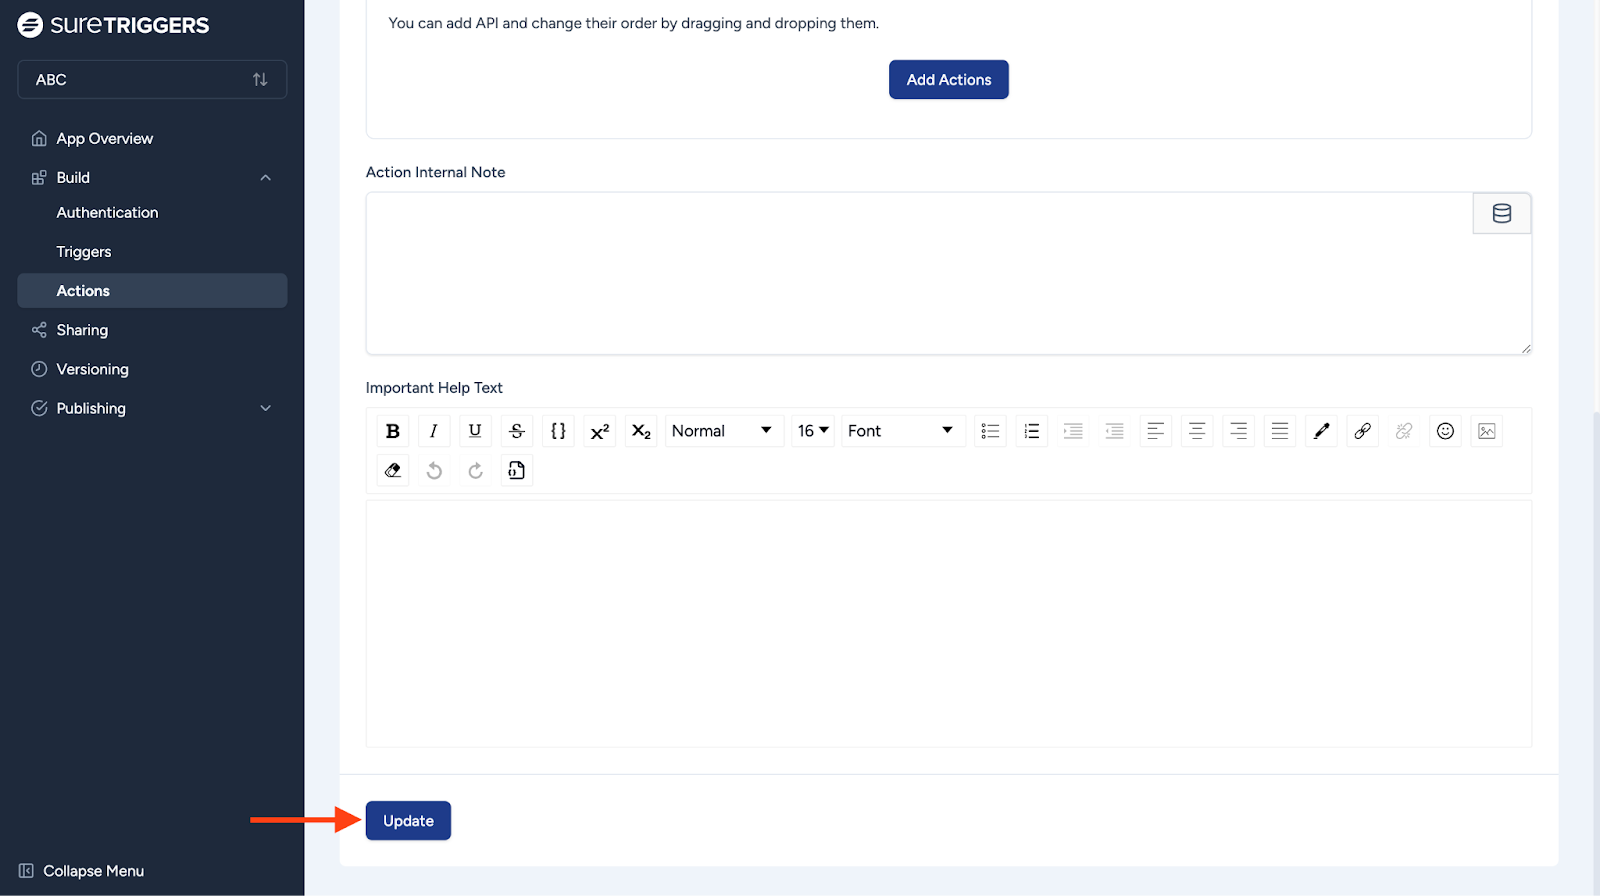
You can add API and change their order by dragging and dropping them. For example, if you have three steps like logging in, getting user info, and updating settings, you can make sure they happen in the right order.
The following screen will be visible after clicking the Add Actions button:
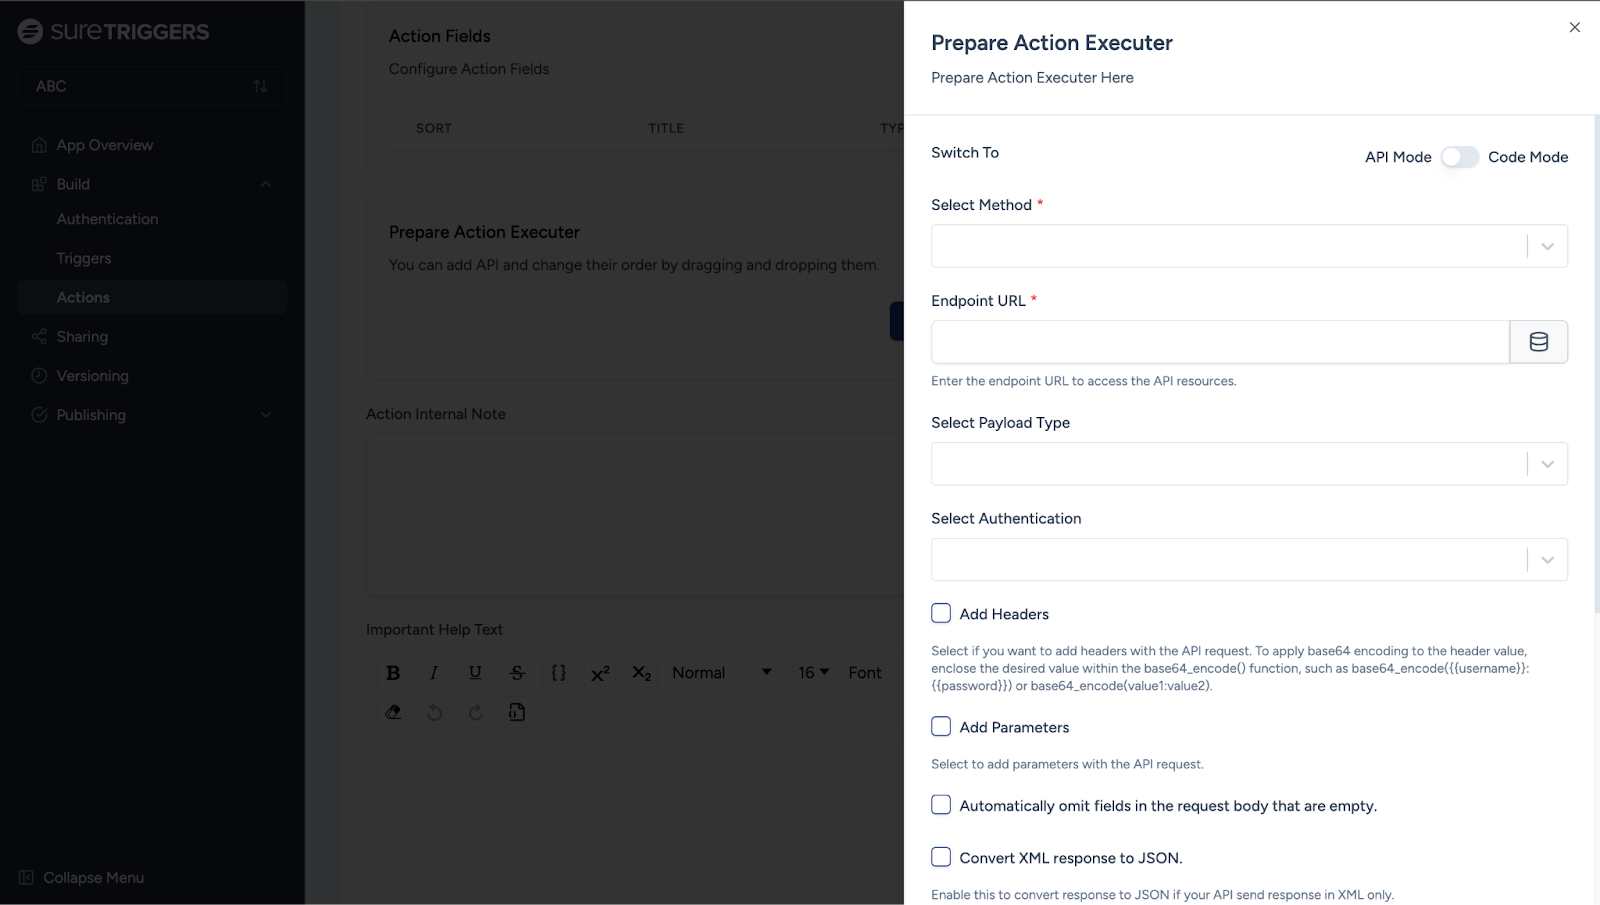
- API Mode & Code Mode: Switch to API mode to configure the API settings. Use code mode for advanced customization.
- Select Method: Choose the HTTP method for your API request (e.g., GET, POST, PUT, DELETE).
- Endpoint URL: Enter the endpoint URL to access the API resources.
- Select Payload Type: Choose the type of payload you are sending (e.g., JSON, XML).
- Select Authentication: Choose the authentication method required by the API (e.g., Basic, OAuth).
- Add Headers: Specify any headers needed for the API request.
To apply base64 encoding to the header value, enclose the value within the base64_encode() function (e.g., base64_encode({{username}}:{{password}}) or base64_encode(value1:value2)).
- Add Parameters: Add any parameters required for the API request.
- Automatically Omit Empty Fields: Enable this to omit fields in the request body that are empty.
- Convert XML Response to JSON: Enable this option to convert responses from XML to JSON format if the API only returns XML.
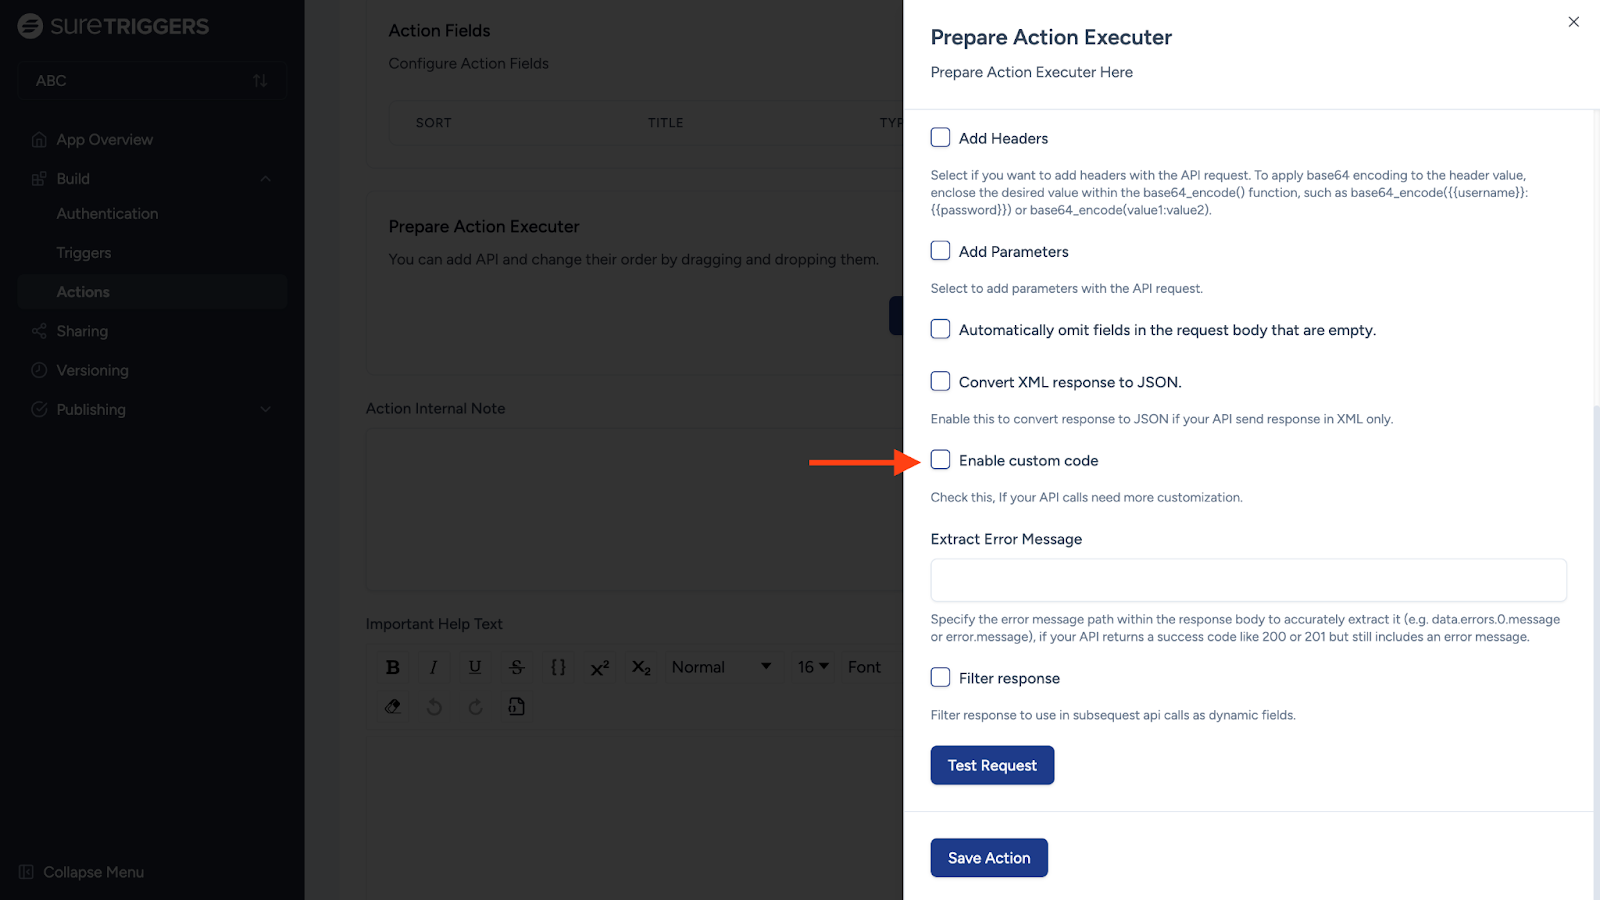
- Enable Custom Code: Check this box if your API calls require additional customization beyond the standard options.
- Extract Error Message: Specify the path to the error message in the response body to accurately extract it (e.g., data.errors.0.message or error.message), especially if the API returns a success code like 200 or 201 but includes error messages.
- Filter Response: Filter the response to use dynamic fields in subsequent API calls.
Click on the Test Request button to test your API request before saving the action.
Then, click the Save Action button to save your configured action.
Add any internal notes and help text if your action needs it.
Finally, click on the Update button to finish creating the action.
Now, you can publish your integration and make your integration live on OttoKit!
If you face any issues during the process, please contact us by opening a ticket below. We’re always here to help!
We don't respond to the article feedback, we use it to improve our support content.