- Prerequisites
- Building an Integration
- Setting Up Authentication
- Setting Up Triggers & Actions
- Publishing Integration
- How To Authenticate Your Application Using The API Key Method
- How to Set-Up the Integration Based on Auth Type Bearer Token
- How To Authenticate Your Application Using OAuth 2.0
- How To Authenticate Your Application Using Basic Auth
- How To Authenticate Your Application Using The JWT Bearer Method
How to Format Slack Messages Using OttoKit
Formatting messages in Slack can significantly enhance their expressiveness and detail, providing clarity to your readers at a glance, and using fewer words.
In this article, we will explore how to elevate your communication in Slack by leveraging formatting features and integrating these into Slack’s automation workflows.
Basics of Message Formatting
Bold: The bold format emphasizes or highlights some key information, headings, or important points.
Italic: Commonly used for specifying words that are different from the rest of the words like Book titles, movies, etc.
Strikethrough: It indicates that a word or phrase has been deleted, edited, or no longer valid without completely removing it by striking a horizontal line through the center of the text.
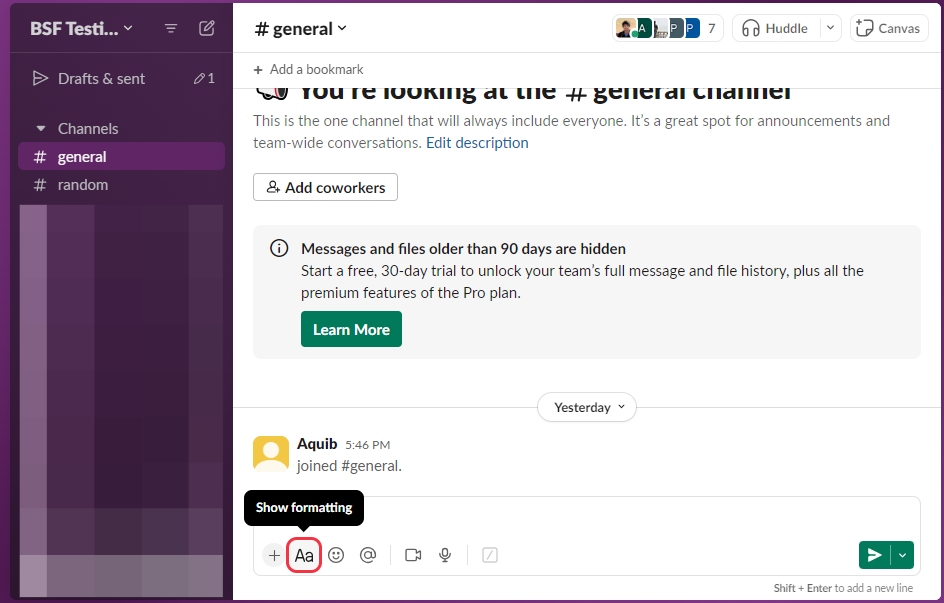
You can decide the text format by selecting the options from the formatting toolbar by clicking the Aa icon or using the Markup.
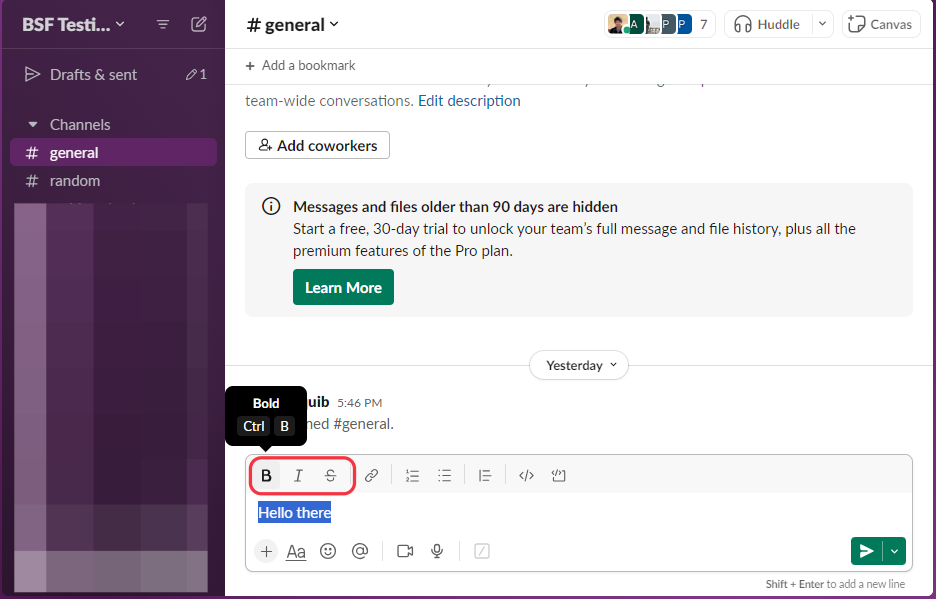
Also after writing the message you can select the text and use the formatting toolbar as shown:
Markup For Text Styling Options
You can use markup to format messages both in Slack and its workflows in OttoKit.The Slack Message window in OttoKit will look like this:
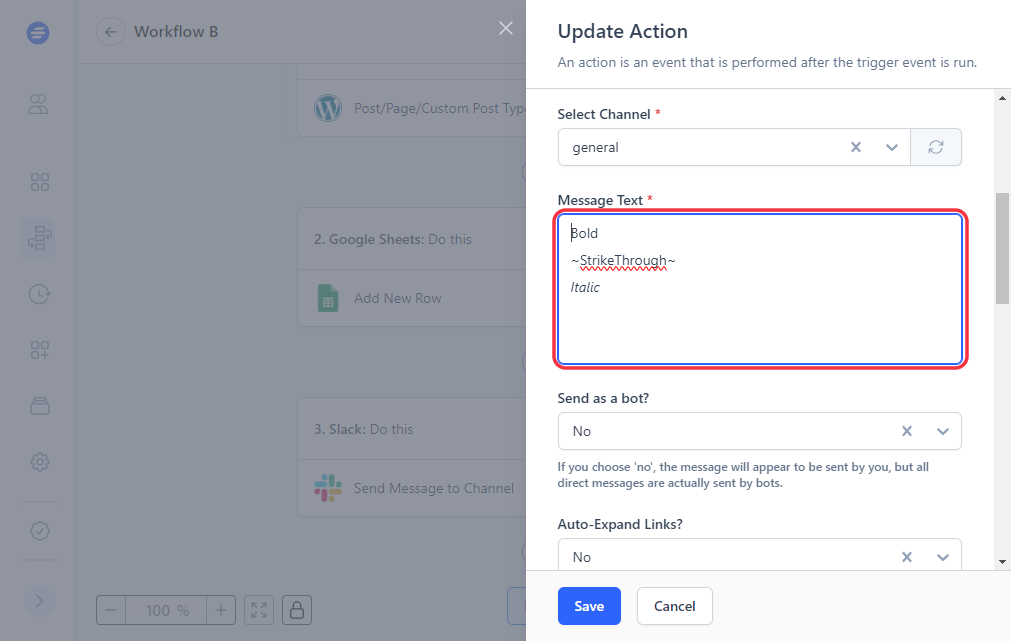
Markups:
*Bold*
- For Bold: Wrap your words with an asterisk(*).
_Italic_
- For Italic: Wrap your words with underscores(_).
~Strikethrough~
- For Strikethrough: Wrap your words with tildes(~).
Adding Emojis
Emojis and Emoticons can help you set the tone of the message and allow you to express emotions. They can draw attention to important points without using many words and also add a sense of humor and fun to team conversations.
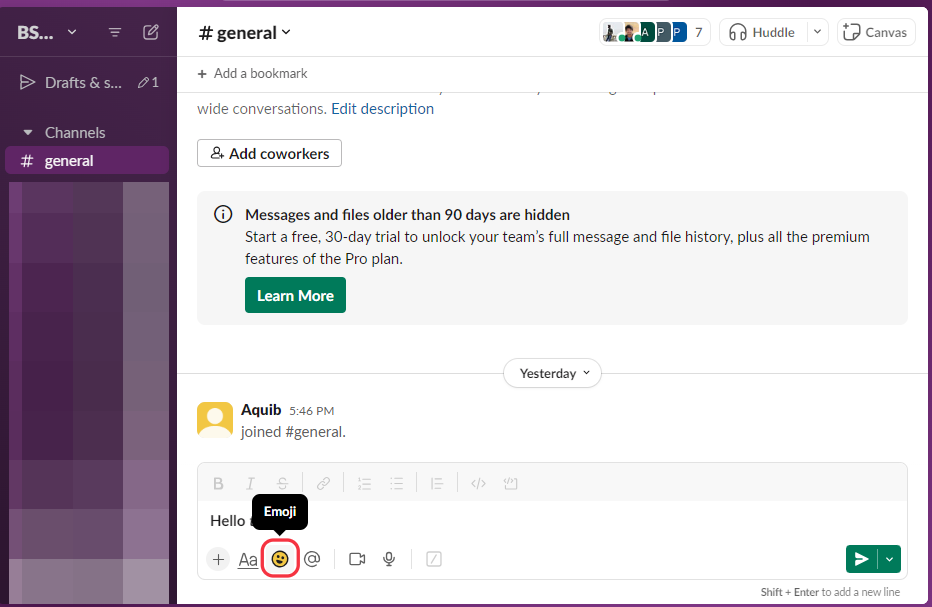
You can use many emojis from the emoji icon in Slack as shown:
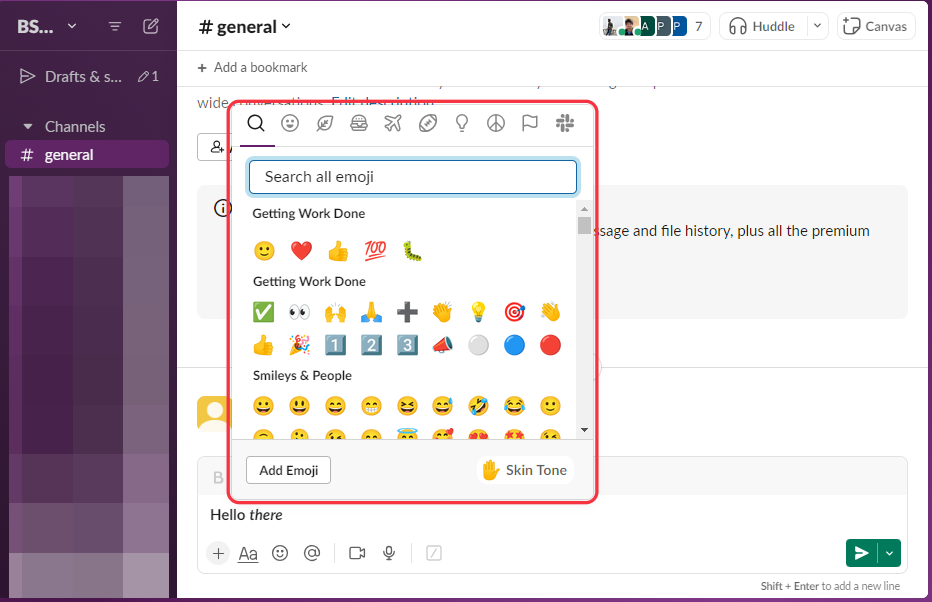
Markup For Emojis
Emojis can be inserted using Markups also. These markups are more handy for inserting emojis in Slack workflows inside OttoKit.
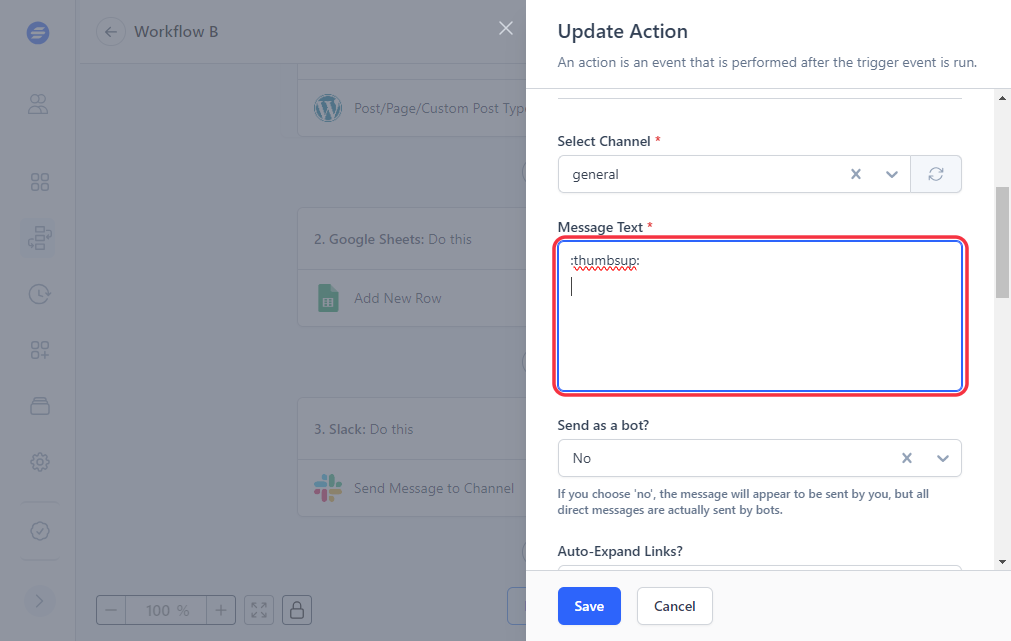
Markup:
- Wrap the Emoji name with colons(:).
Example:- thumbs-up:
Inserting Links
URLs are automatically hyperlinked in Slack but you can also show Link Text instead of the whole URL using the following Markup.
Markup For Inserting Links
This same markup can be used in Slack automation workflows inside OttoKit:
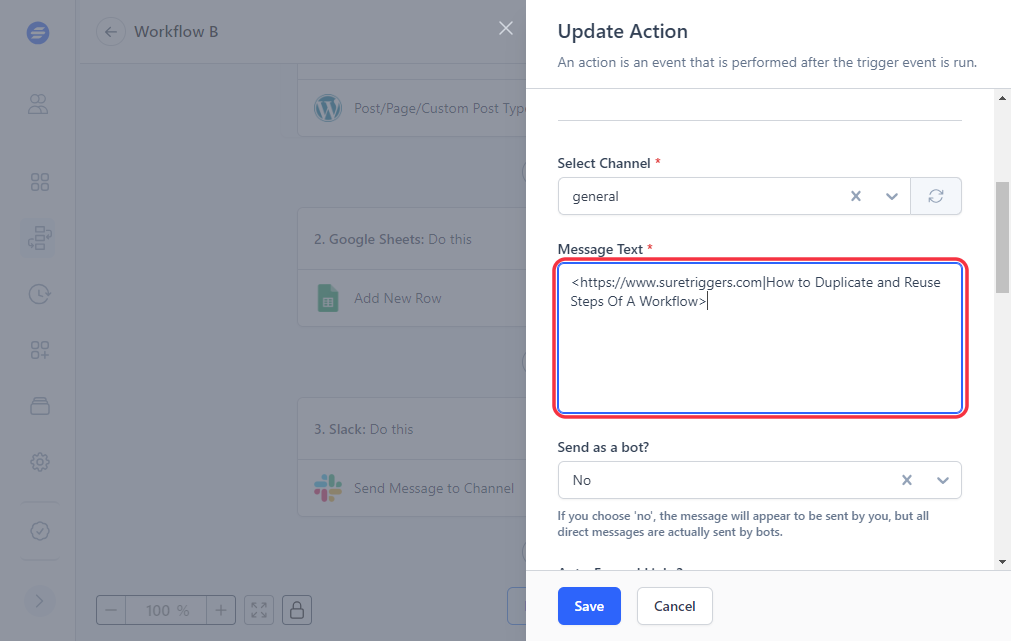
Markup:
- Type an open angle bracket (<), your URL link, a pipe character (|), your link text, and a closing angle bracket.
Example:- <https://www.suretriggers.com|Link Text>
Link text should include spaces between words.
Advanced Message Formatting
OttoKit helps you refine your Slack messages with advanced formatting. In this part, we’ll cover those advanced formatting features.
Code snippets and syntax highlighting
To write code snippets you can use the formatting toolbar by clicking the Aa icon. You can add code block, code, and Blockquote formats in the message using the toolbar options.
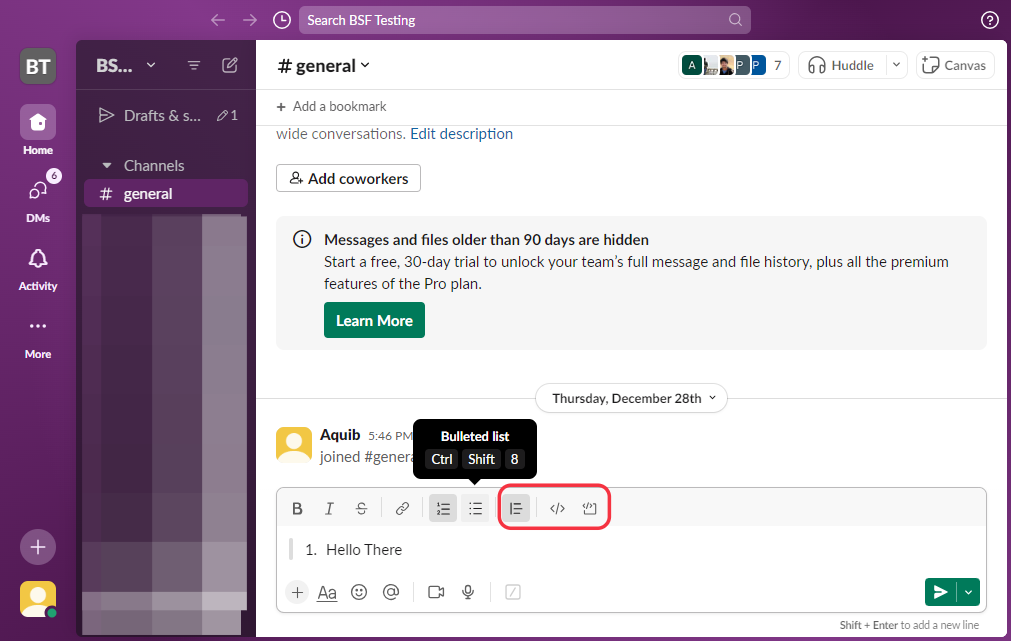
Markups for Code Snippets
You can also use the following Markups for Code and Blocks format inside the Slack chat box in OttoKit:
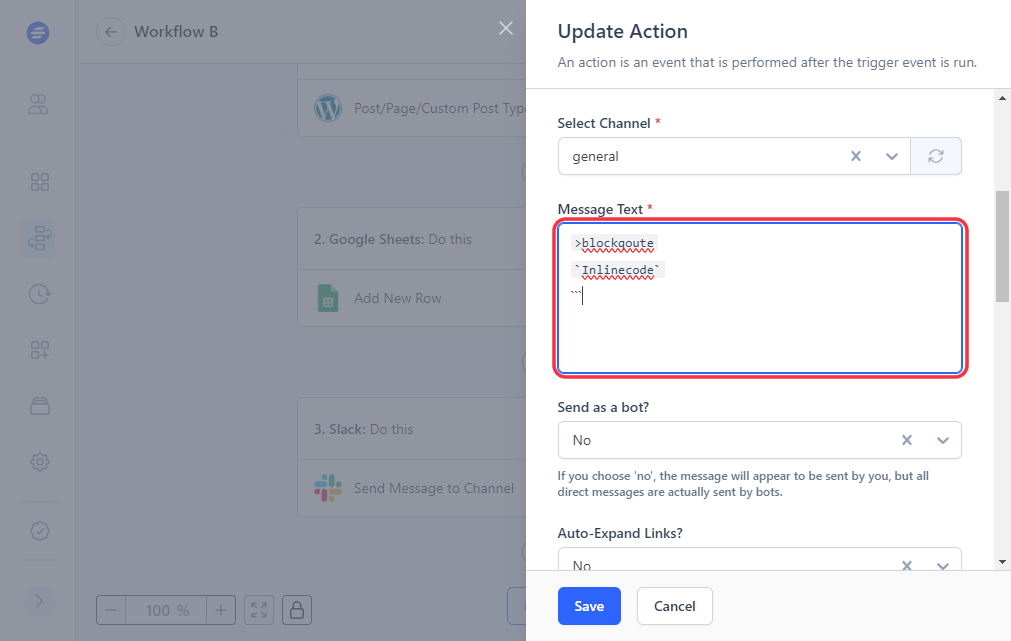
Markups:
- For Inline code blocks that are a single word or line: write your text wrapped with a single backtick (`).
`inline code block`
- For inline code blocks that are a block of text: write your text with wrapped three backticks.
“`inline code block text block“`
- For blockquotes: start the blockquote with a closing angle bracket (>).
>blockquote
Creating Bullet Points and Numbered lists
You will find bullet points and numbered list options from the formatting toolbar as shown.
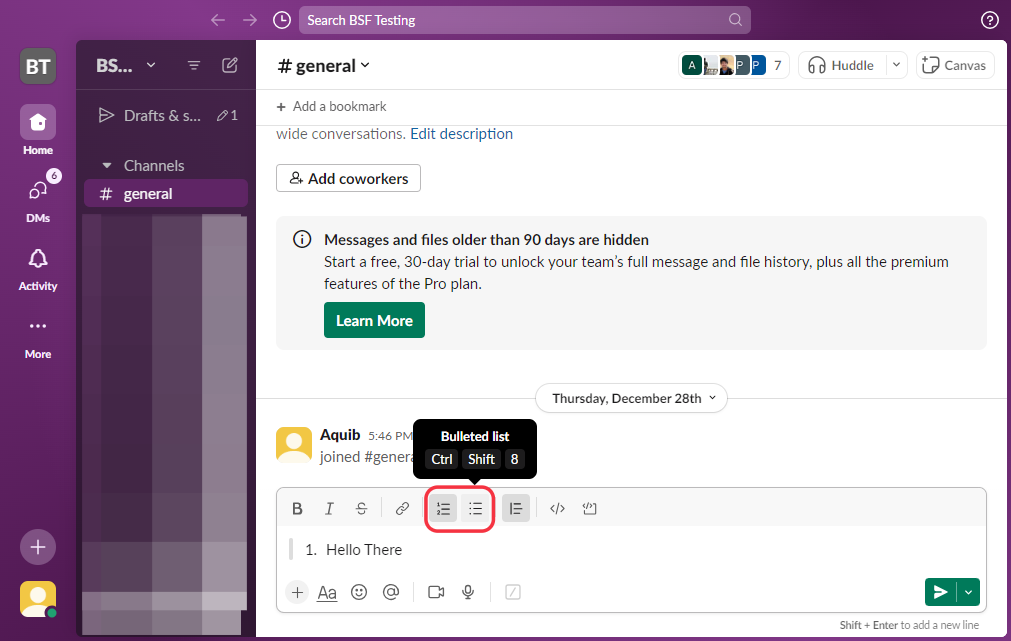
Markups for Bullet Points and Numbered List
You can use the following Markup for bullet points or numbered lists.These Markups will work the same way inside Slack workflows in OttoKit.
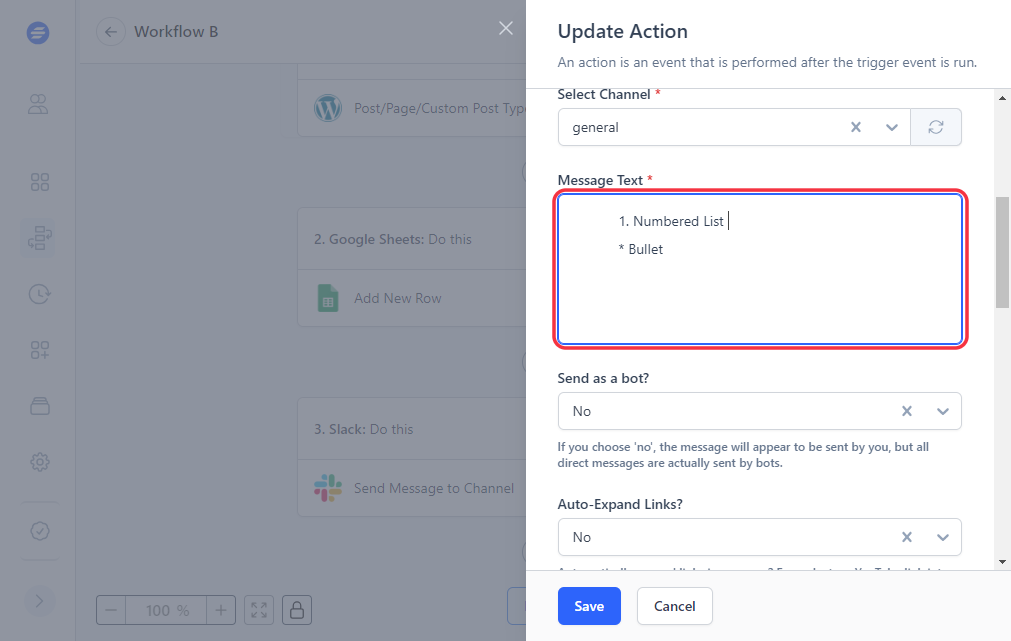
Markup:
- For Ordered List:
Add the order number before the text and a full stop, then press the space tab. Example:
- Your Text
- For Bulleted List:
Add the asterisk(*) before the text and press the space tab. For example: * Your Text
Using Mentions and Notifications
Slack mentions are a direct way to make announcements and to draw the attention of specific members of the channel.
To mention any specific person, just type @, and a list of members of the channel will open up. From the list just select the person whom you want to mention.
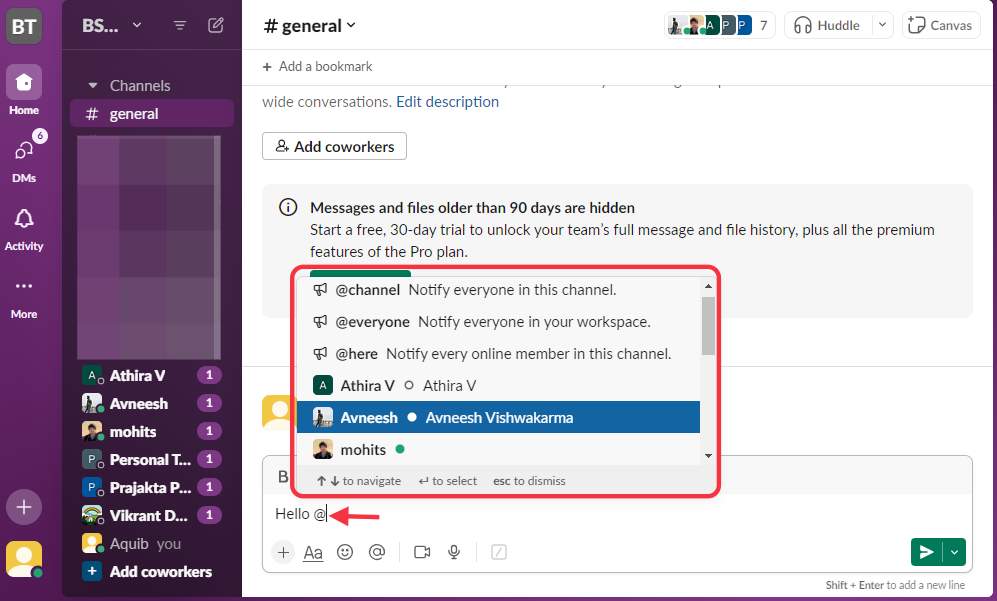
To make an announcement or to notify all the members at once, just type @, and select any of the following options:
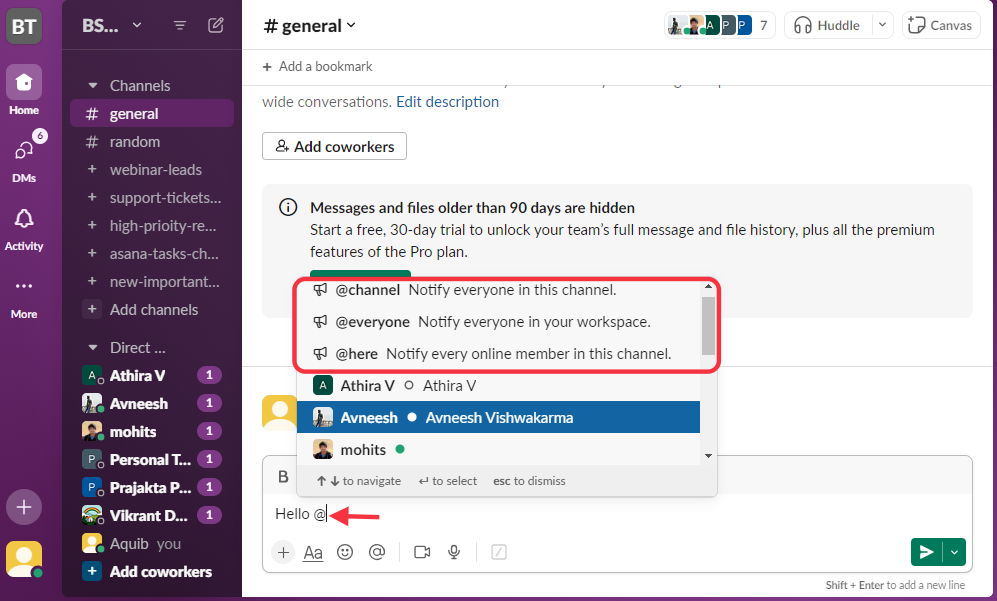
@channel: It notifies all the members present in a particular channel.
@everyone: This mention will notify everyone present in your workspace.
@here: This mention will notify every online member in this channel.
Markups for Mentions and notifications
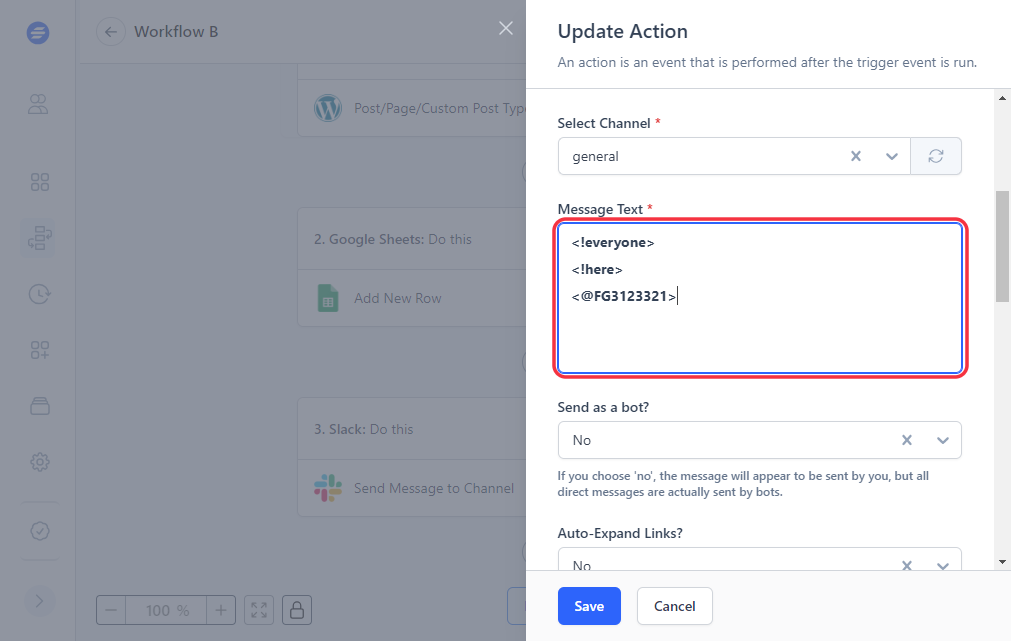
Markups:
- User Mentions: If you want to mention a particular person, just type an open angle bracket(<), the at symbol(@) followed by the Slack Member ID, and a closing angle bracket.
For example: <@FG3123321>
Note:- To find the Slack Member ID just click open the Slack profile of the person whom you want to mention and click on the Copy Member ID option.
- Mention Everyone: To mention everyone in your workspace, type an open angle bracket(<), an exclamation mark(!), “everyone” and a closing angle bracket(>). Example: <!everyone>
- Mention Here: To mention every online member of the channel, use this Markup: <!here>
Mentioning and Notification Markups can be best used in Slack automation workflows.
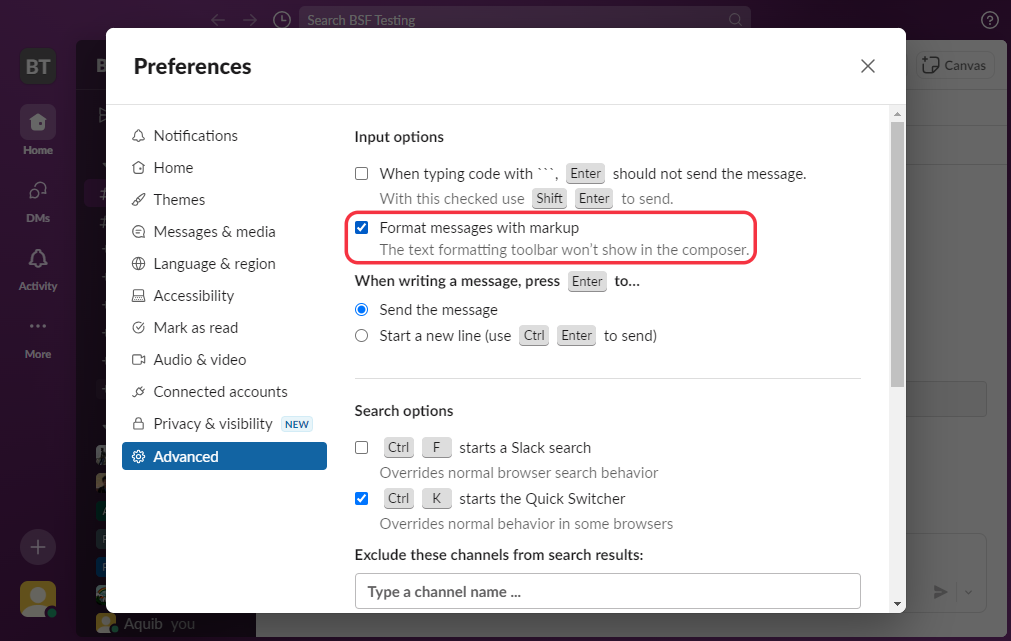
Note:- If you prefer using Markups for formatting your messages you can change formatting preferences with the following steps
- Click on your profile Picture.
- Select Preferences from the Menu
- Select the Advanced option.
- Under the Inputs option check the box next to Format Messages with Markup.
There you have it! Now you know how to properly format your message in Slack and Slack workflows in OttoKit.
If you have any more questions, feel free to reach us at support@suretriggers.com.
We don't respond to the article feedback, we use it to improve our support content.