- Prerequisites
- Building an Integration
- Setting Up Authentication
- Setting Up Triggers & Actions
- Publishing Integration
- How To Authenticate Your Application Using The API Key Method
- How to Set-Up the Integration Based on Auth Type Bearer Token
- How To Authenticate Your Application Using OAuth 2.0
- How To Authenticate Your Application Using Basic Auth
- How To Authenticate Your Application Using The JWT Bearer Method
- How to Set-Up the Integration Based on Auth Type Session Auth
- How To Authenticate Your Application Using Custom Auth
How To Authenticate Your Application Using The JWT Bearer Method
This guide provides a step-by-step walkthrough for setting up authentication using the JWT Bearer method in OttoKit.
When setting up authentication in App Builder, you are essentially connecting your app to OttoKit by authorizing it using a JWT token.
For the end-user, this means they won’t need to manually login or enter credentials every time they use your app in a OttoKit workflow.
Let’s see how you can authenticate your app using the JWT Bearer method.
How Authentication With JWT Bearer Works
With JWT Bearer Authentication, instead of manually entering connection details like an API key, a JSON Web Token (JWT) is used behind the scenes. Here’s how it works step by step:
- You need to create a new app in your application’s admin console.
- Navigate to the newly created app’s settings.
- Copy the prefix for the JWT Bearer token and paste it under the Enter Prefix for Bearer Token in Header field.
Once the connection is successful, OttoKit can pull data from your app or send information to it without asking you to log in again.
The JWT acts as the “proof” that the app is authorized.
Note: You don’t always have to select the “JWT Bearer” method. The authentication method for your app is specified in your app’s API documentation.
Authenticating Your App With JWT Bearer
Here’s how you can authenticate with the App Builder using the API Key method:
Note: Ensure you’ve created an app in your admin console before proceeding.
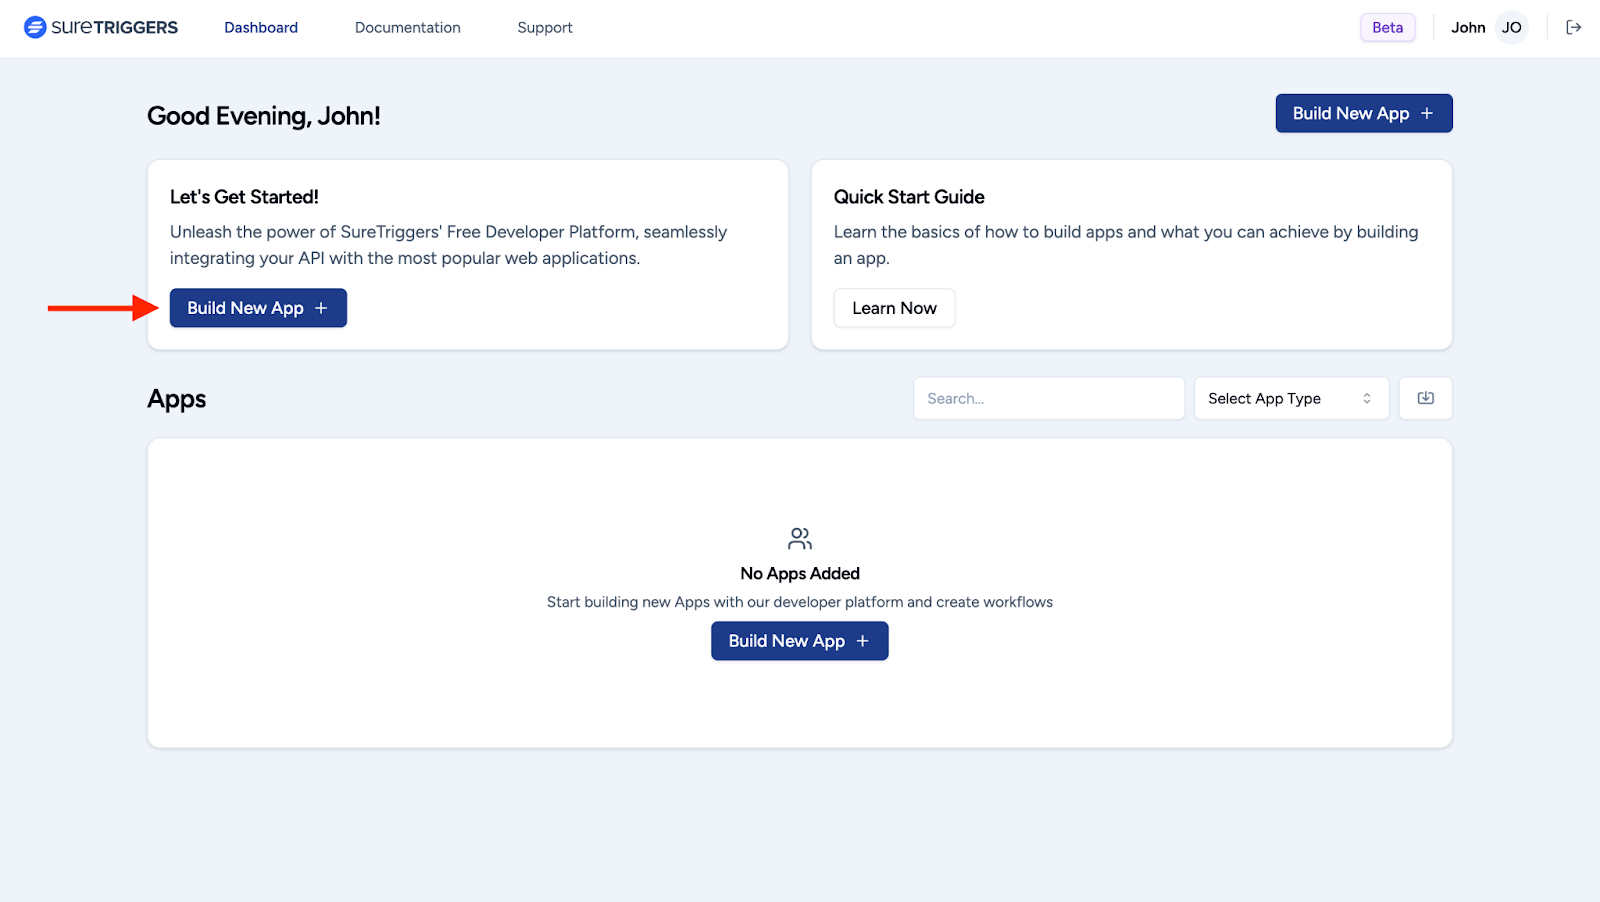
- Login to your App Builder dashboard.
- Here, click on the “Build New App” button. Fill in all the details of your app in the flyout, and then click on the “Create” button. Check out this article to learn more.
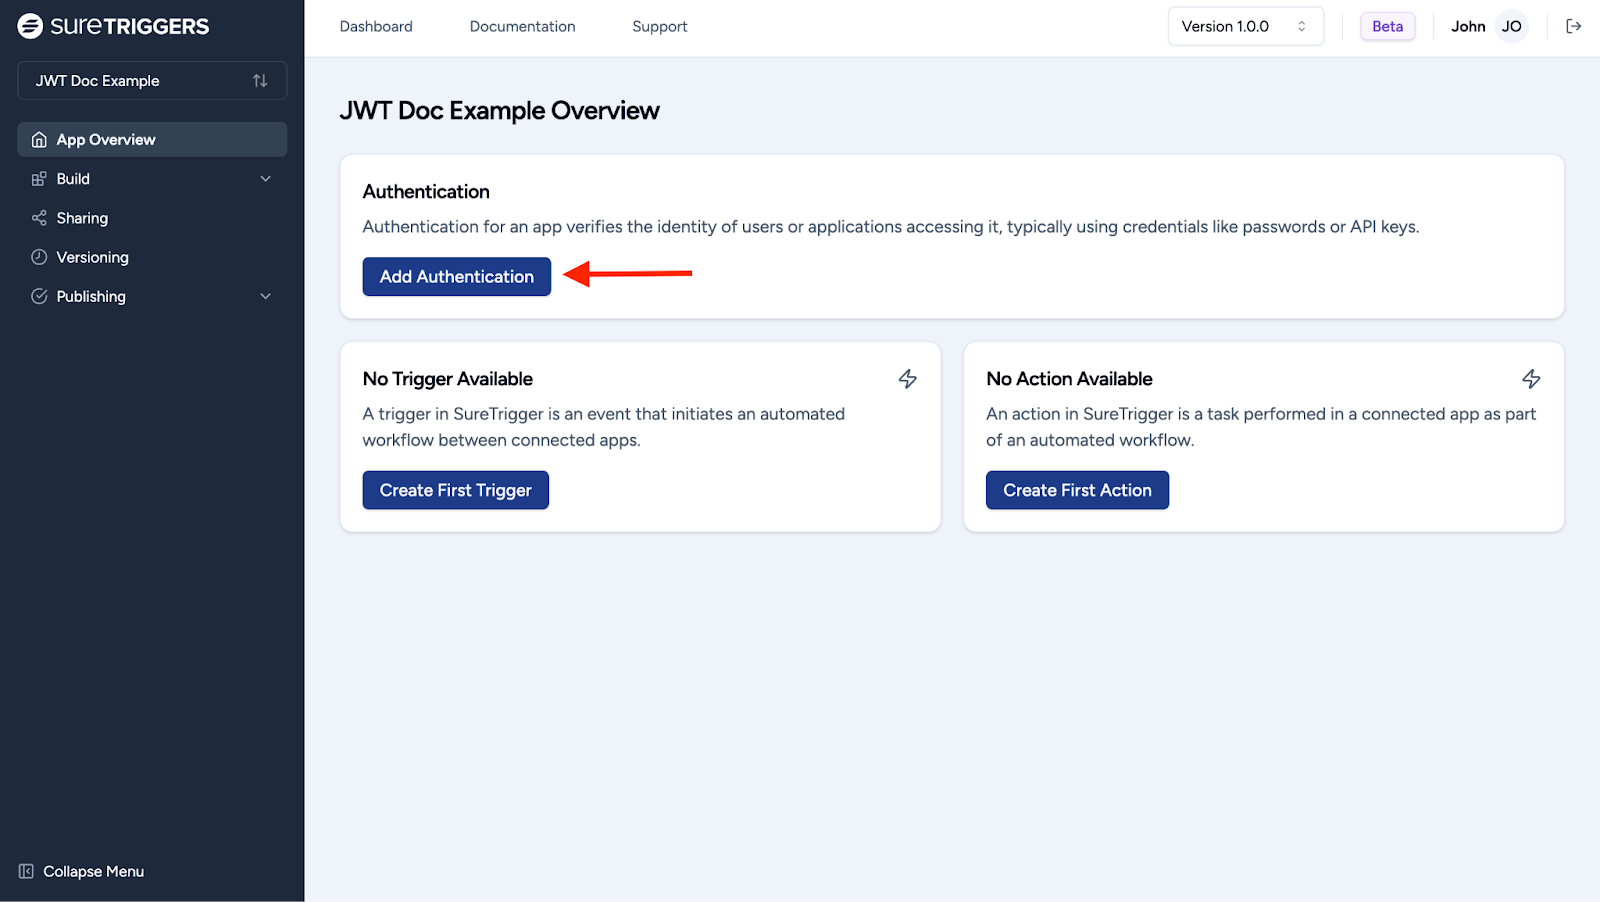
- You’ll be automatically redirected to the “App Overview” page. Here, click the “Add Authentication” button to proceed.
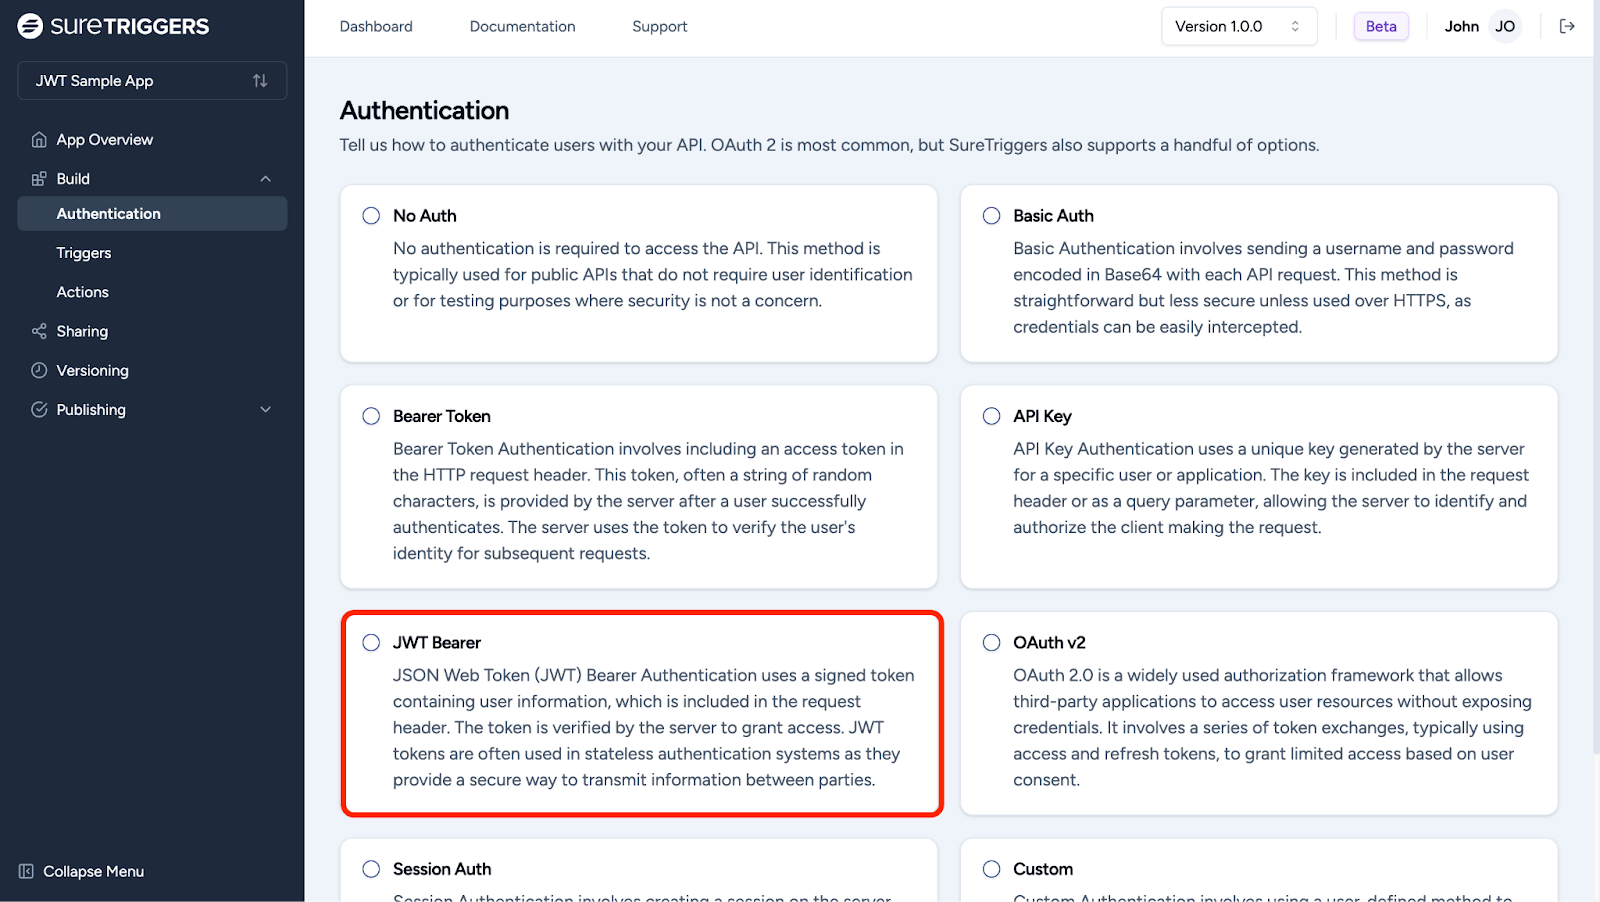
- On the Authentication page, select “JWT Bearer”.
After selecting JWT Bearer authentication, you’ll need to set the prefix for the Bearer token. This prefix is important because it identifies the type of token that will be sent in API requests.
- Enter the prefix for the Bearer token in the Enter Prefix for Bearer Token in Header field.
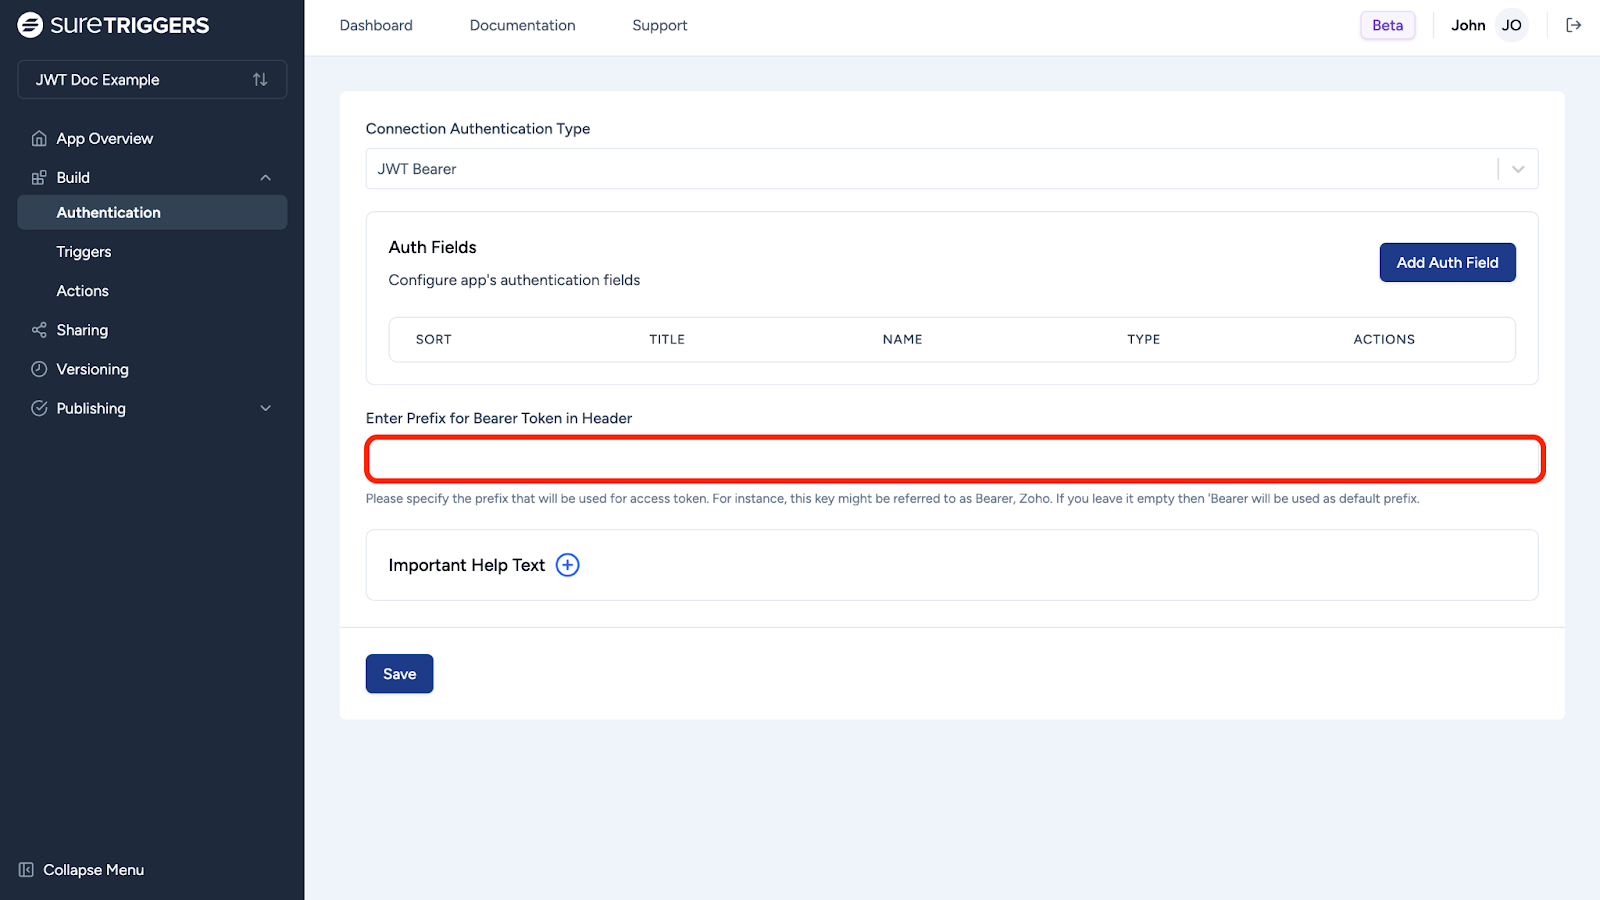
You will need to get this prefix from your app. Check out your app’s API documentation to learn more about how to get your prefix.
Note: If you leave the field empty, “Bearer” will be used as the default prefix.
Click on the “Save” button. Now, OttoKit can pull data from your app or send information to it without requiring repeated logins.
That’s all! You can now start setting up actions and triggers for your app.
And if you have any questions, feel free to contact us. We’re always here to help!
We don't respond to the article feedback, we use it to improve our support content.