Lob is a platform that simplifies and automates direct mail, enabling businesses to send personalized physical mail at scale. With Lob, companies can effortlessly integrate offline communications into their overall marketing strategy.
In this article, we’ll understand how to set up webhooks in Lob to receive notifications on a webhook URL.
Setting Up Webhook in Lob
1. Log in to your Lob account.
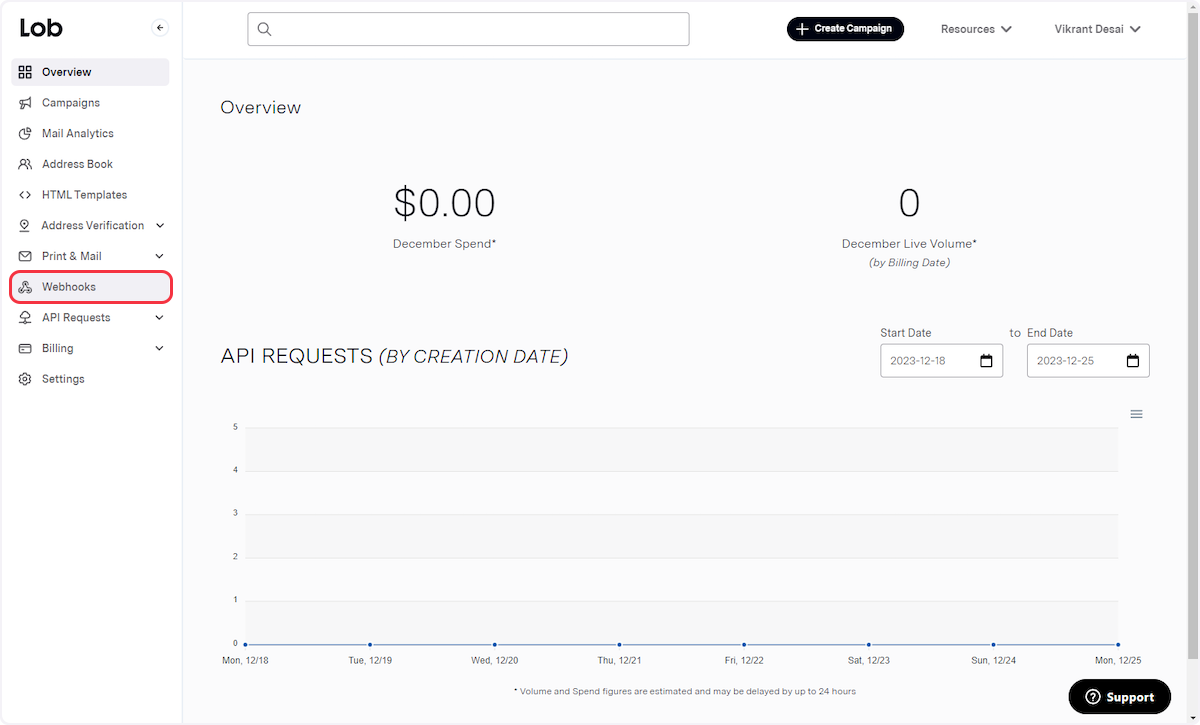
2. On Sidebar, click on ‘Webhooks’.
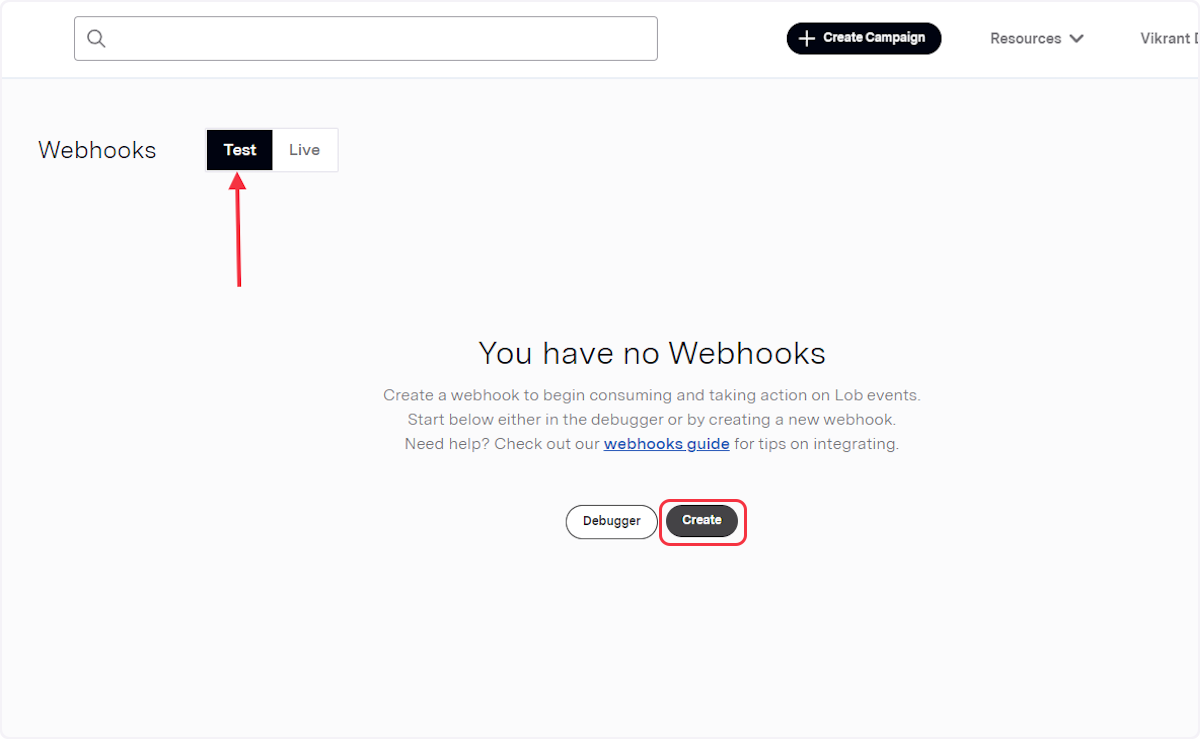
3. As per your choice, select Test or Live environment, and then click on the Create button.
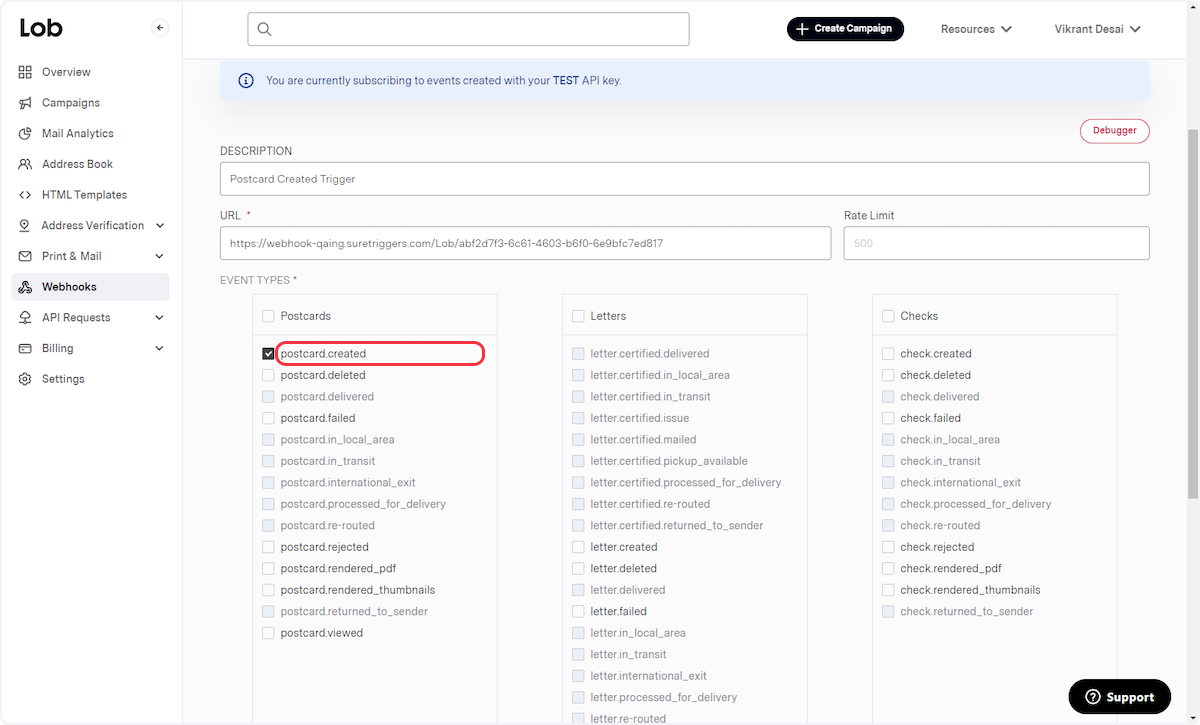
4. Add the webhook name in the ‘Description’ field.
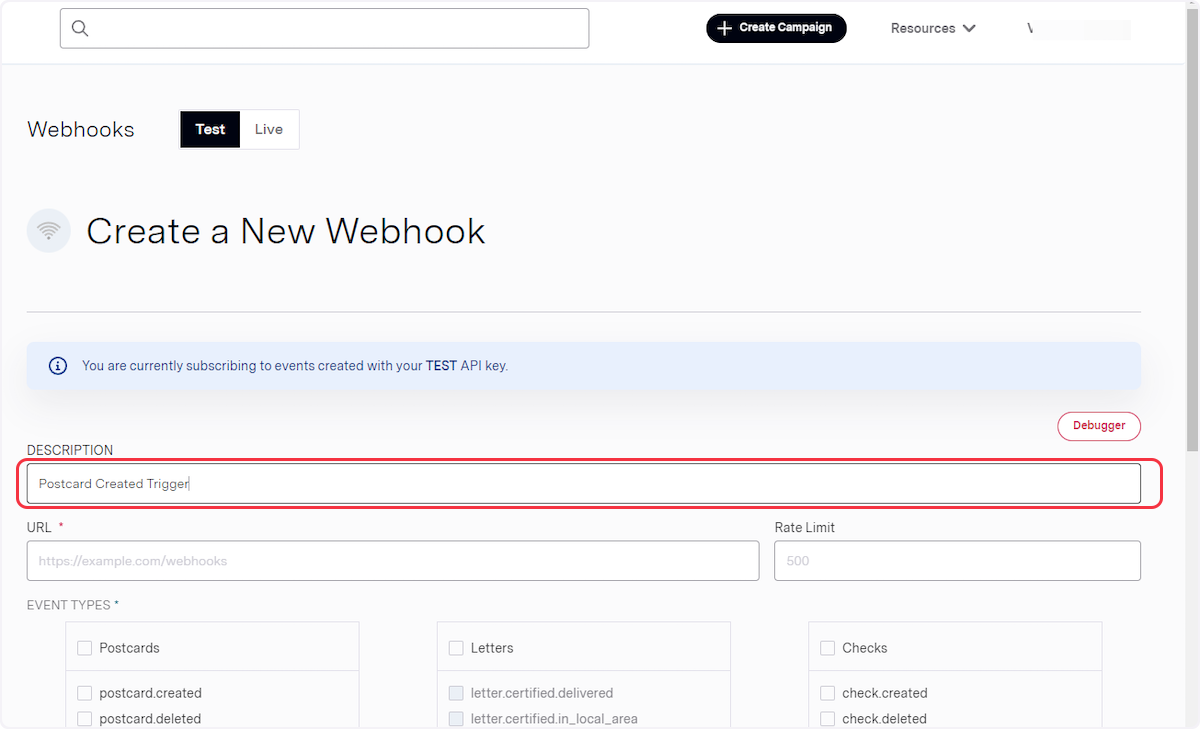
5. Copy the webhook URL from the trigger flyout and paste it into the URL field.
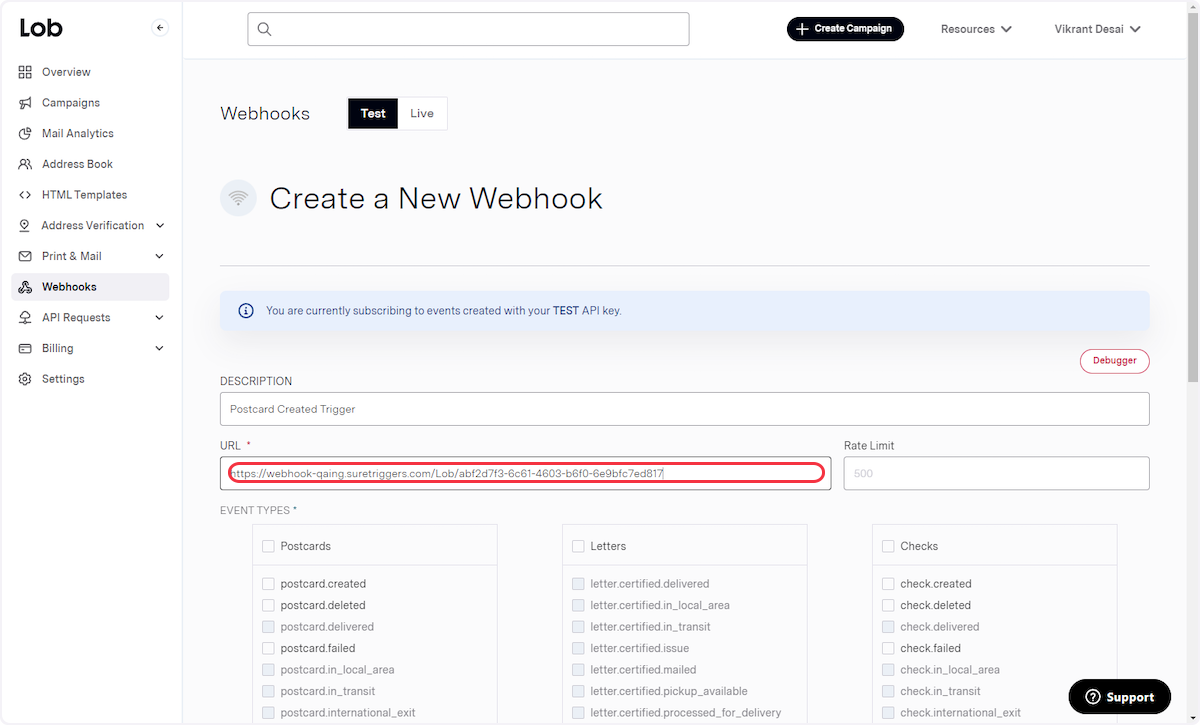
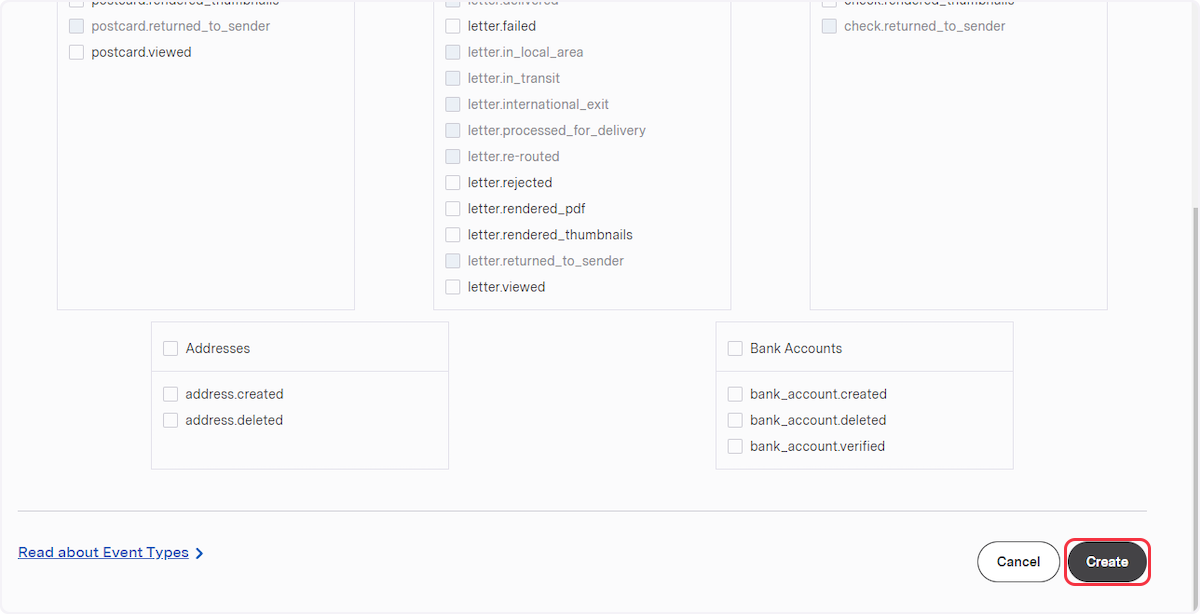
6. Now select “Event Types” according to your trigger. For example, if you are setting up a webhook for the “Postcard Created” trigger, then select the “postcard.created” event type from the Postcards section.
7. Save the webhook by clicking on the Create button.
That’s it! You have successfully added a webhook to your Lob account.
Connect Lob with the Power of Automation
If you want to connect Lob with other apps that you use to automate processes, you must check out SureTriggers!
SureTriggers provides a number of Lob integrations, including:
- Slack Integrations: Send a notification on Slack when a mail is viewed in Lob.
- AirTable Integrations: Update entry in Airtable when a letter is deleted from Lob.
These are just a few examples – SureTriggers unlocks a world of automation possibilities!
To learn more, join our Facebook community.
Recommended Articles
How to sign up for SureTriggers?
Common terms that you’ll come across in SureTriggers