Flexie CRM is a versatile customer relationship management software designed to streamline and automate business processes.
It empowers organizations to efficiently manage customer interactions, sales, marketing, and customer support through customizable workflows and automation tools.
In this article, we’ll understand how to set up webhooks in Flexie CRM to receive notifications on a webhook URL.
Setting Up Webhook in Flexie CRM
1. Login to Flexie CRM account.
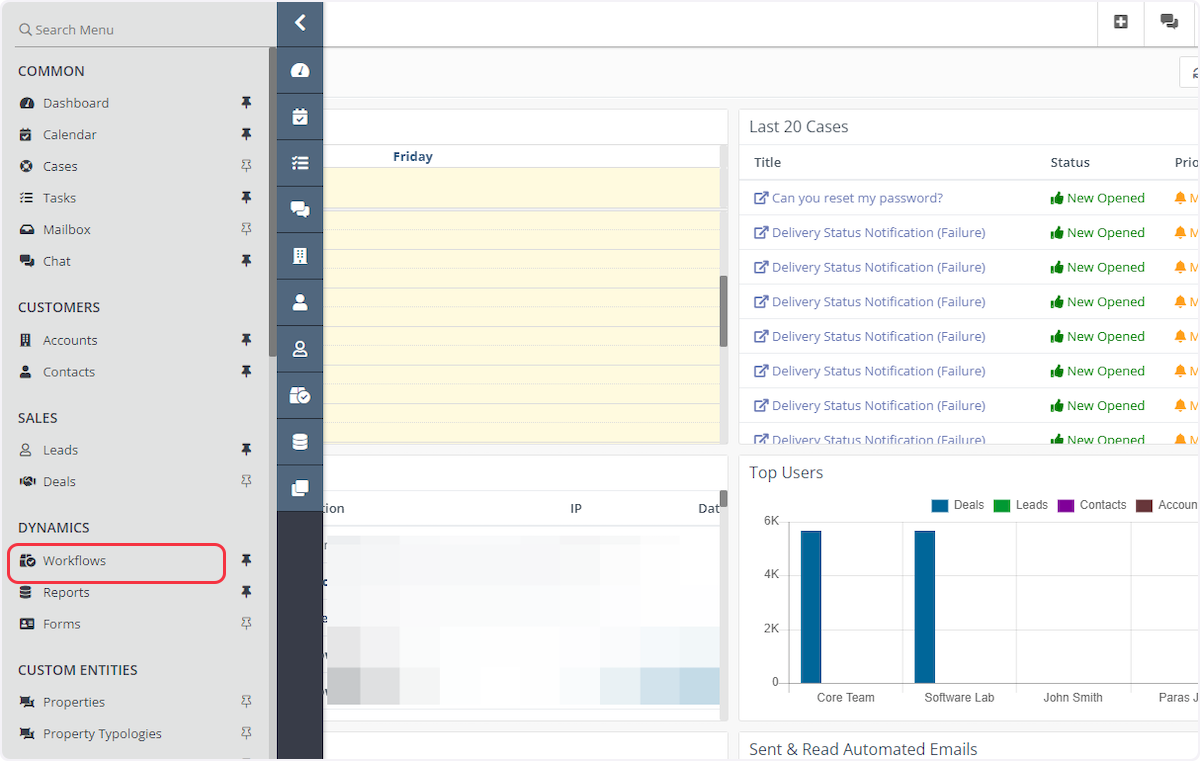
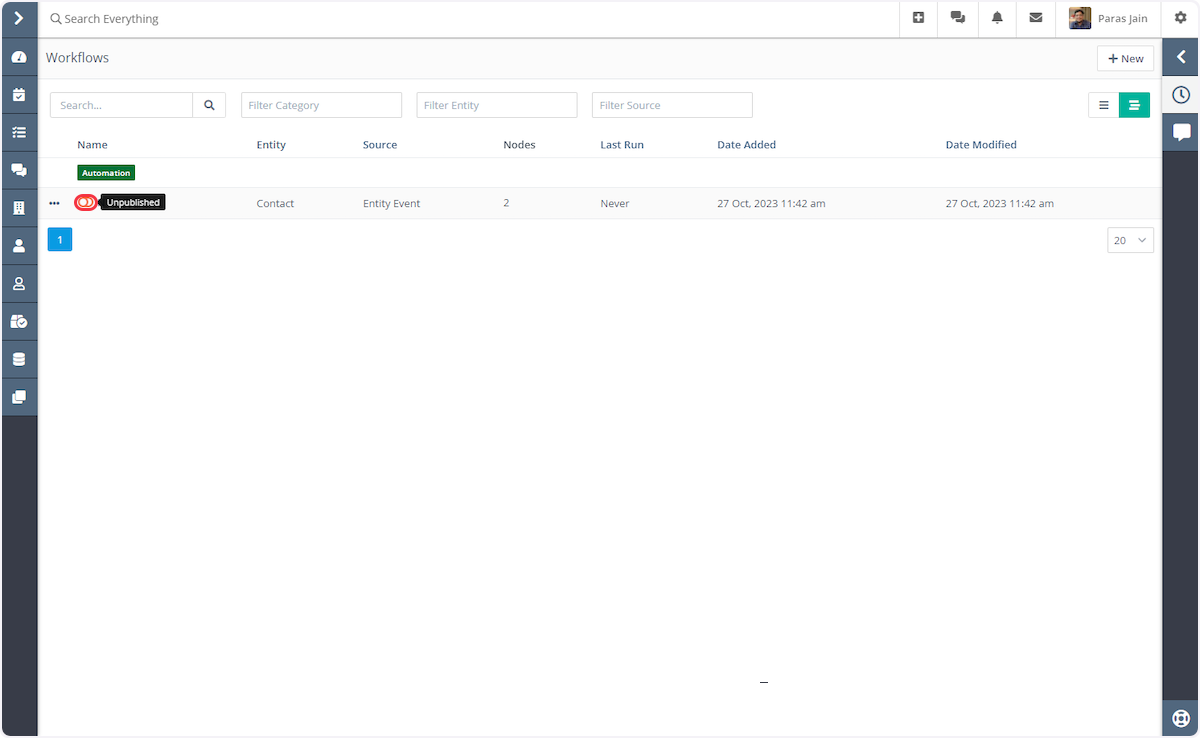
2. Navigate to Workflows from the left menu.
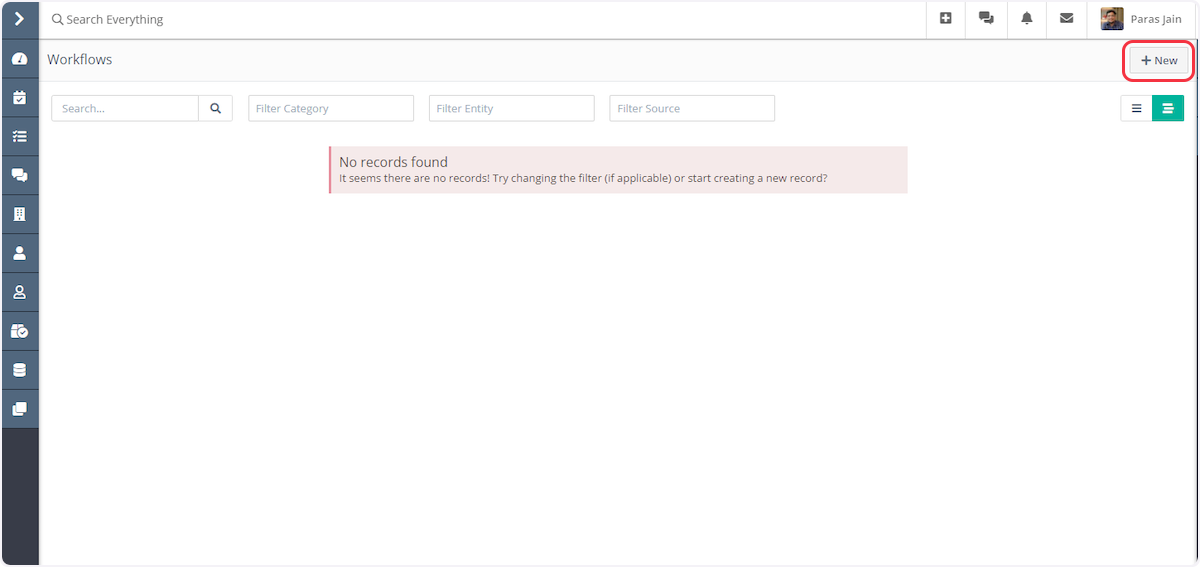
3. Go to the upper-right corner of the page and click the ‘+ New’ button to create a workflow.
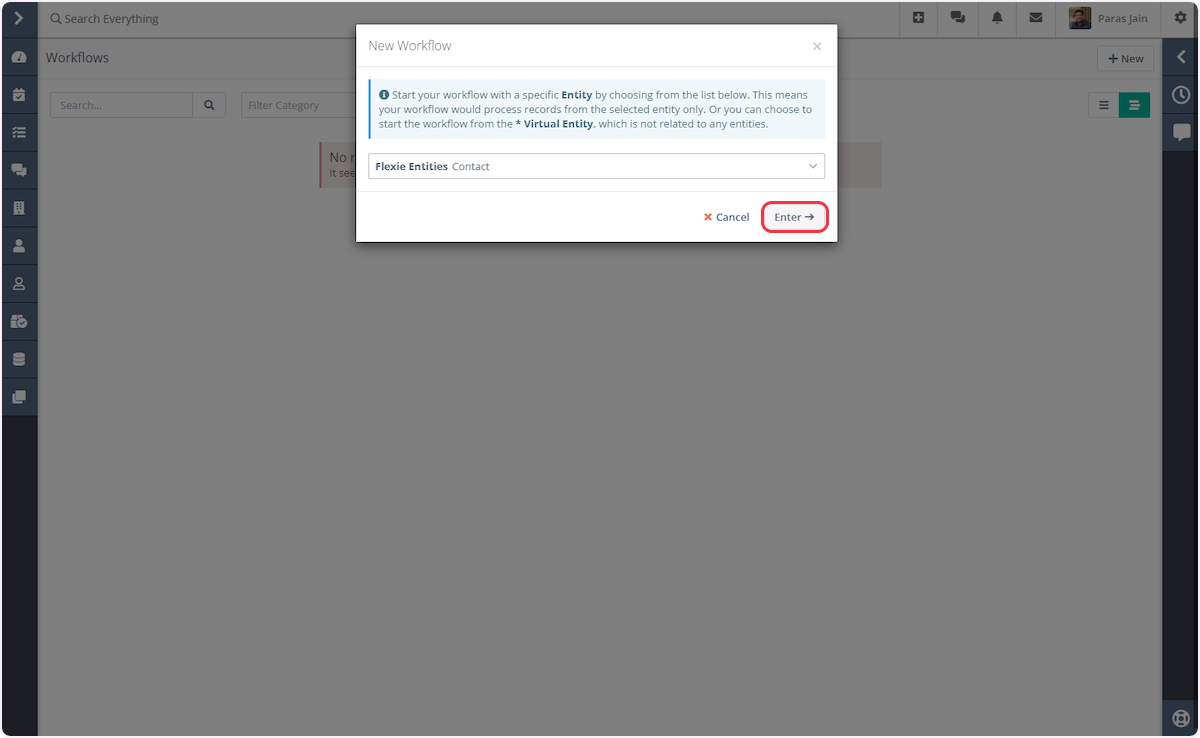
4. To configure a workflow for the selected trigger event, choose ‘Flexie Entities’ that correspond to your trigger as the workflow entity type. For example, if you’re creating a workflow for the ‘New Contact’ trigger, select ‘Contact’ as the Flexie Entity.

5. Click on Enter.
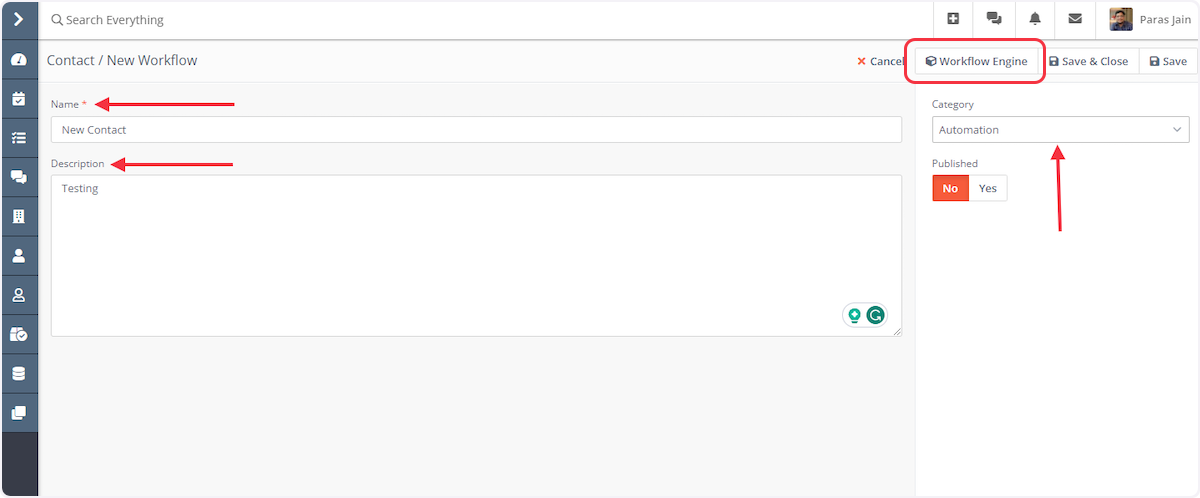
6. Provide a name and description for your workflow, select a category (optional), and then click ‘Workflow Engine’ in the top menu.
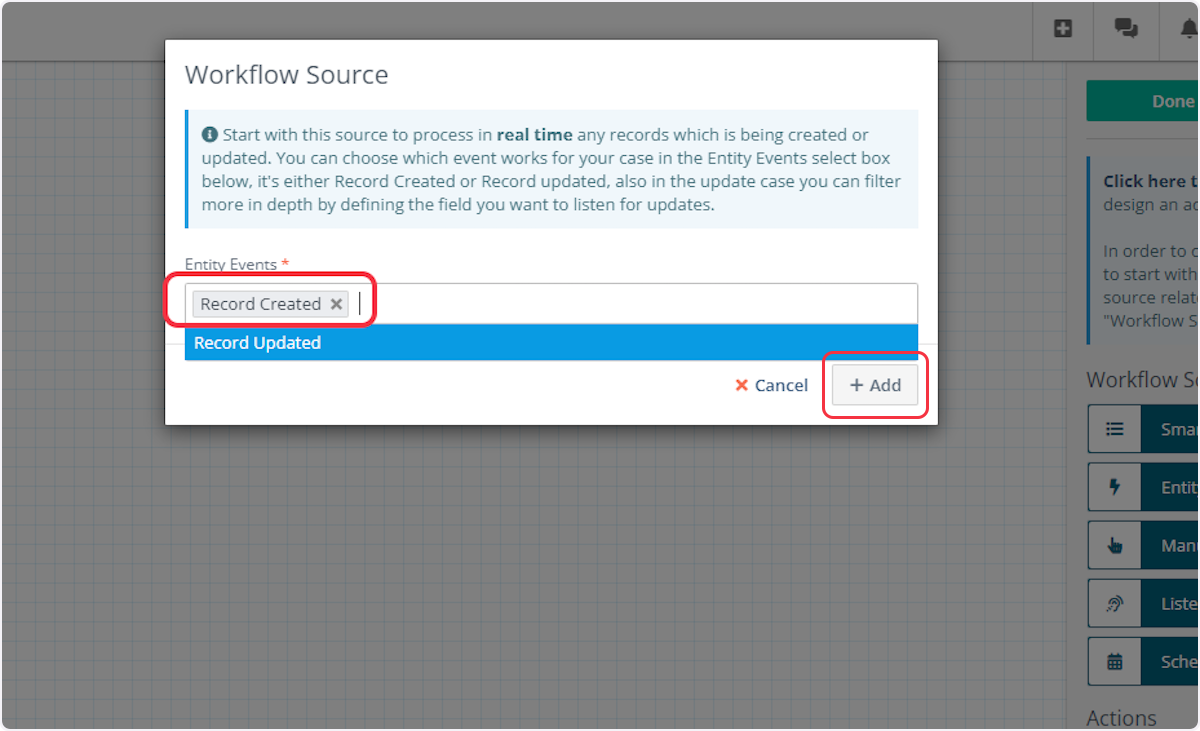
7. Go to the ‘Workflow Sources’ and choose ‘Entity Events’ as the source.

8. Select the ‘Entity Events’ as ‘Record Created’ and click on Add.
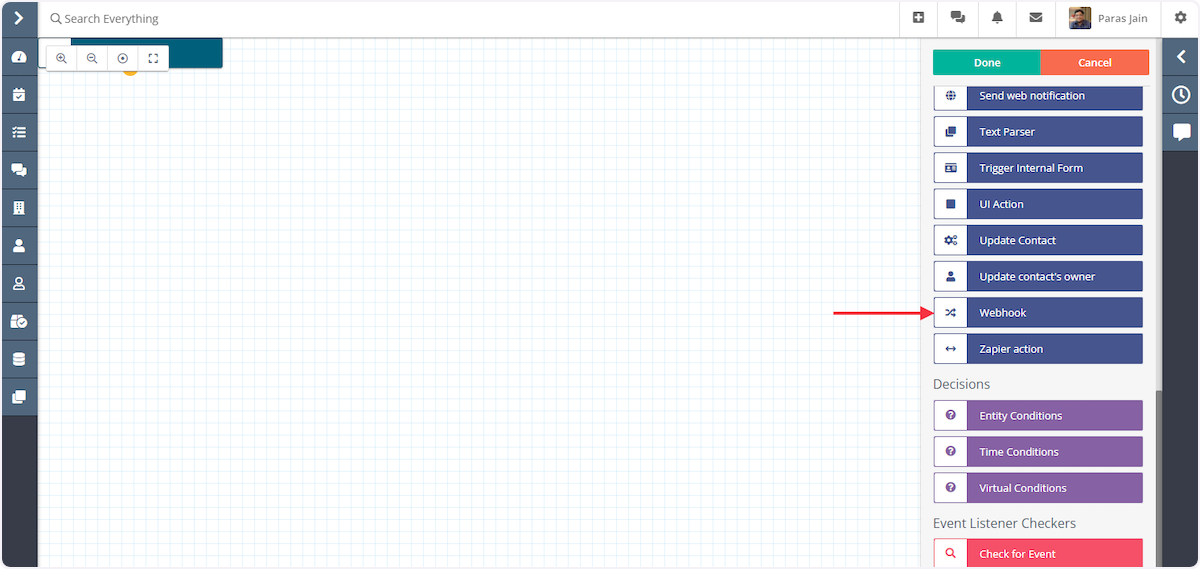
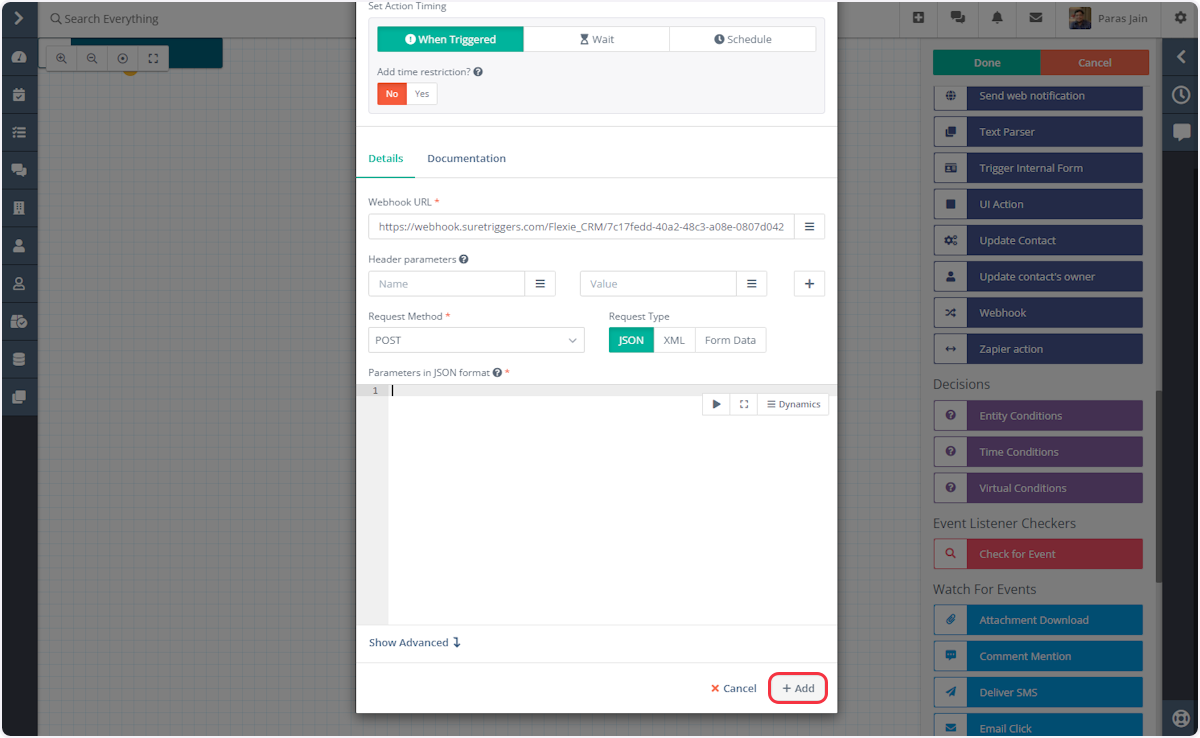
9. Go to ‘Actions’ and choose ‘Webhook’.
10. Enter the name of your webhook.
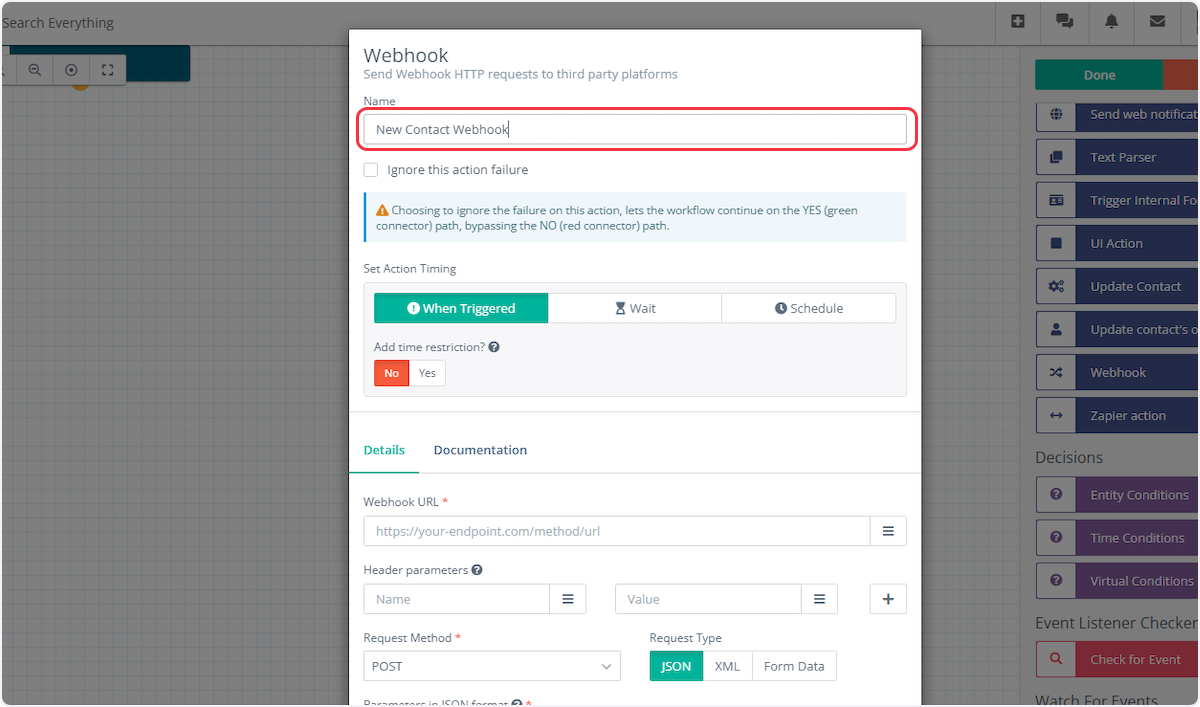
11. Copy the Webhook URL from trigger flyout and paste it under the ‘Webhook URL’ field.
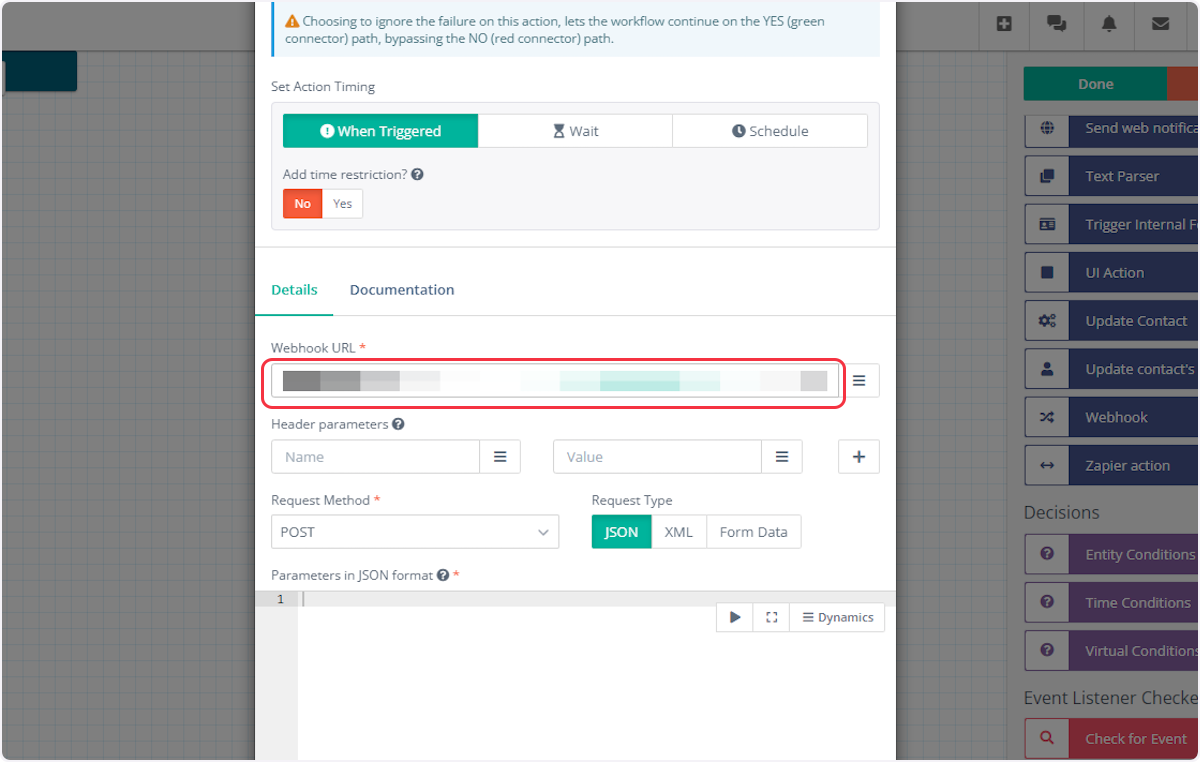
12. Choose Request Type: JSON, Request Method: POST and add parameters in proper JSON format.
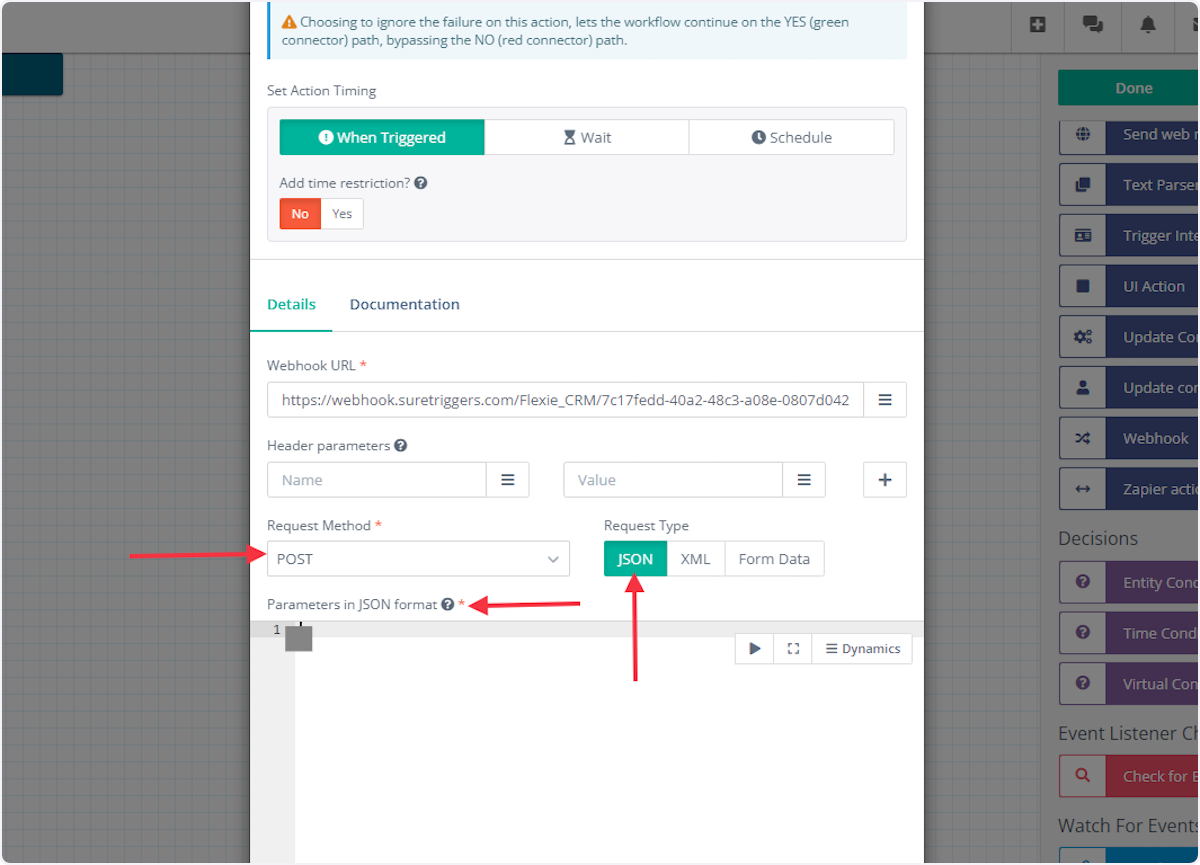
13. Click on Add to save webhook.
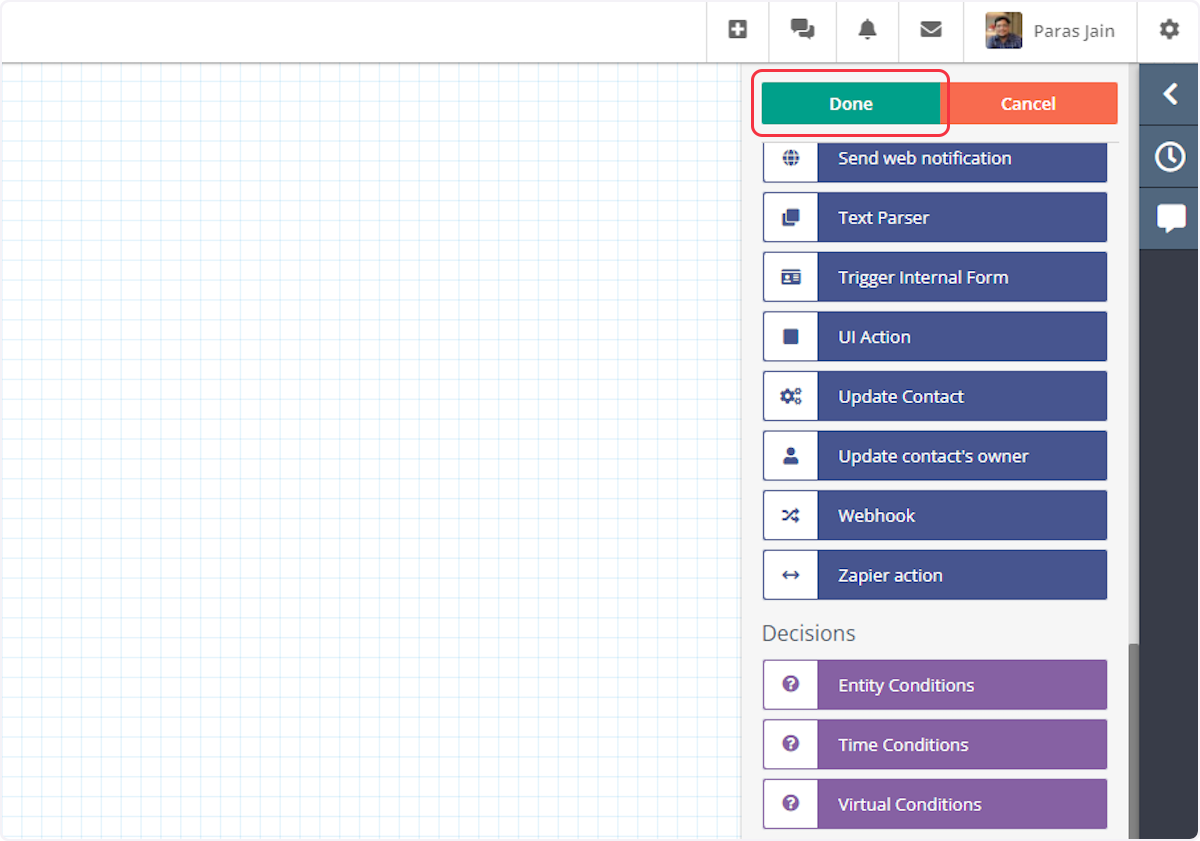
14. Click on Done to save the workflow.
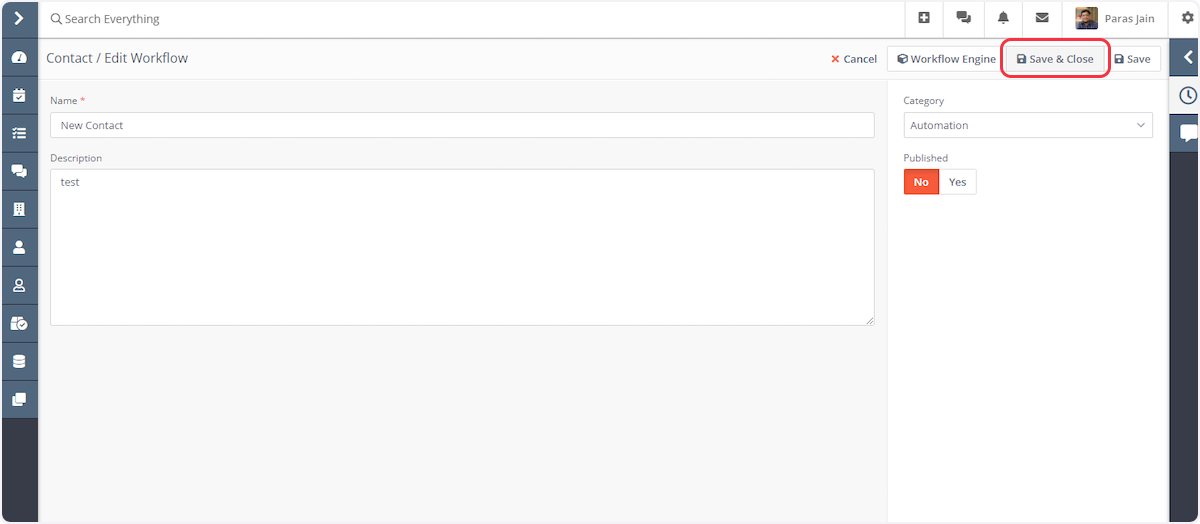
15. Click on the Save & Close button from the top menu.
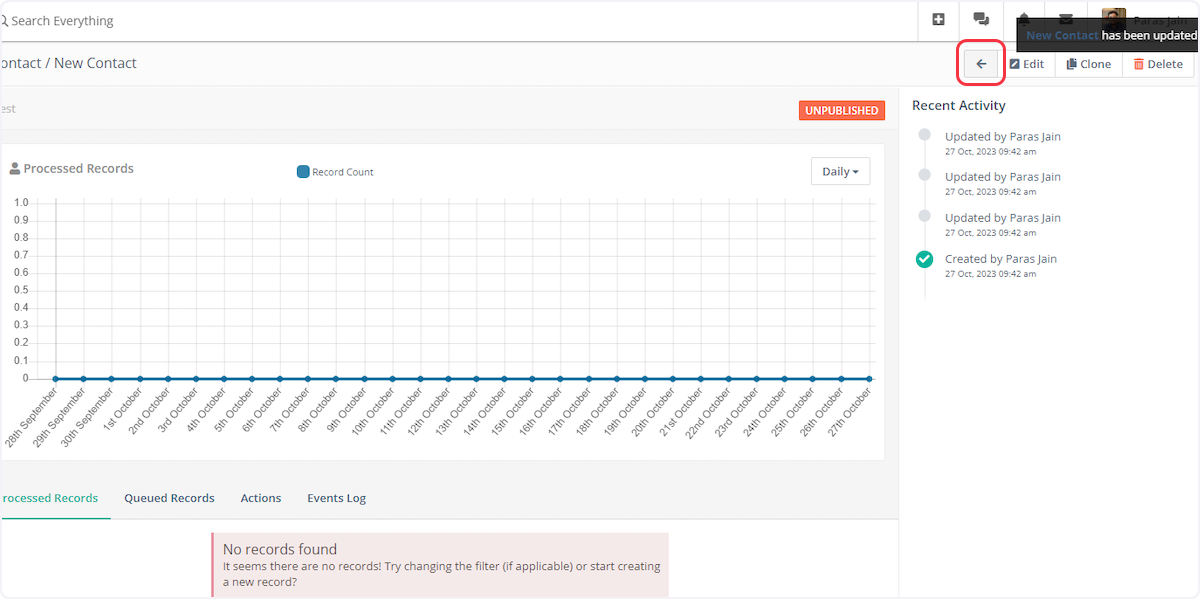
16. Now, click on the back arrow located before the Edit button.
17. Now enable the switch field to publish your webhook workflow.
That’s it! You have successfully added a webhook to your Flexie CRM account.
Connect Flexie CRM with Other Apps
If you want to connect Flexie CRM with other apps that you use to automate processes, you must check out SureTriggers!
SureTriggers provides several Flexie CRM integrations to help you automate processes like:
- When a new contact is created in Flexie CRM, add the contact to the BuddyBoss group.
- Send an email via Gmail when a new account is added to Flexie CRM.
These are just some random examples of automation. SureTriggers can do a lot more!
To learn more, join our Facebook community.
Recommended Articles
How to sign up for SureTriggers?
Common terms that you’ll come across in SureTriggers