SavvyCal is a modern scheduling tool that simplifies appointment and meeting booking, offering a seamless, user-friendly experience for individuals and teams to manage their calendars efficiently.
In this article, we’ll understand how to set up webhooks in SavvyCal to receive notifications on a webhook URL.
Setting Up Webhook in SavvyCal
1. Login to SavvyCal account.
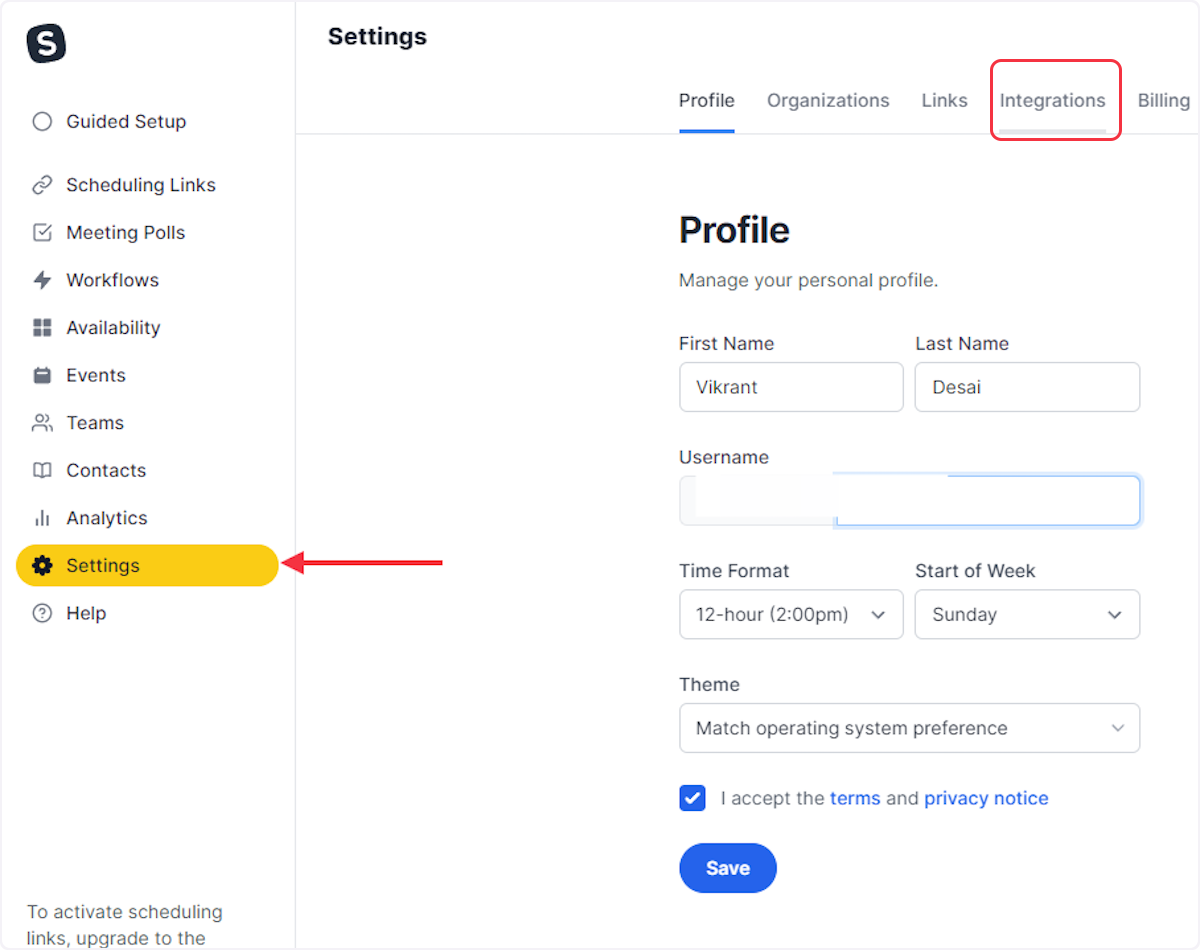
2. Navigate to Settings > Integrations.
3. Next, scroll down to the ‘Automation’ section and click on the ‘+’ i.e. “Add a webhook” icon.
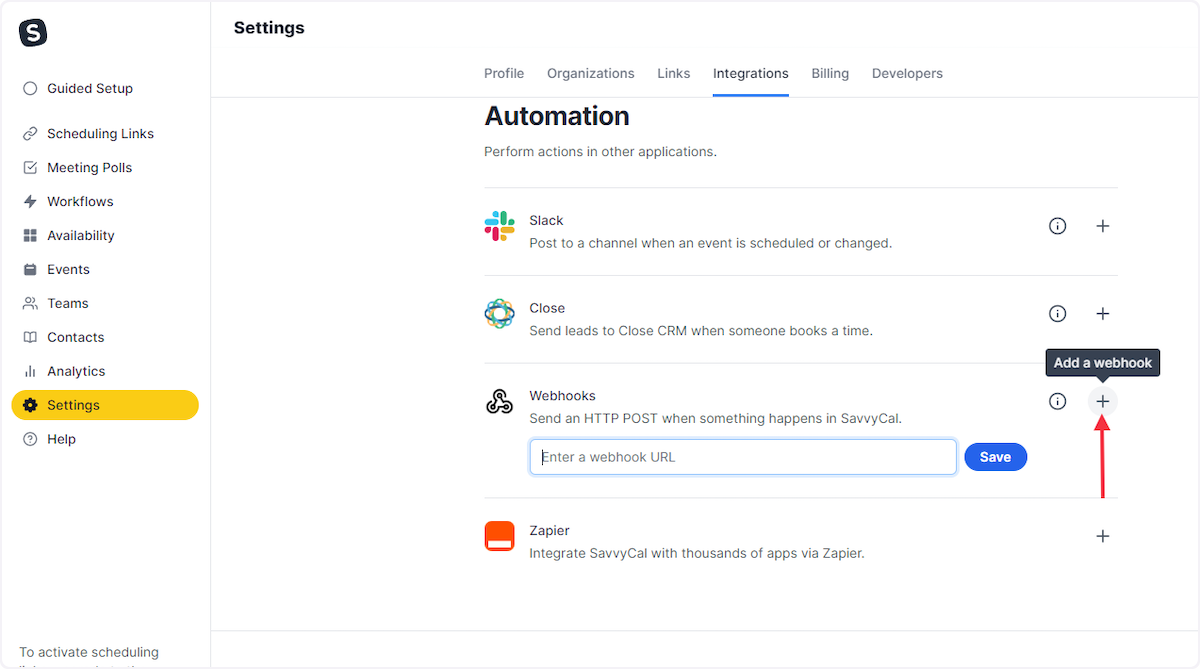
4. Copy the above webhook URL from the trigger flyout, add it under the field named “Enter a webhook URL” and save it.
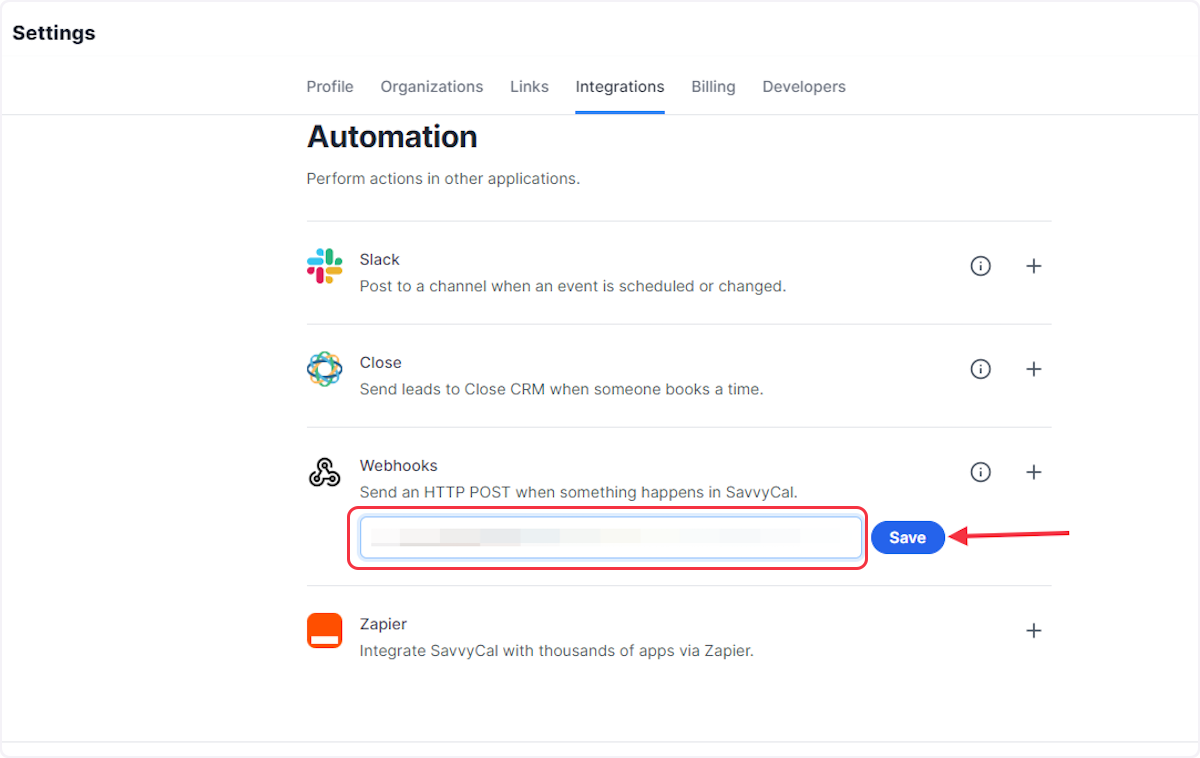
That’s it! You have successfully added a webhook to your SavvyCal account.
Connect SavvyCal with Other Apps
If you want to connect SavvyCal with other apps that you use to automate processes, you must check out SureTriggers!
SureTriggers provides several Savvycal integrations to help you automate processes like:
- Add a record in Airtable when any new event is scheduled via SavvyCal.
- Send a message to Slack when any event is canceled in SavvyCal.
These are just some random examples of automation. SureTriggers can do a lot more!
To learn more, join our Facebook community.
Recommended Articles
How to sign up for SureTriggers?
Common terms that you’ll come across in SureTriggers