Respond.io is a platform that connects businesses with their customers through various messaging channels. It allows users to manage conversations, automate workflows, and integrate with other tools. Respond.io aims to make customer communication more personal, efficient, and scalable.
In this article, we’ll understand how to set up webhooks in Respond.io to receive notifications on a webhook URL.
Setting Up Webhook in Respond.io
- Login to Respond.io dashboard.
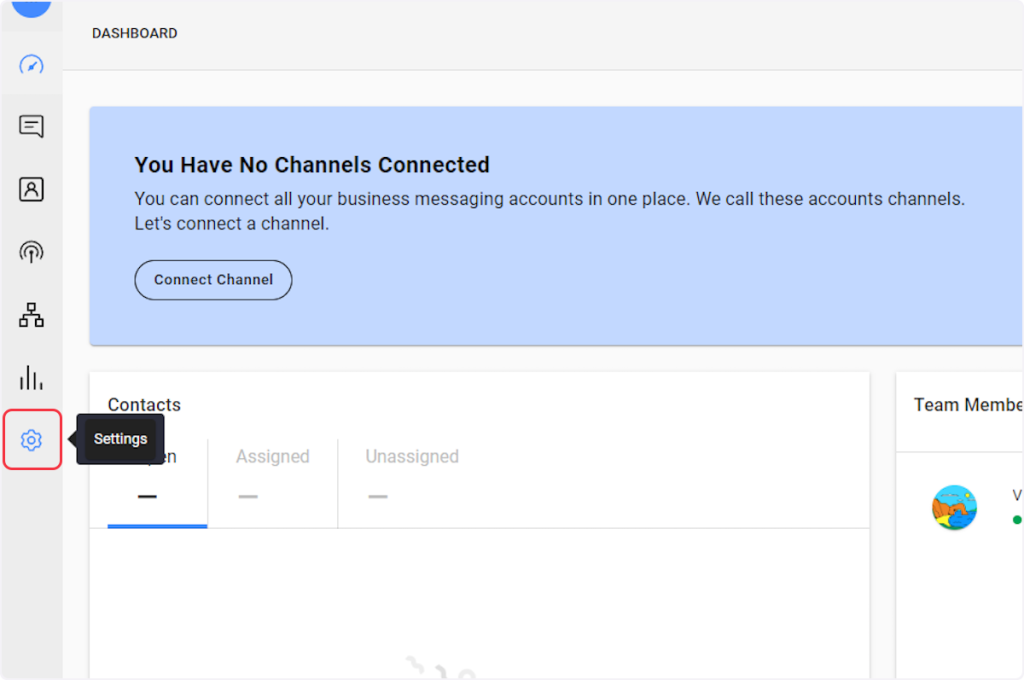
- In the sidebar, click on ‘Settings’.
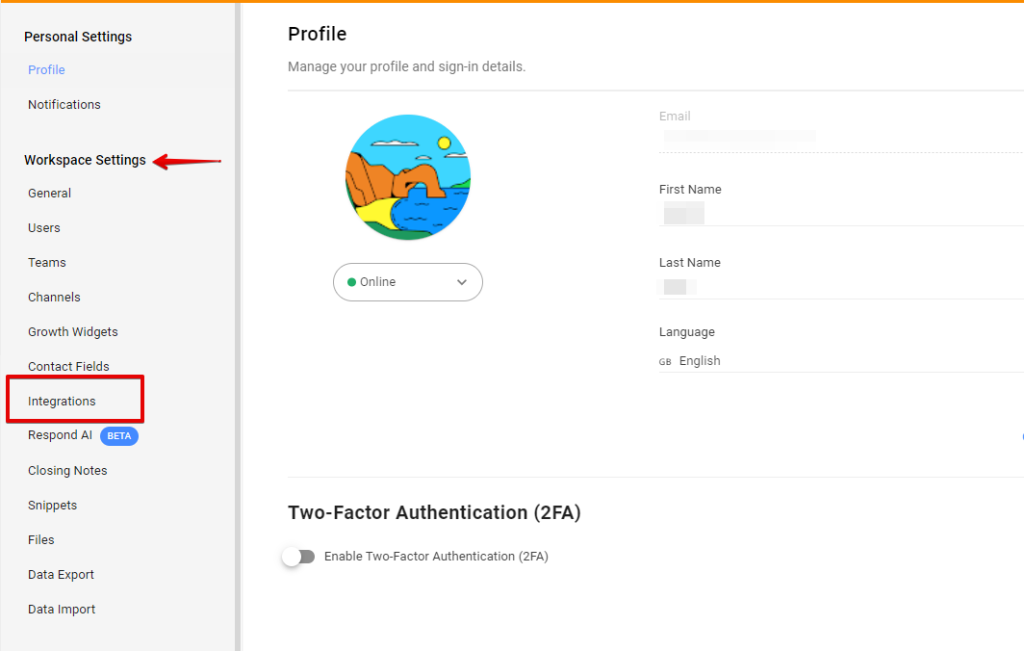
- Inside “Workspace Settings”, click on ‘Integrations’.
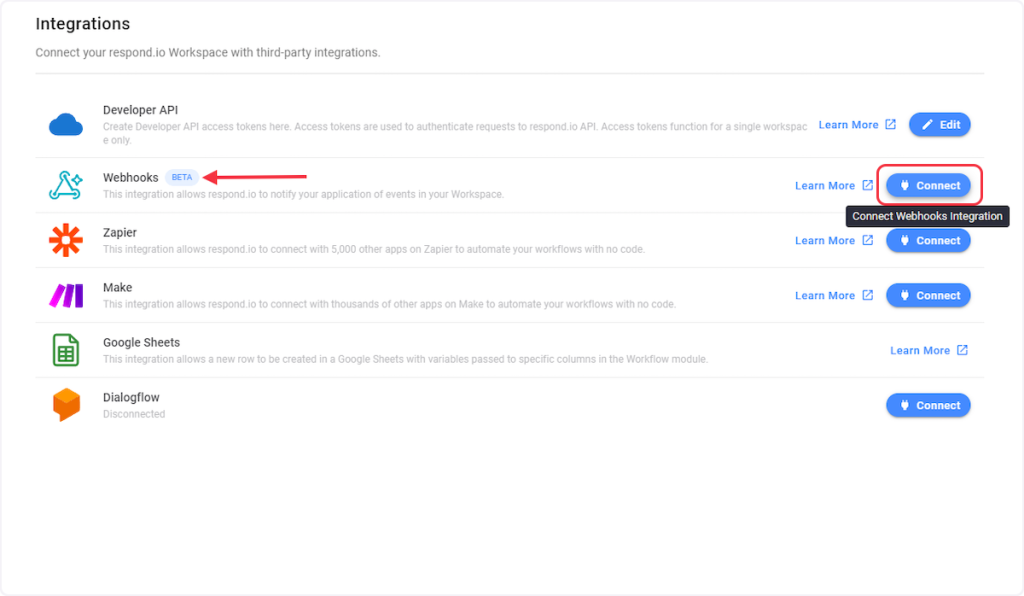
- Now on the ‘Integrations’ page, click on the ‘Connect’ button for the ‘Webhook’ integration.
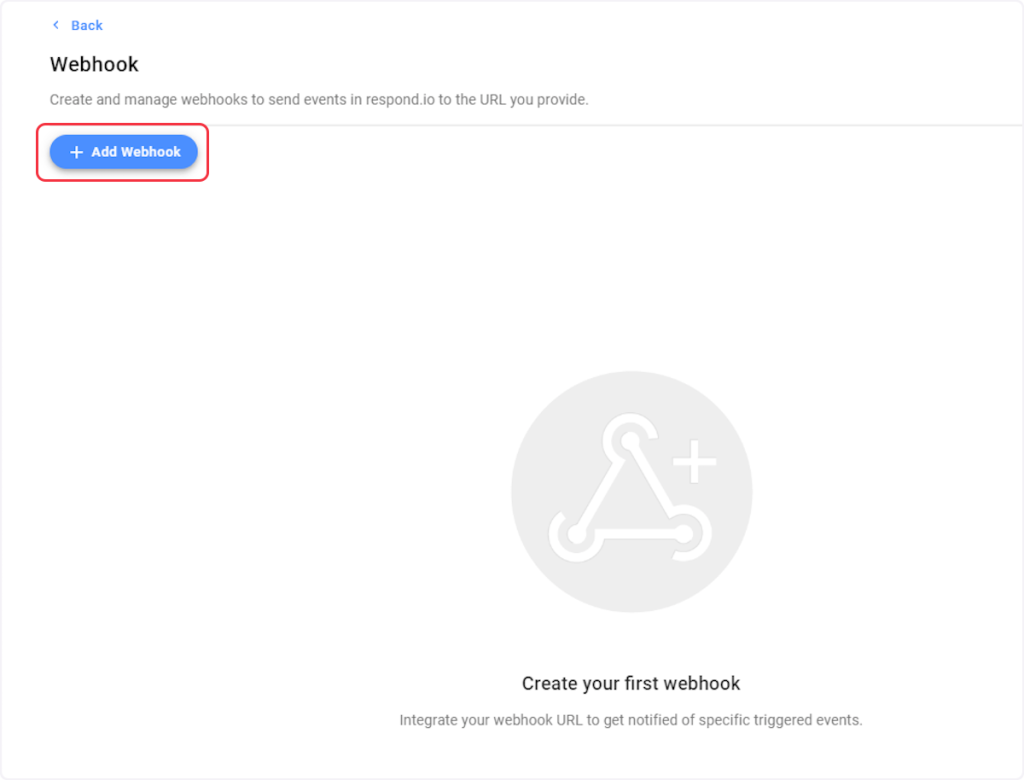
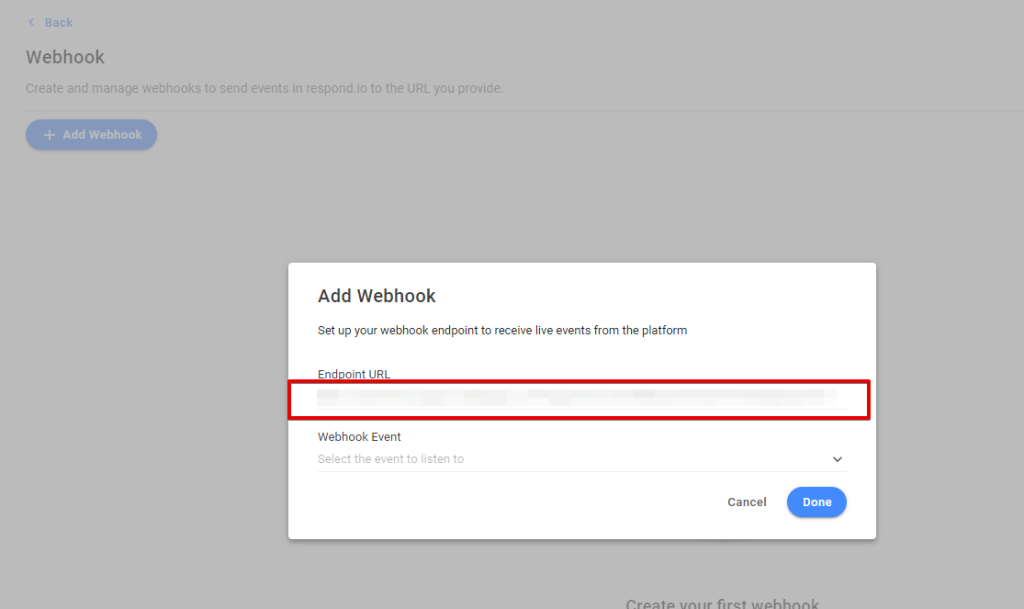
- Click on “+ Add Webhook”.
- Copy the Webhook URL from the trigger flyout and paste it into the “Endpoint URL” field.
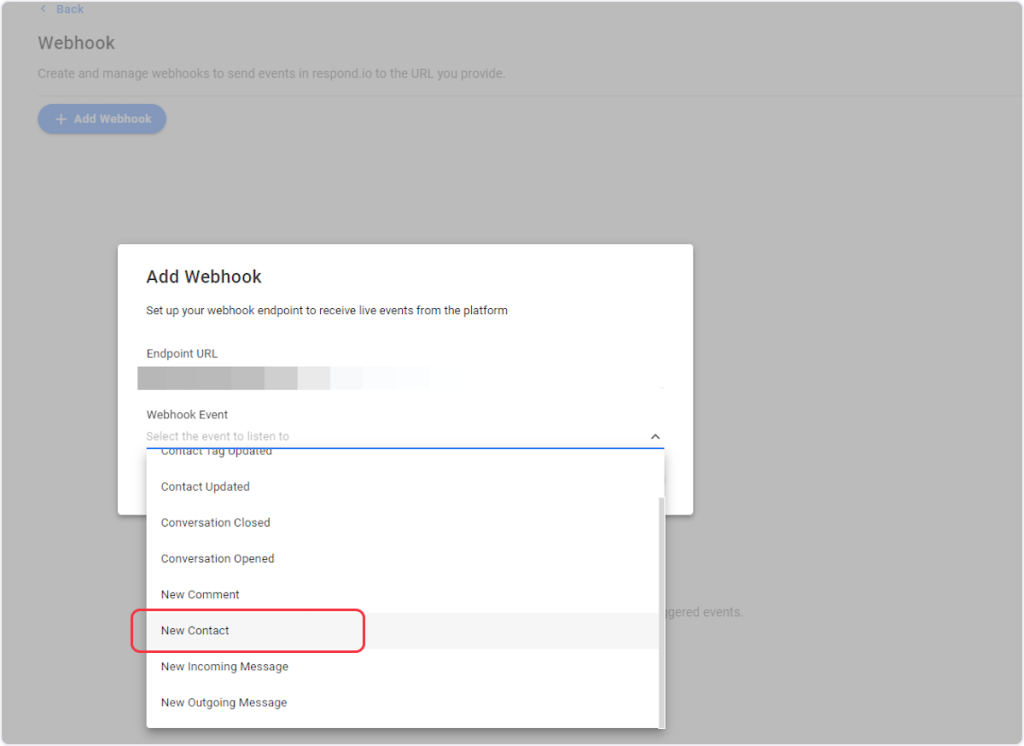
- Now, select the webhook event based on your trigger. For example, if you are setting up a webhook for the “New Contact” trigger, then you need to select the “New Contact” event from the “Webhook Event” dropdown.
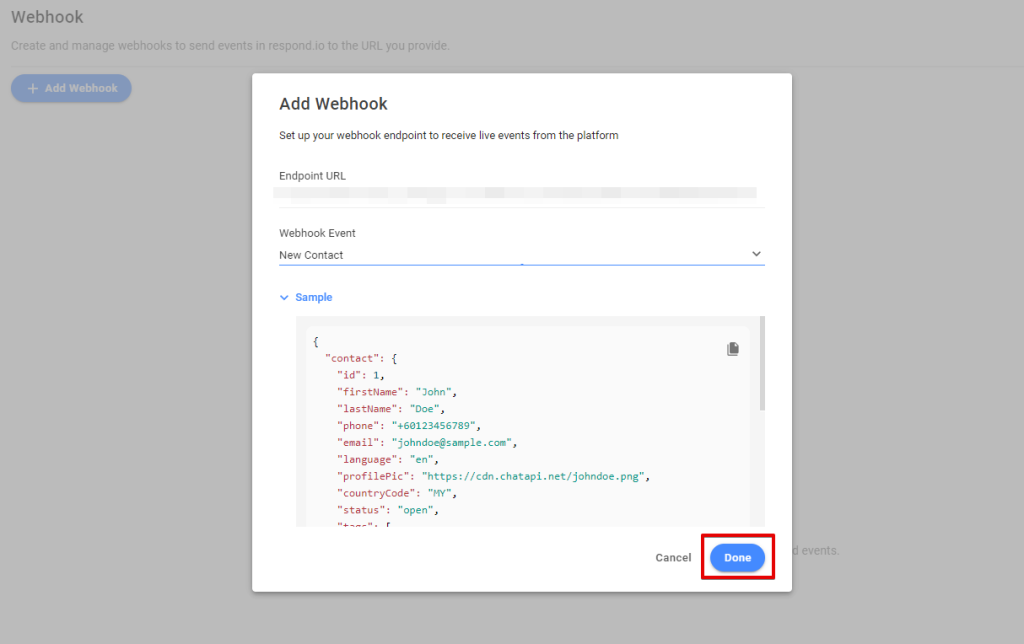
- Click on ‘Done’.
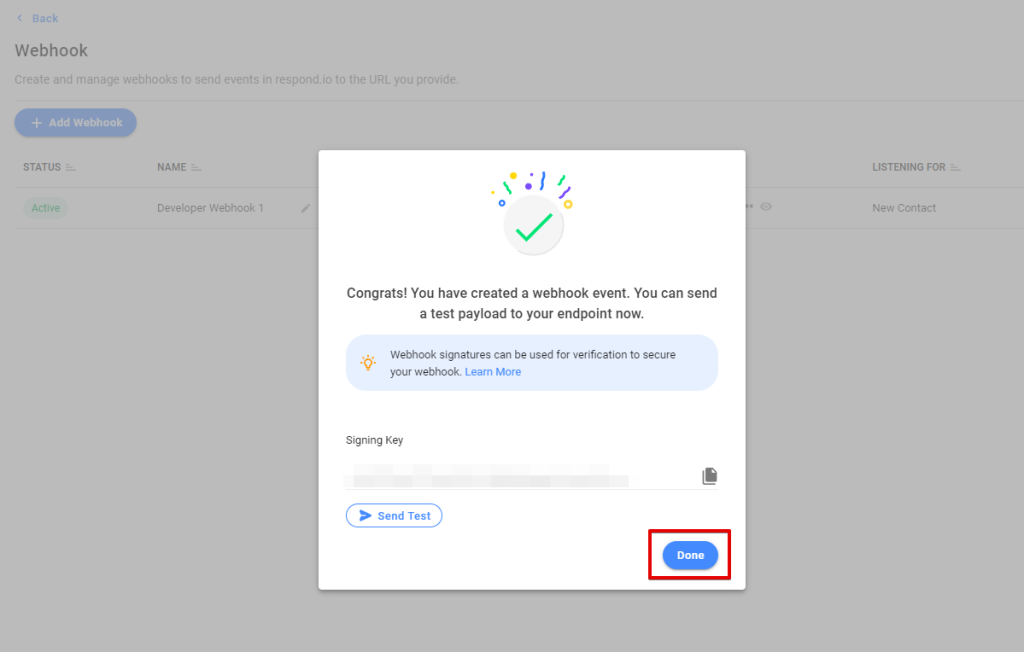
- Now, in the congratulations window, click on the “Send Test” button to receive test data on the trigger flyout.
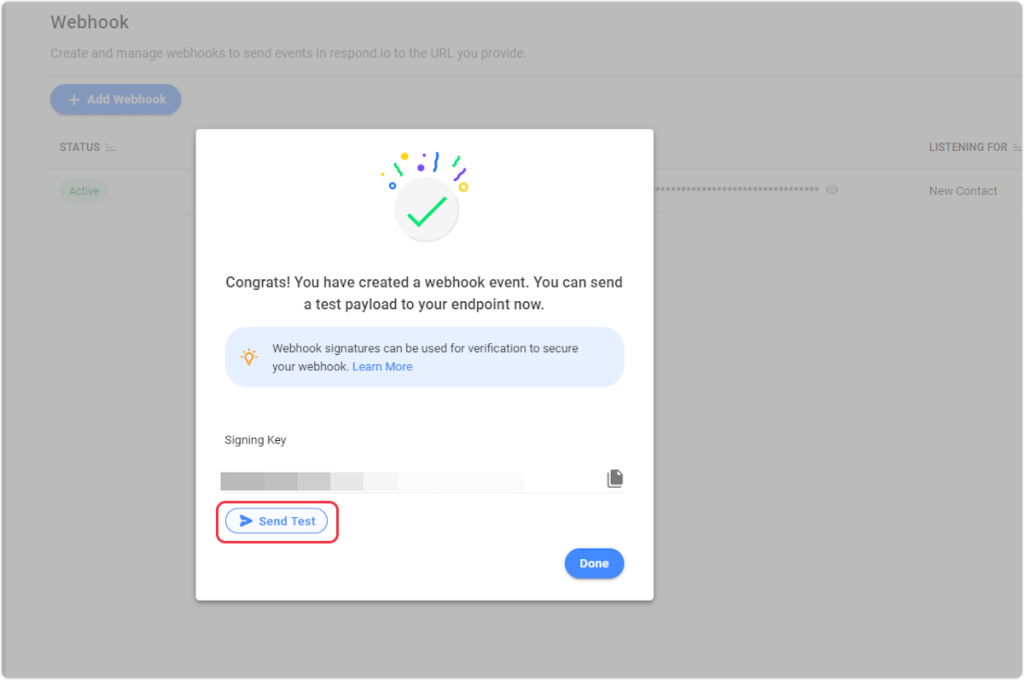
- Click on ‘Done’.
That’s it! You have successfully added a webhook to your Respond.io account.
Connect Respond.io with Other Apps
If you want to connect Respond.io with other apps that you use to automate processes, you must check out SureTriggers!
Respond.io Integration can help you automate processes like:
- When a new contact is added in respond.io, add that contact as a subscriber in MailerLite Classic.
- Send a notification message via WhatsApp whenever a new comment is added in respond.io.
These are just some random examples of automation. SureTriggers can do a lot more!
To learn more, join our Facebook community.
Recommended Articles
How to sign up for SureTriggers?
Common terms that you’ll come across in SureTriggers